I often travel to Matsumoto by highway bus or limited express train Azusa for public and private trips, and rent a car in Matsumoto. However, these days the car is always full and cannot be rented.
Toyota Rent-A-Car too crowded?
Since I am a corporate member of Toyota Rent-A-Car, I usually use Toyota Rent-A-Car, but recently, not only Toyota Rent-A-Car, but also Nippon Rent-A-Car, ORIX Rent-A-Car, and Station Rent-A-Car are all full and cannot be rented.
In the midst of all this,We found Nico Nico Rent-a-Car Matsumoto Airport Road Kanbayashi branch within a 3-4 minute walk from the bus stop [Nagano Road Kanbayashi] on the way to Matsumoto on the highway bus from Shinjuku Expressway Bus Terminal!
We decided to give it a try right away. The first bus stop I get off at “probably in the middle of nowhere.” I know Nico Nico Rent-a-Car is cheap, but is it safe?” I was anxious, but I had no other choice.
First, book an express bus and a Nico Nico Rental Car!
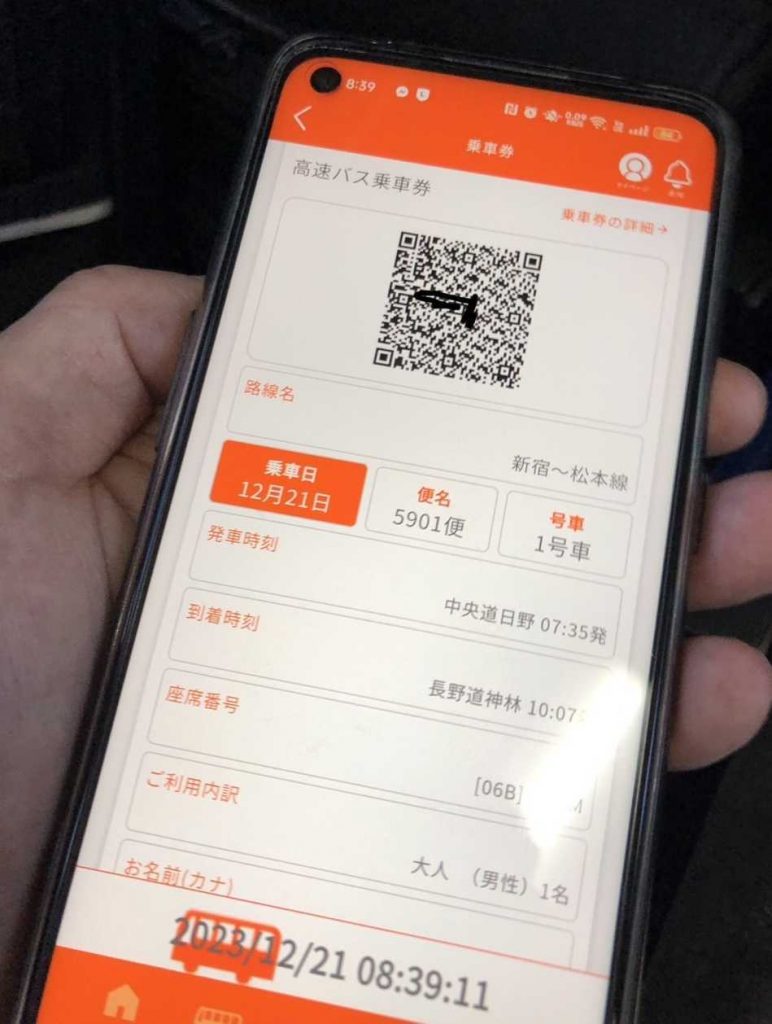
I booked a highway bus through highwaybus.com. By booking through this site, you can get off at a bus stop not at Matsumoto bus terminal but Nagano-do Kanbayashi. The fare between both stops are the same.
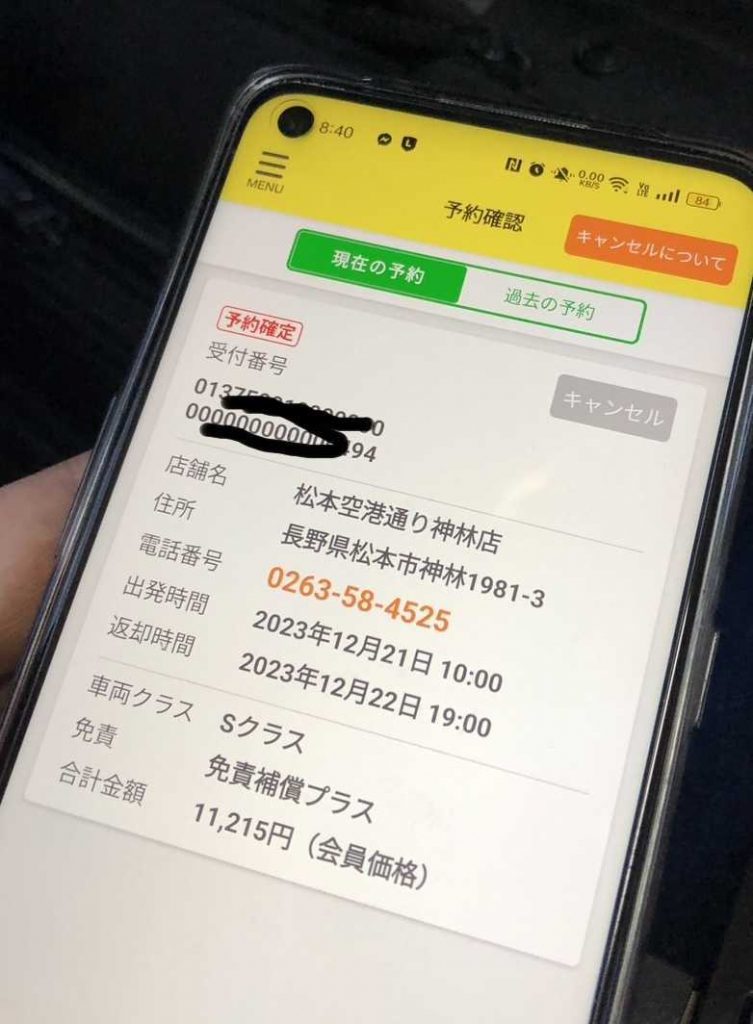
Next, make a reservation for Nico Nico Rent-a-Car. This too was easily reserved via the Internet. Basic rates are low, but optional insurance waivers and other options are considerably more expensive than major car rental companies. Also, it differs from the major car rental companies in that they add mandatory fees such as car navigation fees.
Successfully completed the reservation! On the day of the event (2023.12.21), I first headed to the Hino bus stop as usual to board the expressway bus.
Thursday, December 21, 2023
8:37 Board the highway bus from Hino bus stop for Matsumoto, 2 minutes behind schedule. We will head for Kanbayashi on the Nagano road.
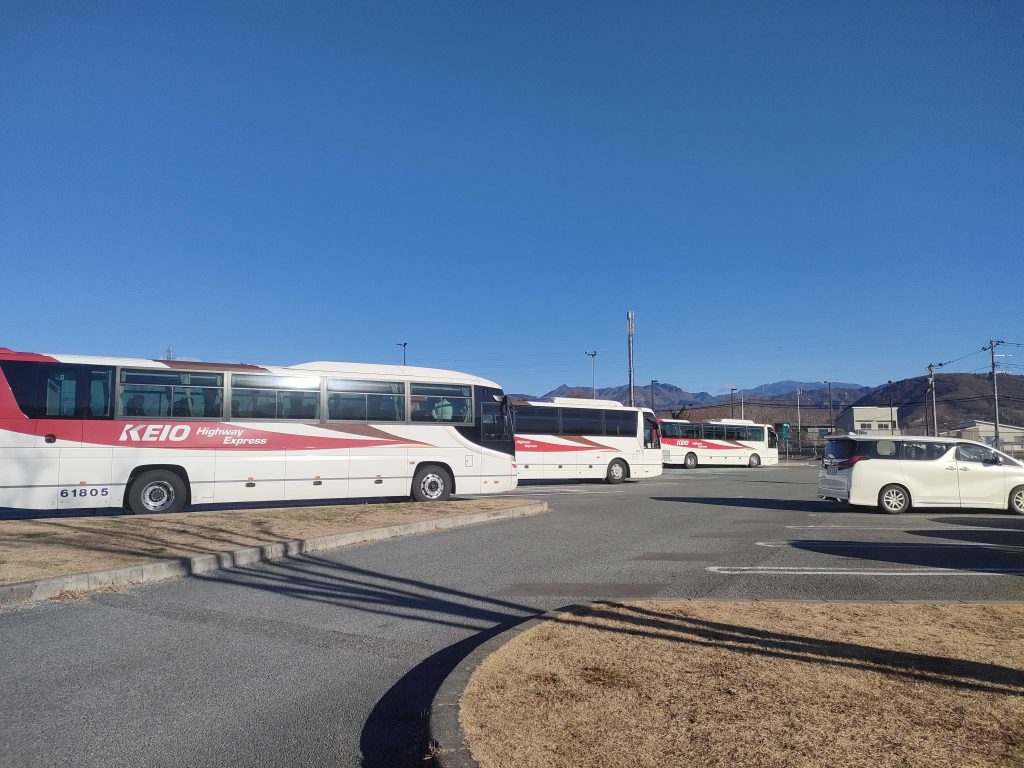
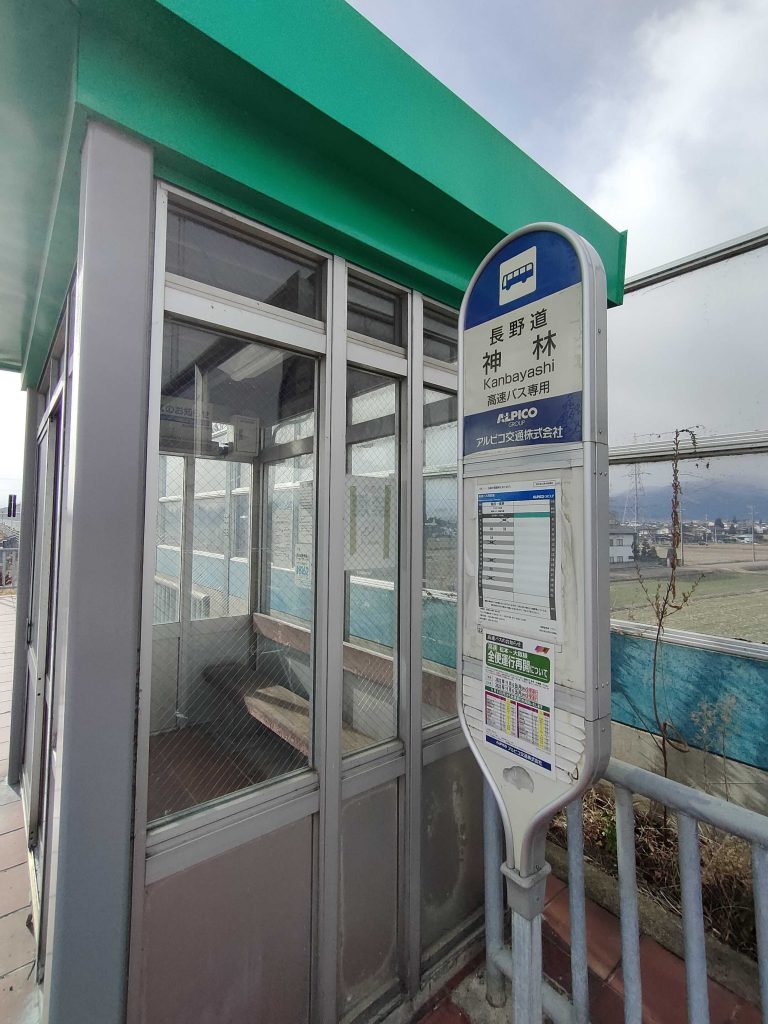
10:04 Arrive at Kanbayashi, Nagano 4 minutes earlier than scheduled. Get off the highway bus.
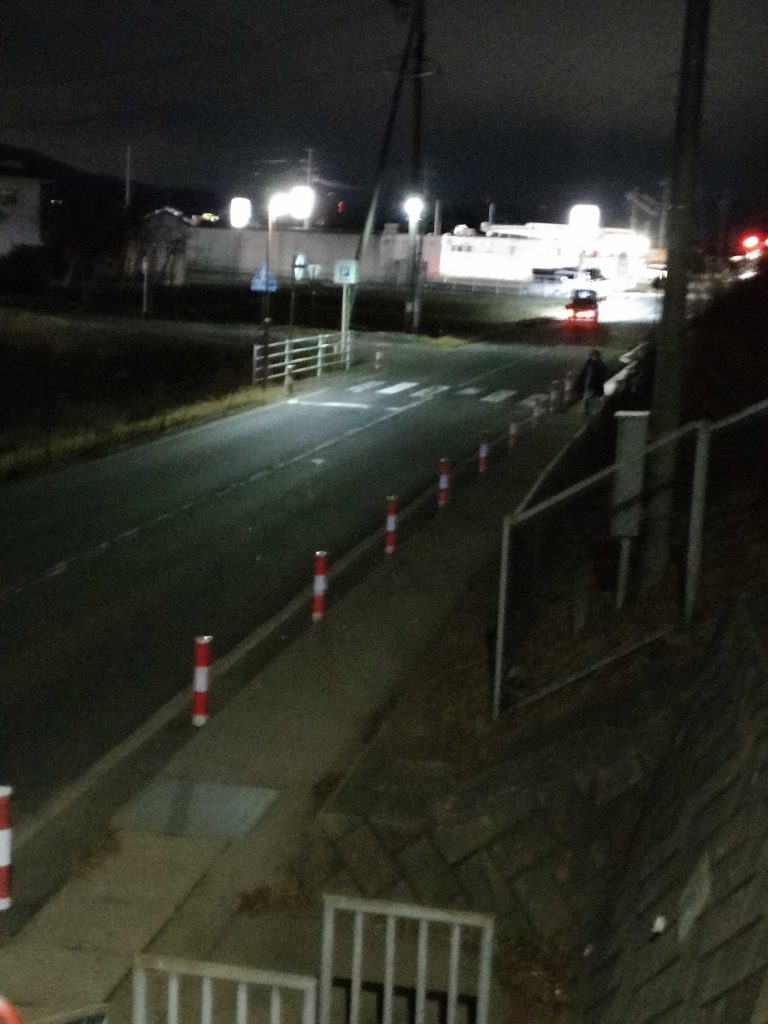
Around the Kanbayashi bus stop on Nagano Road… There is nothing…it is a relaxing view with fields spread out.
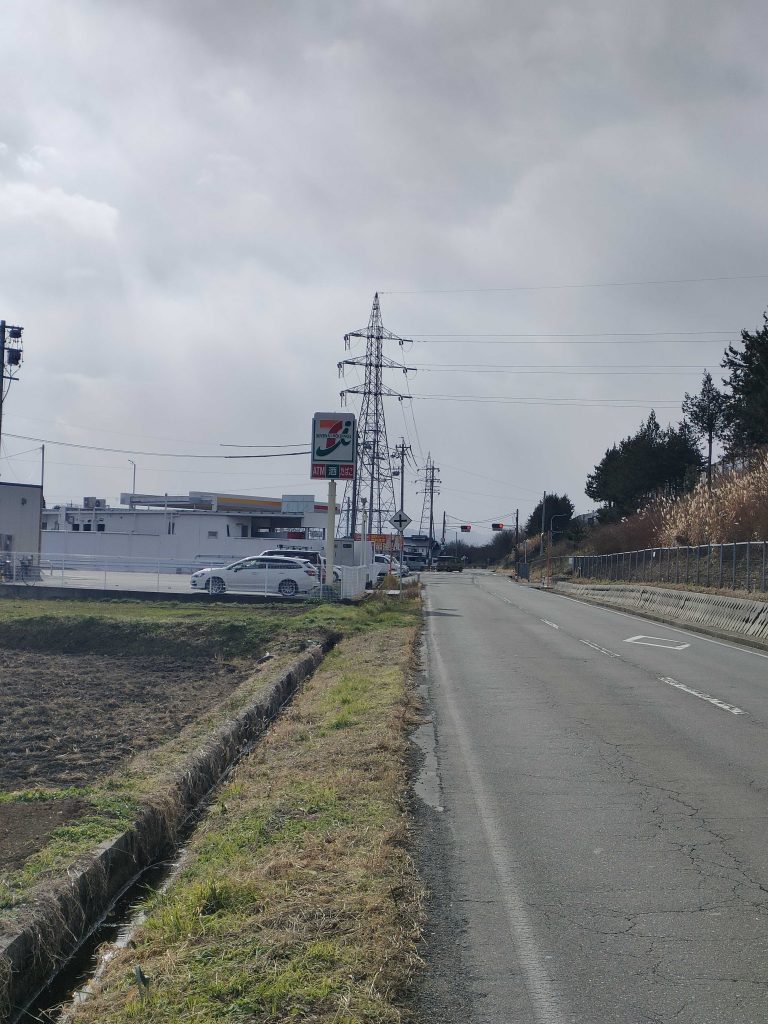
I wonder if there really is a car rental agency here… I looked at Google Map with some anxiety and found a convenience store (7-Eleven) and a gas station right next to it. The Nico Nico Rent-A-Car is attached to this gas station.
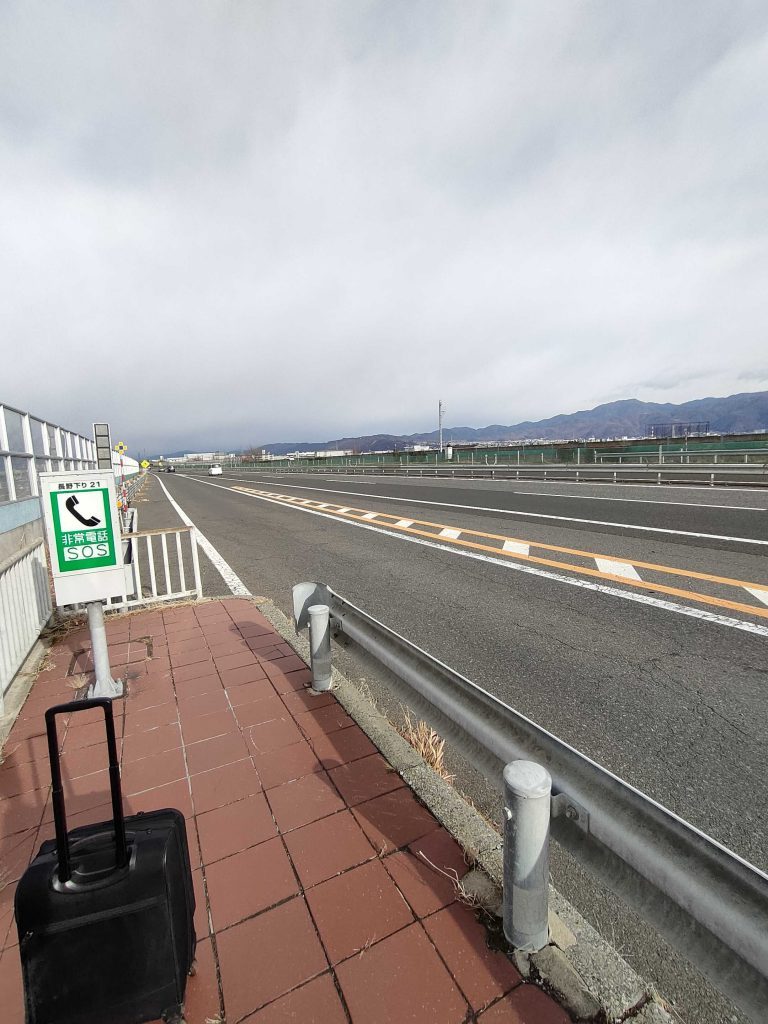
Exit the highway onto the public road and turn left (south). As soon as you pass under the highway, you will see a 7-Eleven and a gas station on your right.
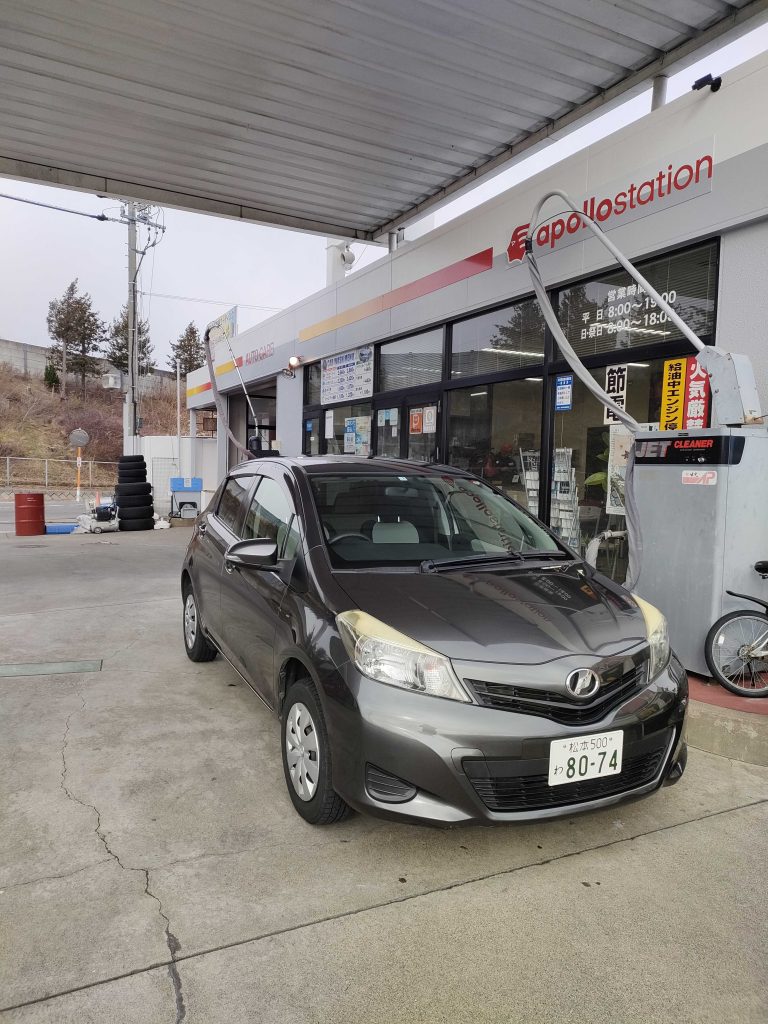
Easily reach a gas station. This is the rental car procedure in this store. The receptionist was kind and courteous. The car is a little older. It appears to be safe to drive. Fees are also reasonable.
Once you have set your navigation system, you are ready to go. This time, since our business was in the Kamikochi area, it was advantageous to avoid the congestion in downtown Matsumoto.
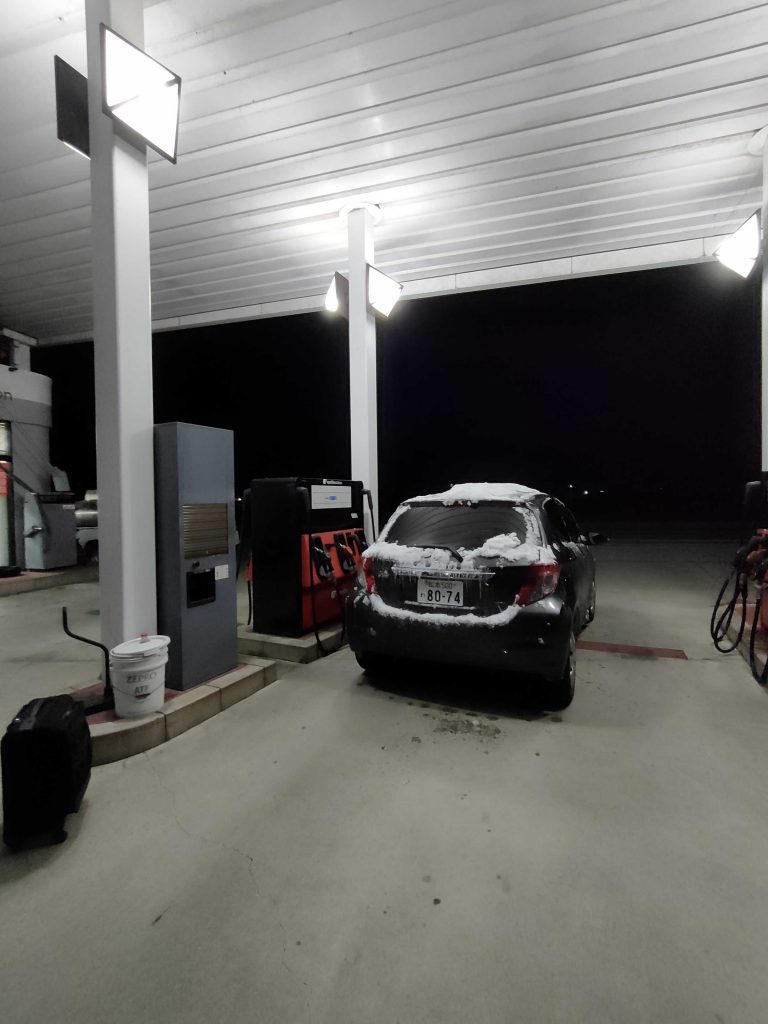
17:57 Arrival and return procedures while refueling
A gas station is attached to the building, making it convenient for fueling up when returning the car.
The highway bus stop “Nagano-dojinbayashi” is about a 2-3 minute walk away.
The disadvantage is that there are few stores and restaurants along the highway. There is a 7-Eleven next door, but there is no souvenir shop or cafe, so there is no place to adjust your time.
I also finished returning my rental car 30 minutes before the bus departure time.
It is completely dark, and you have to wait for the express bus at a bus stop on the highway in winter. However, the staff of Nico Nico Rent-a-Car told me, “The bus stop is just around the corner and it is cold outside, so please take a break inside the store until it’s time to go.” I decided to use a chair and table inside the store until the time was up. It was warm and comfortable.
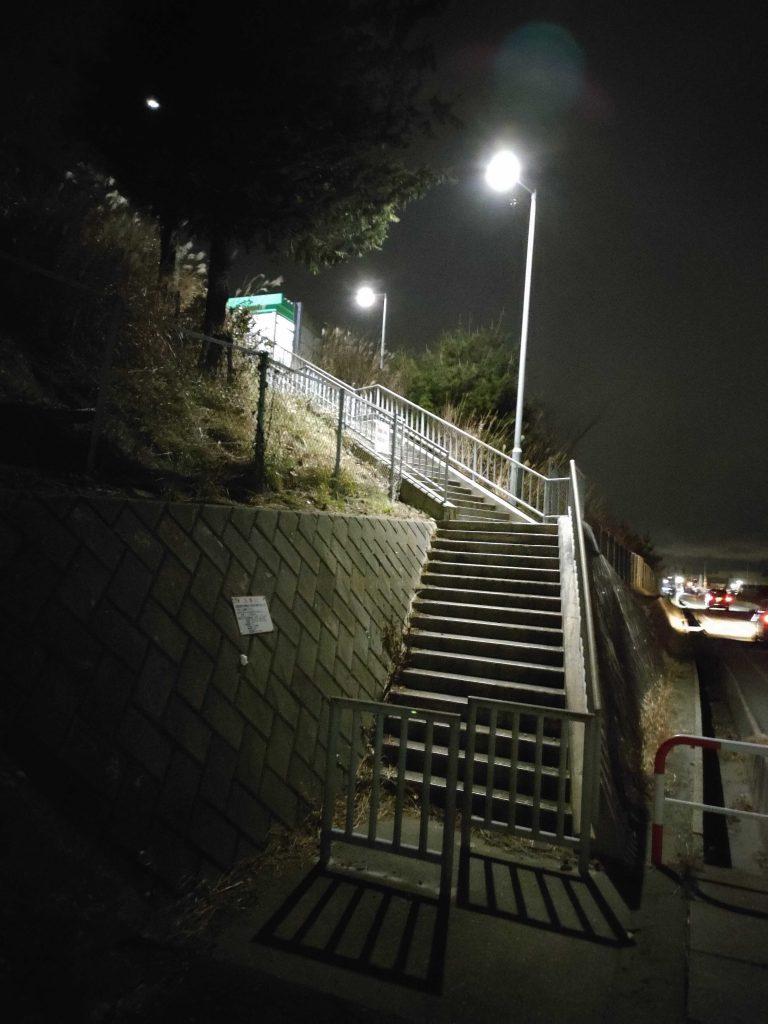
18:30 Depart from the store and go to the bus stop on the highway.
18:32 Arrive at the entrance to the bus stop. Climb the stairs toward the highway, turn around, and you will see a Nico Nico Rent-a-Car store and a 7-Eleven right there. It’s right under your nose.
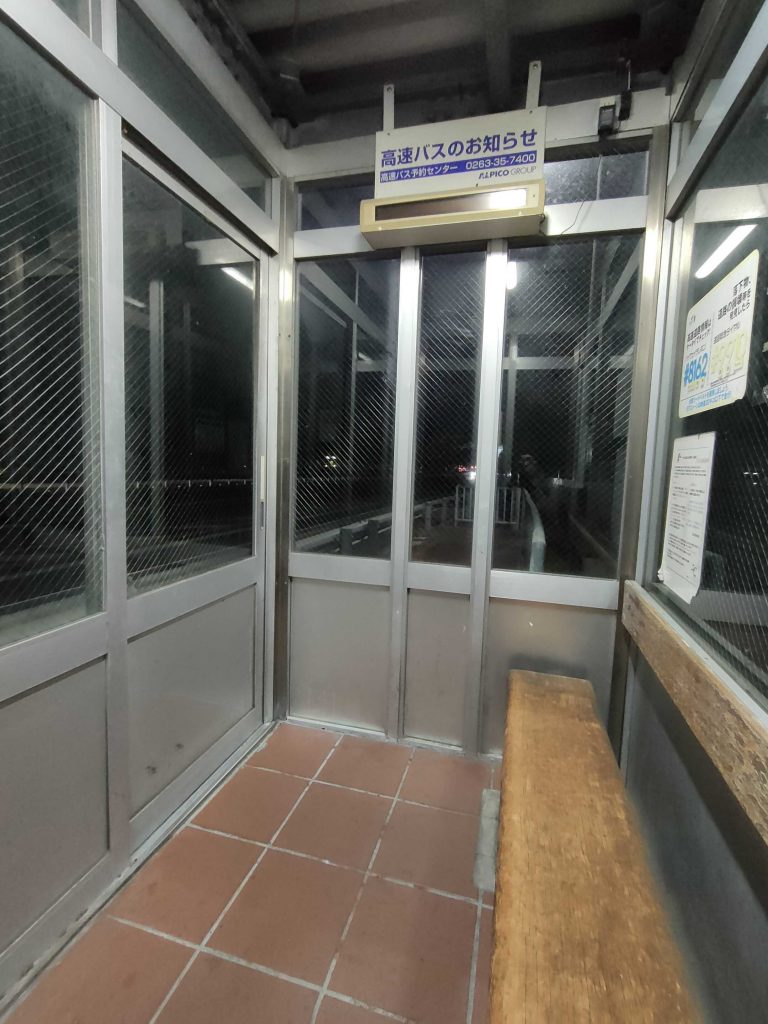
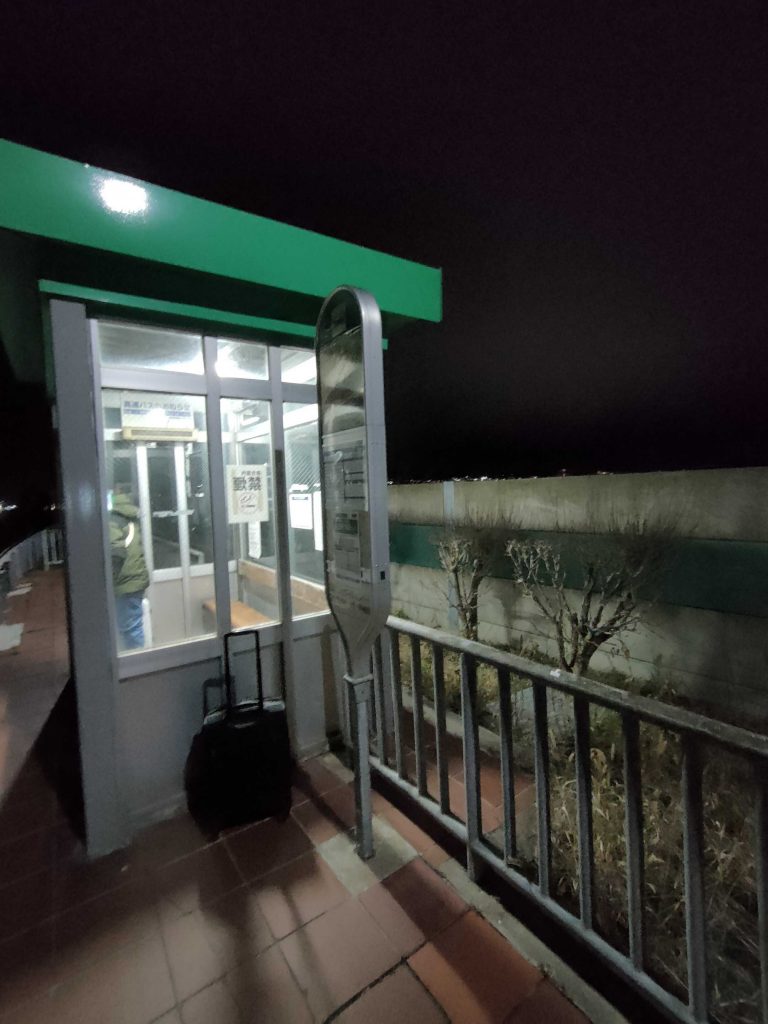
First, the bus stop at Kanbayashi on Nagano Road It is different from bus stops in Tokyo and is designed for cold climates. The waiting room has a door.
The feet and ceiling are also sealed to protect from rain and wind. ^^ Moreover, it is clean and safe.
18:43 The bus to Shinjuku arrived 7 minutes later than scheduled. Boarded an express bus and departed for Tokyo!
I’m toasting alone with beer and snacks I bought at 7-Eleven ^^.
Express buses make approximately 20 round trips daily between Shinjuku ⇔ Shinbayashi-Matsumoto Bus Terminal in Nagano Province!
For details and reservations, please contact [ highway-bus.com ].
Updated March 25, 2024 Updated February 19, 2024 Updated February 8, 2024 Updated December 18, 2023
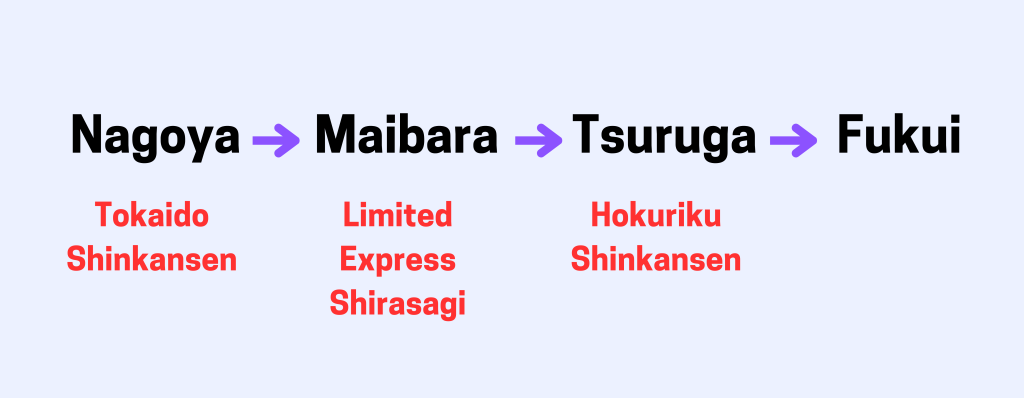
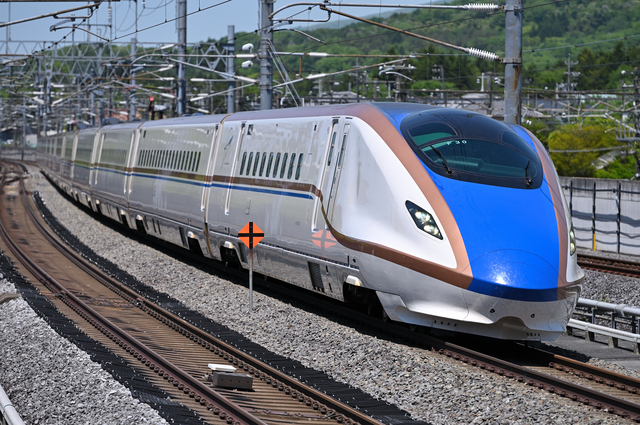
March 16, 2024, Kanazawa-Tsuruga of Hokuriku Shinkansen line opens! Tokyo is now conveniently connected to Fukui and Tsuruga by a single Shinkansen line. But how will this new shinkansen affect the travel between Nagoya and places like Fukui and Kanazawa?
Until March 15, 2024, there were three main ways to travel between Nagoya and Fukui by public transportation.
(1) Nagoya – (Limited Express Shirasagi) ➡ Fukui/Kanazawa (2) Nagoya – (Tokaido Shinkansen) – Maibara – (Limited Express Shirasagi) ➡ Fukui/Kanazawa (3) Nagoya – (highway bus) ➡ Fukui/Kanazawa
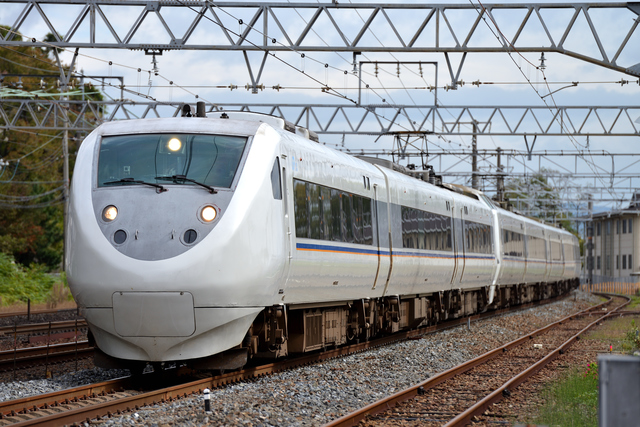
With the extension of the Hokuriku Shinkansen line between Kanazawa and Tsuruga on March 16, 2024, the limited express train “Shirasagi” will be shortened to Nagoya, Maibara and Tsuruga.
Method 1: Going by train
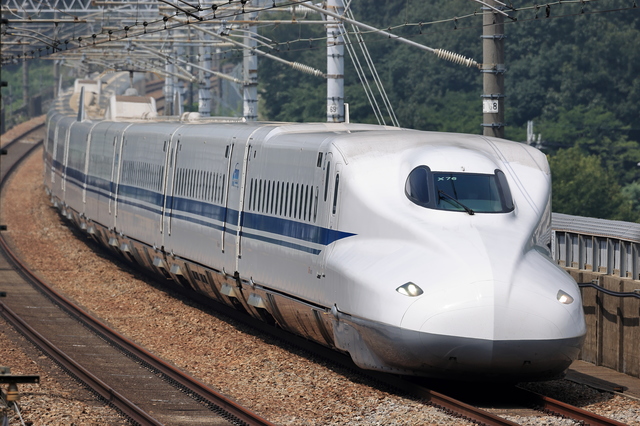
There are two lines you can use to get to Fukui, Tsuruga, and Kanazawa. ①Nagoya – ( Limited Express Shirasagi) ②Nagoya – ( Tokaido Shinkansen) – Maibara – (Limited Express Shirasagi)
In addition, JR West announced that:
①Nagoya – (Limited Express Shirasagi) – Tsuruga – (Hokuriku Shinkansen) – Fukui The express fare for the route “1” has increased by 1,150 yen to 6,960 yen, and the travel time has shortened by about 3 minutes.
②Nagoya – (Limited Express Shirasagi) – Tsuruga – (Hokuriku Shinkansen) – Kanazawa The express fare for the route “1” has increased by 1,620 yen to 9,080 yen, and the travel time has shortened by 16 minutes on average.
If time is your top priority , we recommend you using the Tokaido Shinkansen and the Hokuriku Shinkansen at Nagoya Station and Tsuruga. The following route takes 1 hour and 33 minutes.
Limited Express Shirasagi + Hokuriku Shinkansen About 2 hours and 11 minutes (average)
Tokaido Shinkansen + Limited Express Shirasagi + Hokuriku Shinkansen about 1 hour and 42 minutes (average) Fastest time: 1 hour and 33 minutes
About 2 hours and 40 minutes (From/to JR Nagoya Station)
First departure (of the day) From Nagoya / From Fukui
Nagoya 7:11 (Kodama + transfer at Yonehara) Nagoya 7:51 (direct) / Departure from Fukui 6:36 From Fukui (transferring to Yonehara) 7:38
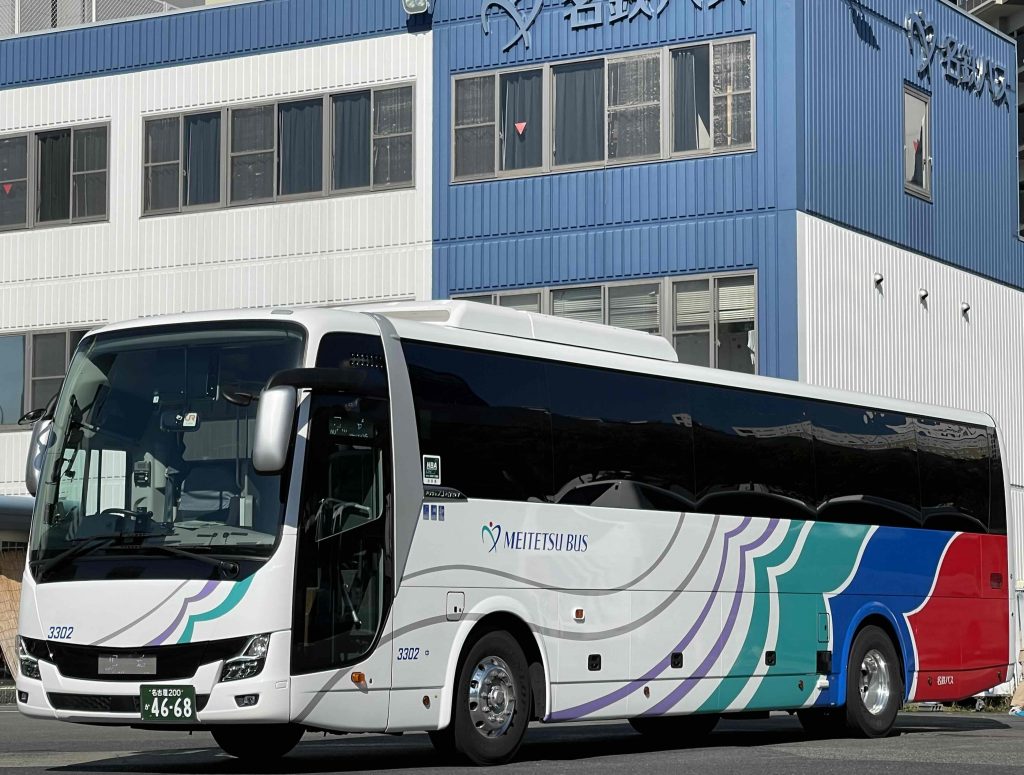
Meitetsu Bus Center 7:00 Nagoya station 7:15 / Fukui station 6:00
Final departure From Nagoya / From Fukui
Nagoya 19:48 (direct) Nagoya 21:15 (Hikari + transfer at Maibara) / Departure from Fukui 19:42 From Fukui (transferring to Yonehara) 21:32
Meitetsu Bus Center 20:00 Nagoya station 20:15 / Fukui station 20:00
Charge
Limited Express Shirasagi + Hokuriku Shinkansen Normal Fare 6,960 yen / one way WEB Early Special 7 (Can be purchased up to 7 days prior to the date of use) Limited number of seats 5,690 yen/one way — Tokaido Shinkansen + Limited Express Shirasagi + Hokuriku Shinkansen Normal Fare 7,730 yen / one way WEB Early Special 7 (Can be purchased up to 7 days prior to the date of use) Limited number of seats 5,690 yen/one way Smart EX+ [EX service only]. connection (interline) ticket 5,590 yen / one way
3,600 yen / one-way purchase 6,500 yen/round trip purchase
Number of transfers
1 or 2 times
0 times
Amount of trains
Approx. 8 round trips (direct) About 7 round trips (transferring at Yonehara)
10 round trips
Rest stops on the way
Transfer at Tsuruga Station Transfer time is 8-19 minutes When using the Tokaido Shinkansen Transfer time at Yonehara is about 7 to 30 minutes.
Shokugatake SA *Subject to change.
Equipment
Railroad
Highway bus
Limited Express Shirasagi
Hokuriku Shinkansen
Toilet
〇
〇
〇
Wifi
✖
〇
〇 *Depends on the operating company There are cases where
Power (button on TV, etc.)
✖
〇
〇
Service
Railroad
Highway bus
Online Reservations
△ From the following WEB site Possible, but JR West’s For services, To pick up tickets Restrictions. Outing Net
If price, transfers, and effective use of travel time are important to you
No transfers, wi-fi and power supply in place. Express buses are recommended. Express buses without transfers are also recommended when luggage is large.
>>Highwaybus.com for Nagoya – Fukui Expressway Bus Reservations
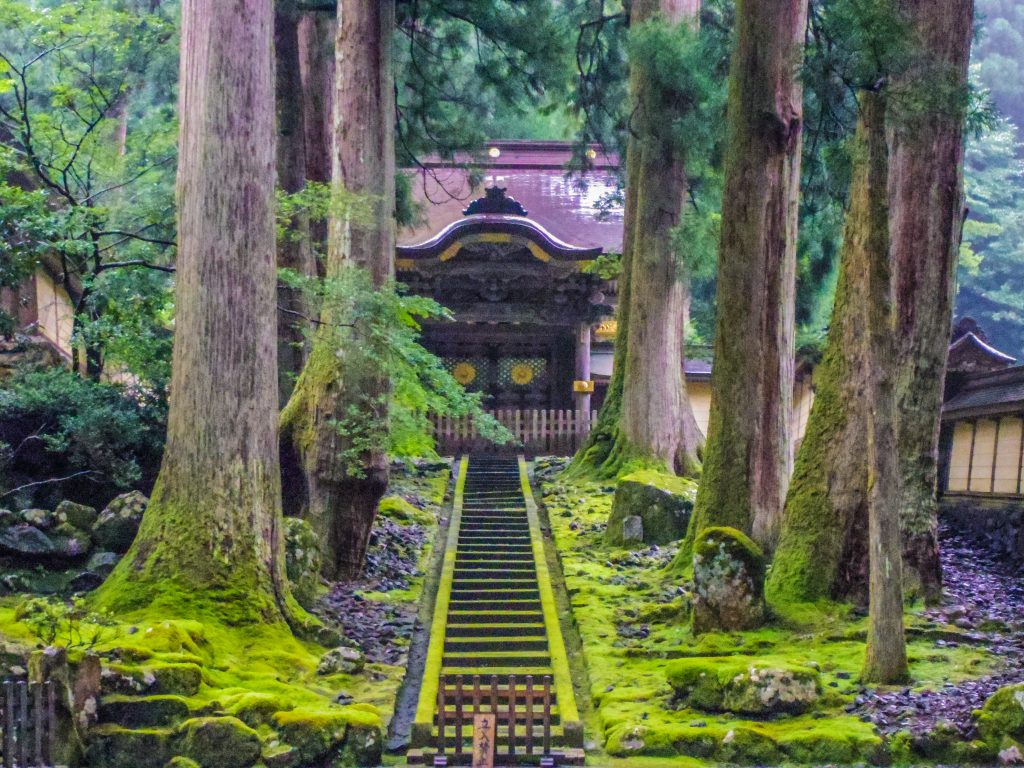
At Eiheiji Temple, many monks practice Zen day and night, giving visitors a sense of the faith and culture of the Soto sect of Zen Buddhism. The vast grounds are also home to many beautiful architectural structures and Buddhist statues, such as the Picture Ceiling Room and the Bodhisattva of the Holy Avalokitesvara Bodhisattva. Eiheiji is a fascinating place where nature, history, and modernity are in harmony. Going here can quiet your mind away from the hustle and bustle of daily life through Zen meditation and sutra copying.
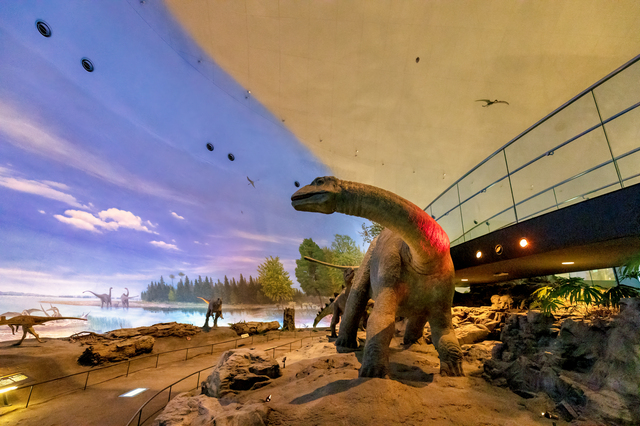
The Fukui Prefectural Dinosaur Museum is one of the world’s three major dinosaur museums, with some 40,000 exhibits including actual fossils, full-body skeletons, and moving dinosaur robots. It is a place where visitors can see, touch, and learn about the fascination of dinosaurs.
How to get to Fukui Prefectural Dinosaur Museum from Nagoya
About 3 hours and 45 minutes (From/to JR Nagoya Station)
First departure (of the day) From Nagoya / Departure from Kanazawa
Nagoya 7:11 (Kodama + transfer at Yonehara) Nagoya 7:51 (direct) / Departure from Kanazawa 6:00 From Kanazawa (transferring to Yonehara) 7:02
Meitetsu Bus Center 7:30 Nagoya station 7:45 / Kanazawa Station 6:30
Final departure From Nagoya / Departure from Kanazawa
Nagoya 19:48 (direct) Nagoya 21:15 (Hikari + transfer at Maibara) / Departure from Kanazawa 19:06 Kanazawa Departure (transferring to Yonehara) 20:56
Meitetsu Bus Center 19:30 Nagoya station 20:15 / Kanazawa station 18:00
Price
Limited Express Shirasagi + Hokuriku Shinkansen Normal Fare 9,080 yen / one way WEB Early Special 7 (Can be purchased up to 7 days prior to the date of use) Limited number of seats 8,170 yen/one way — Tokaido Shinkansen + Limited Express Shirasagi + Hokuriku Shinkansen Normal Fare 9,850 yen / one way WEB Early Special 7 (Can be purchased up to 7 days prior to the date of use) Limited number of seats 8,170 yen/one way Smart EX+ [EX service only]. connection (interline) ticket 8,070 yen / one way
If price, transfers, and effective use of travel time are important to you:
No transfers, wi-fi and power supply in place. Express buses are recommended. Express buses without transfers are also recommended when luggage is large.
>>Highwaybus .com for Nagoya – Kanazawa Expressway Bus Reservations
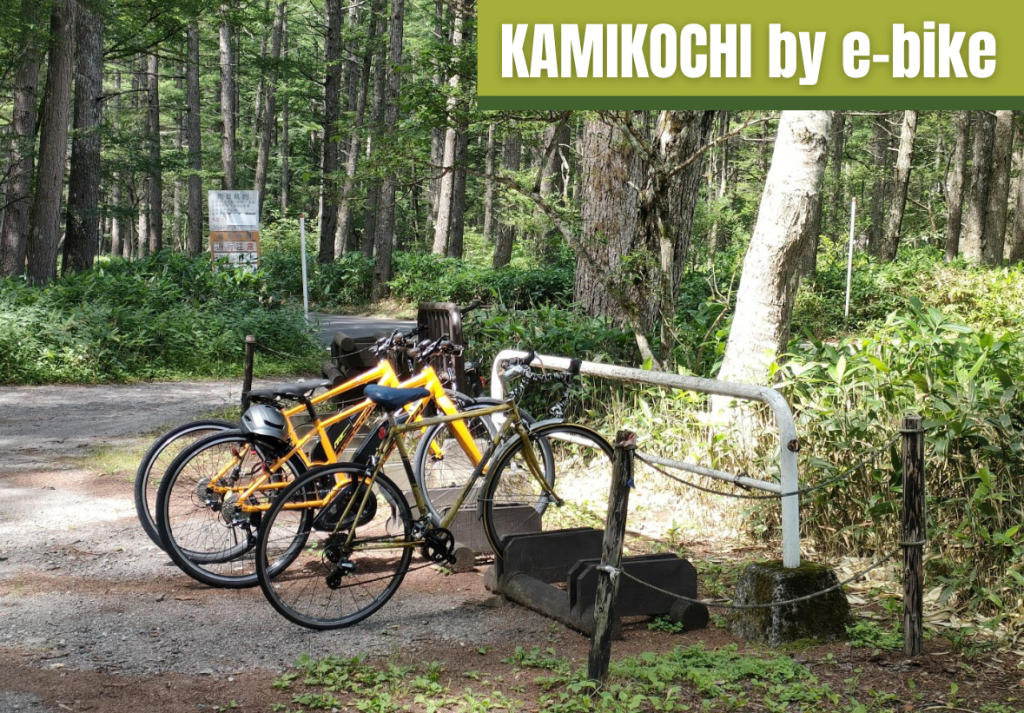
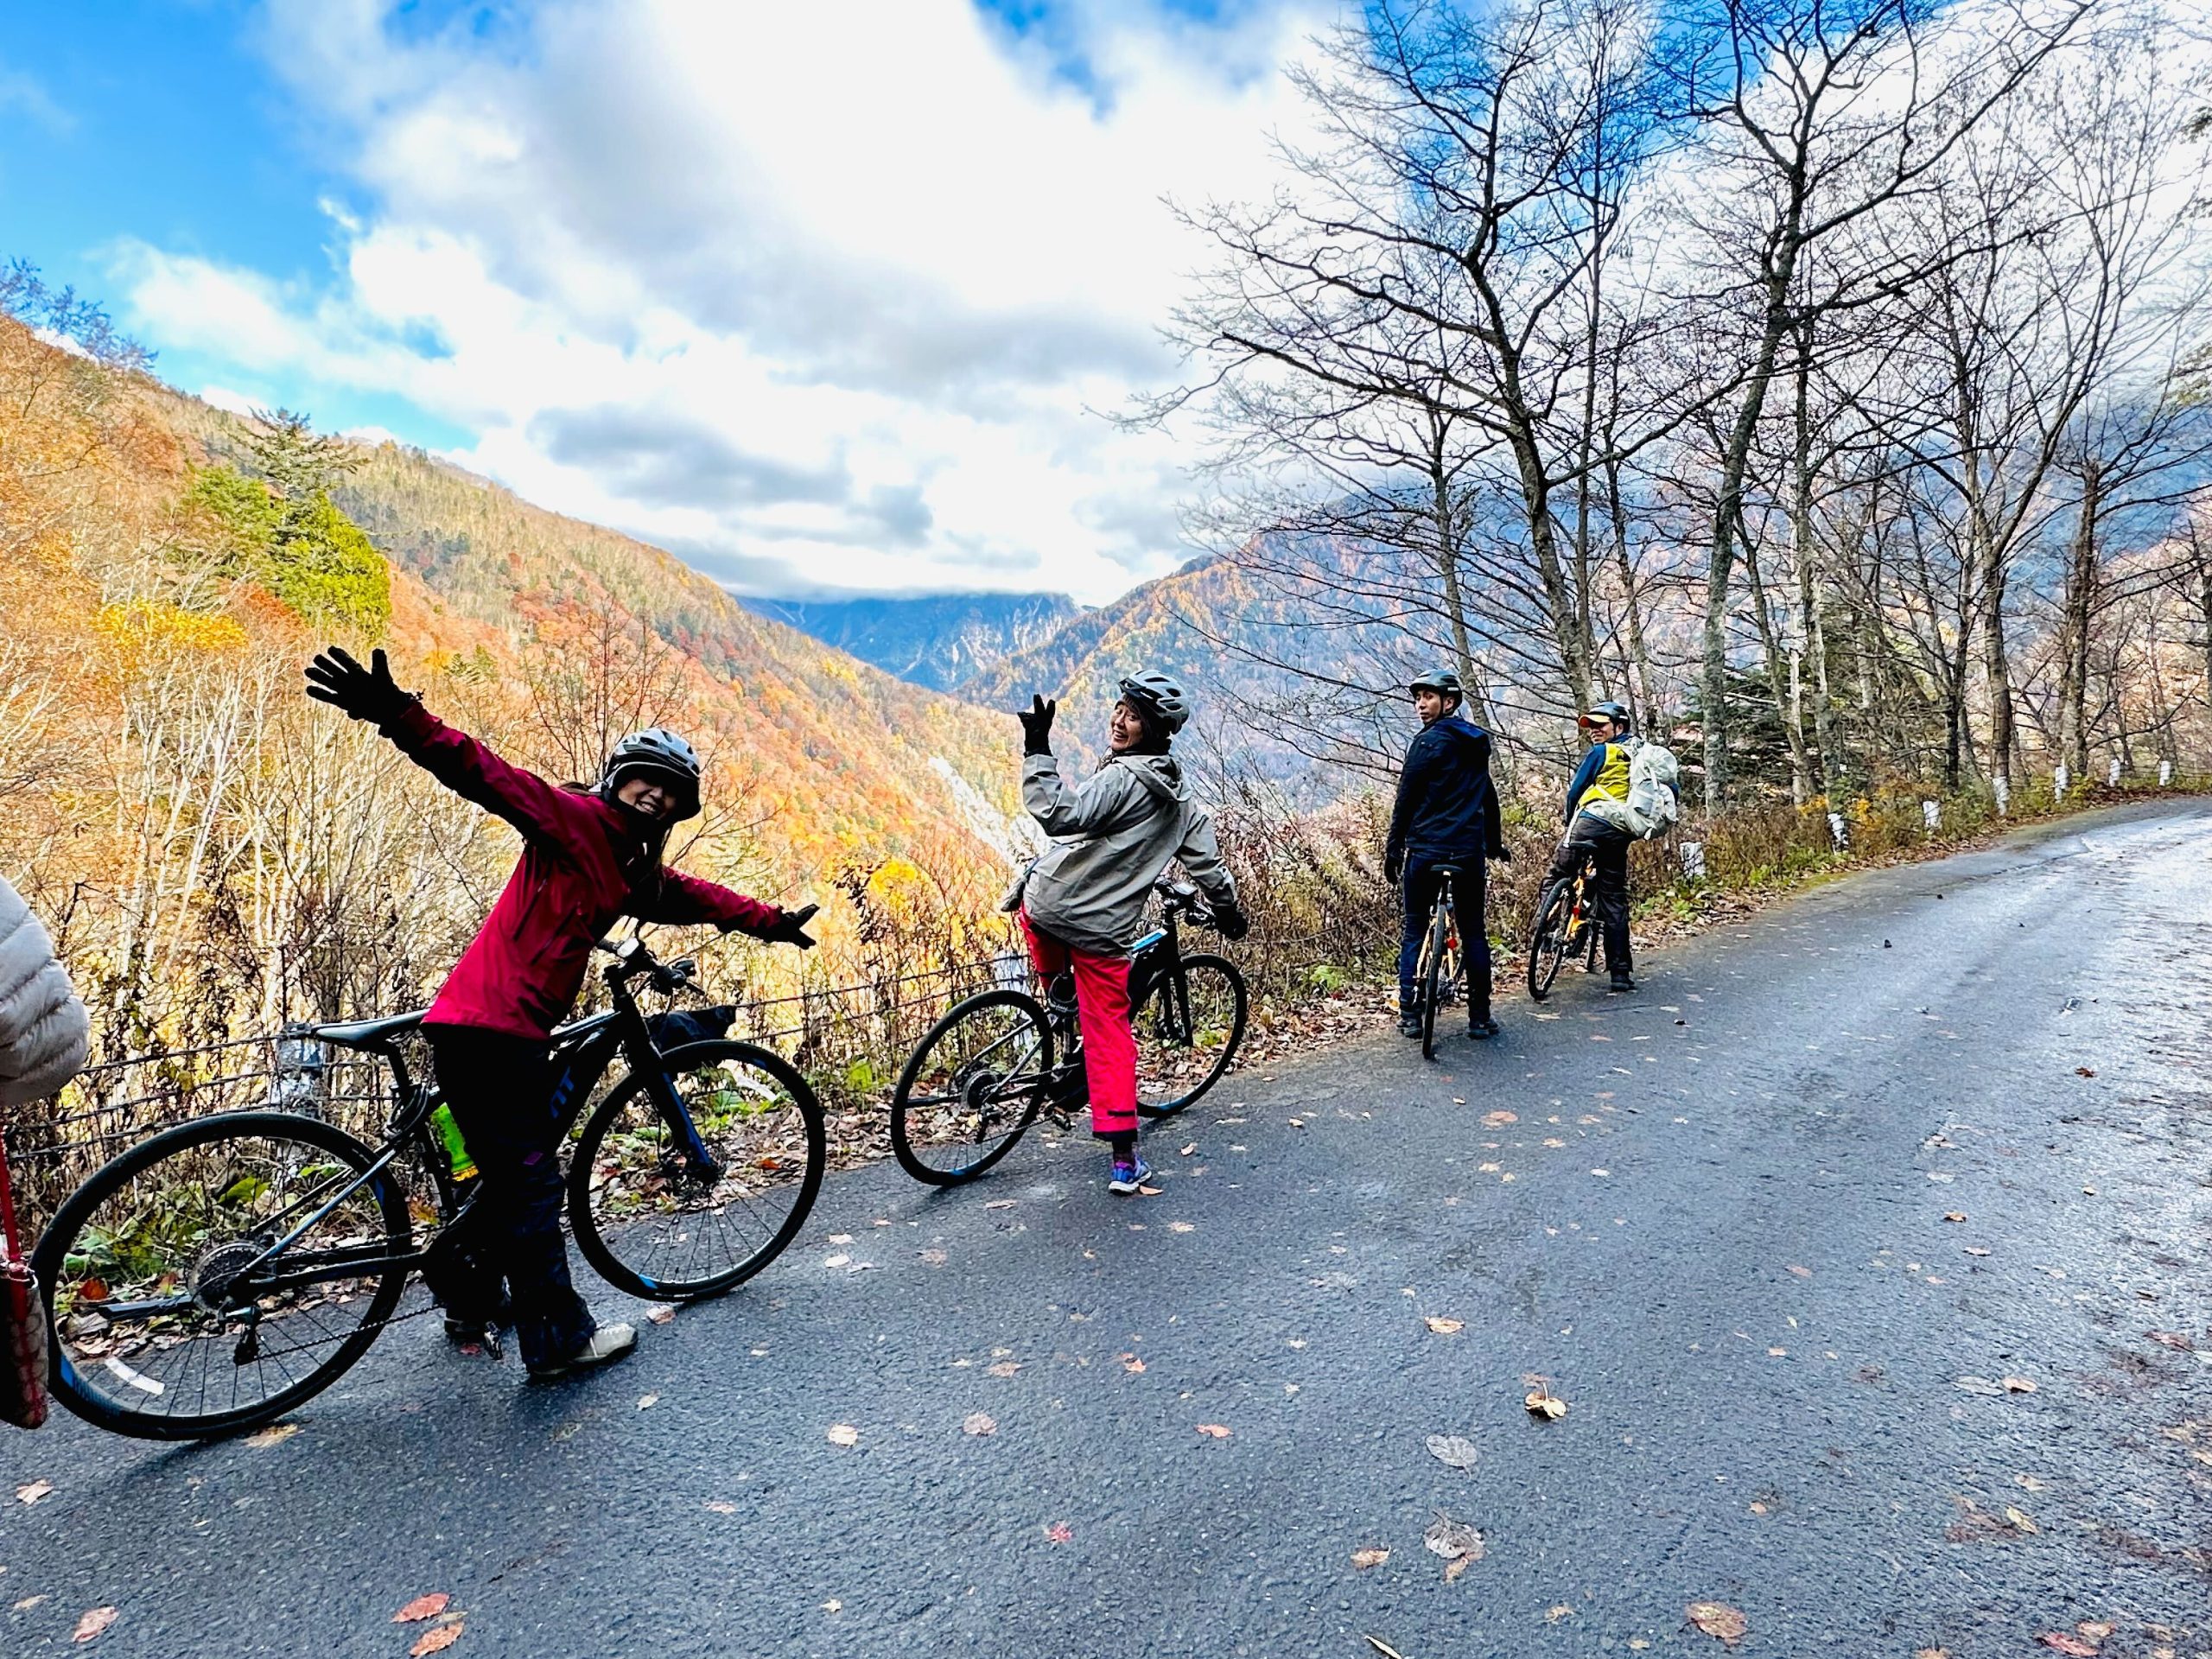
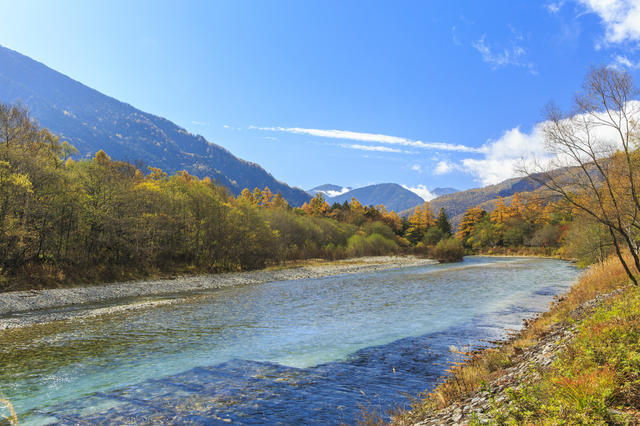
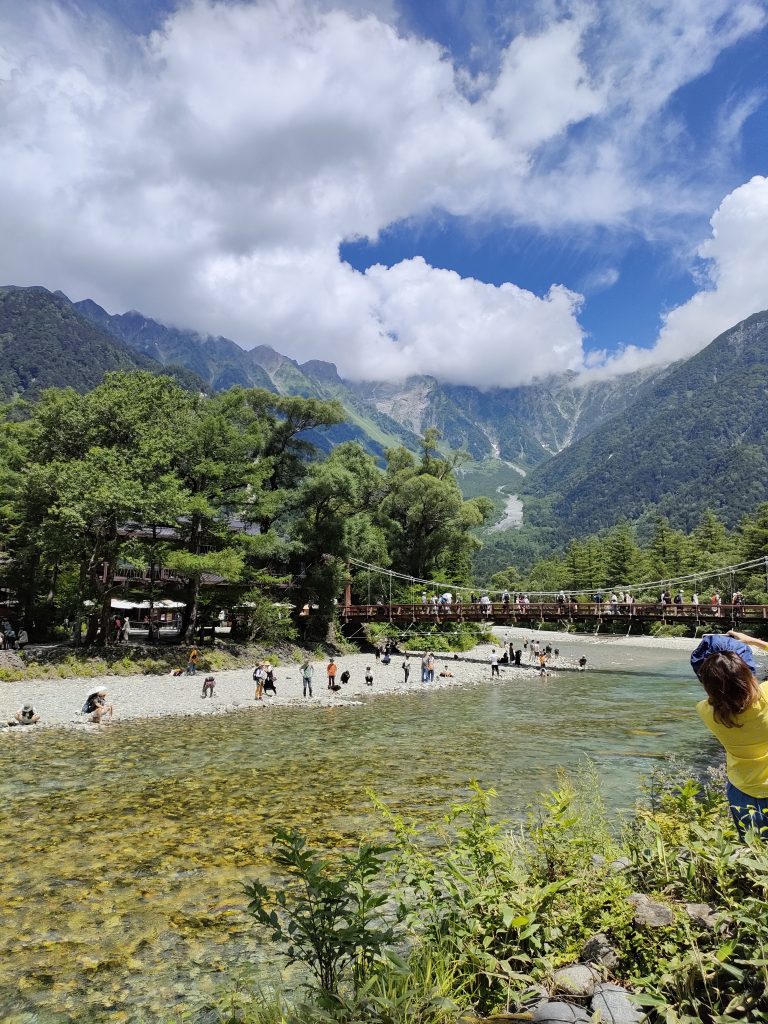
Kamikochi is the southern gateway to the Northern Alps and a hotspot for mountain resorts. For environmental conservation purposes, driving by private car is forbidden, but you can get to Kamikochi by either bus or bicycle. As it is a mountainous area, going by bicycle can be challenging, but the views along the way make it well worth it. We recommend you prepare yourself well in advance before taking on this route.
Gallery
➤View More
Where to rent an e-bike
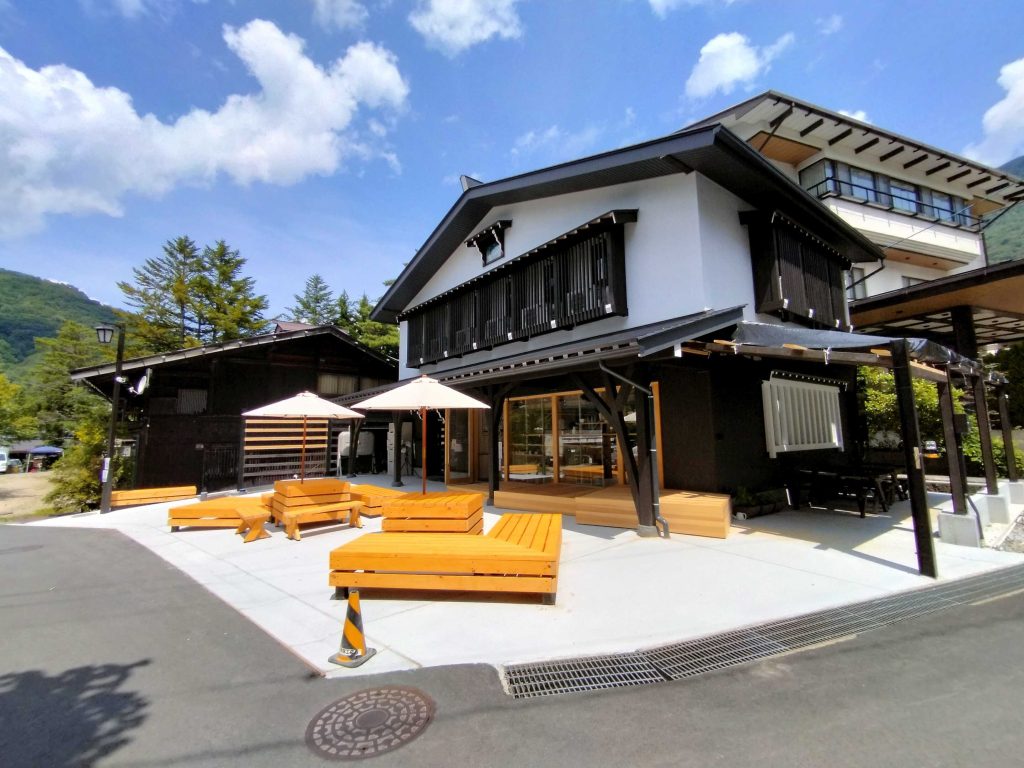
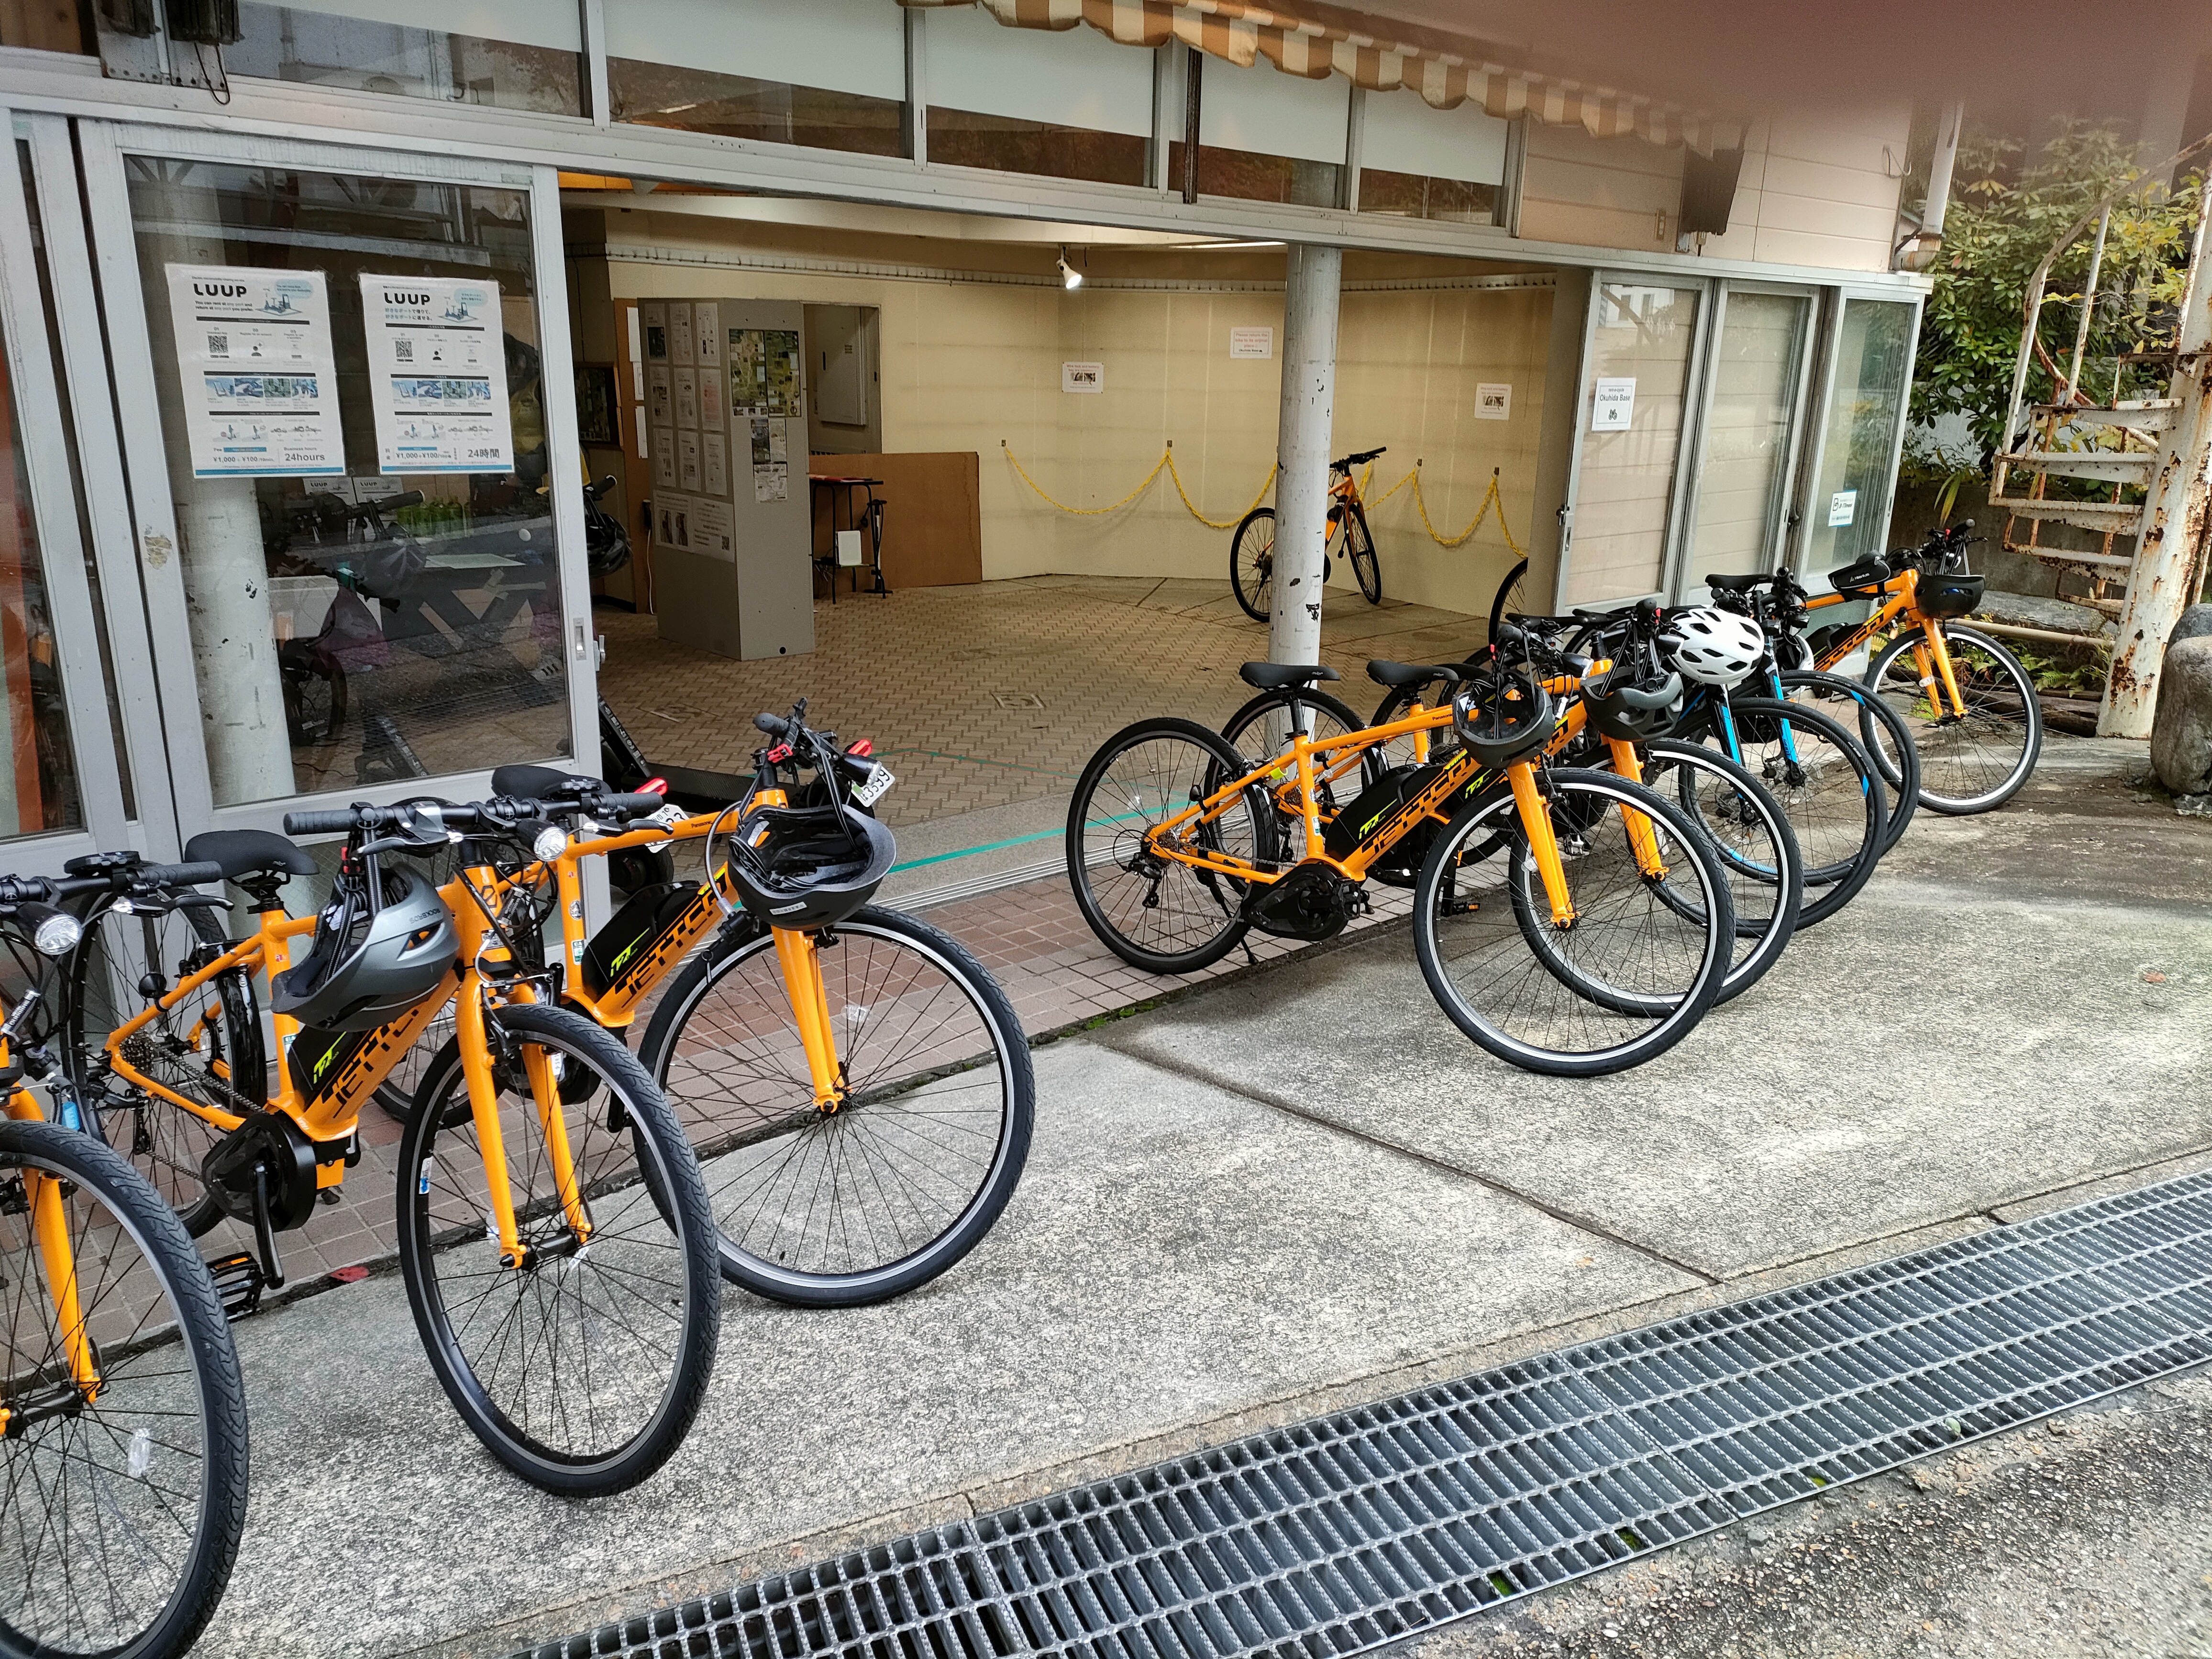
E-bikes can be rented at a small e-bike station called Okuhida Base in Hirayu, Takayama, around a 3 minute walk from Hirayu Bus Terminal. It is connected to the side of the pizza shop and cafe AWAWA HIRAYU. The rental system is completely online and the bicycle can be retrieved contactless starting from 7AM. For more detailed information about the bicycles and reservations, you can visit the Okuhida Base website.
Hirayu Onsen can be reached from either Takayama City or from Matsumoto City. There is also a direct stop here from Shinjuku, Tokyo.
■ From Takayama City: At Takayama Nohi Bus Center, buy a ticket from the ticket machine and board the bus headed to Hirayu Bus Terminal at bus stop #6.
■ From Matsumoto City: Take the bus for Hirayu Onsen at Matsumoto Bus Terminal.
■ From Shinjuku: At Shinjuku Bus Terminal, take the bus going to Takayama and get off at Hirayu Bus Terminal.
1. [START POINT] Hirayu Onsen (a neighborhood in Okuhida) 2. Abo Pass (a curvy road avoiding usual traffic) [elevation 1,790m] 3. Kama Tunnel (a challenging tunnel where elevation increases significantly) [Length: 1,310m Maximum gradient: 10.9%] 4. Taisho Ike Pond (a famous pond in Kamikochi) 5. [END POINT] Kamikochi Bus Terminal (you can park your bike here)
*The Abo Pass (the winding old road on National Route 158) is closed from early November to late June due to snow accumulation.
Google Maps
When routing with google maps, set your destination to Kamikochi Bus Terminal. There will not be an option to route via bike, so instead use the walking route google displays (its the same as the bicycle route). You can also use the map we provided below.
Experience review
7:30 [Pick up the e-bike]
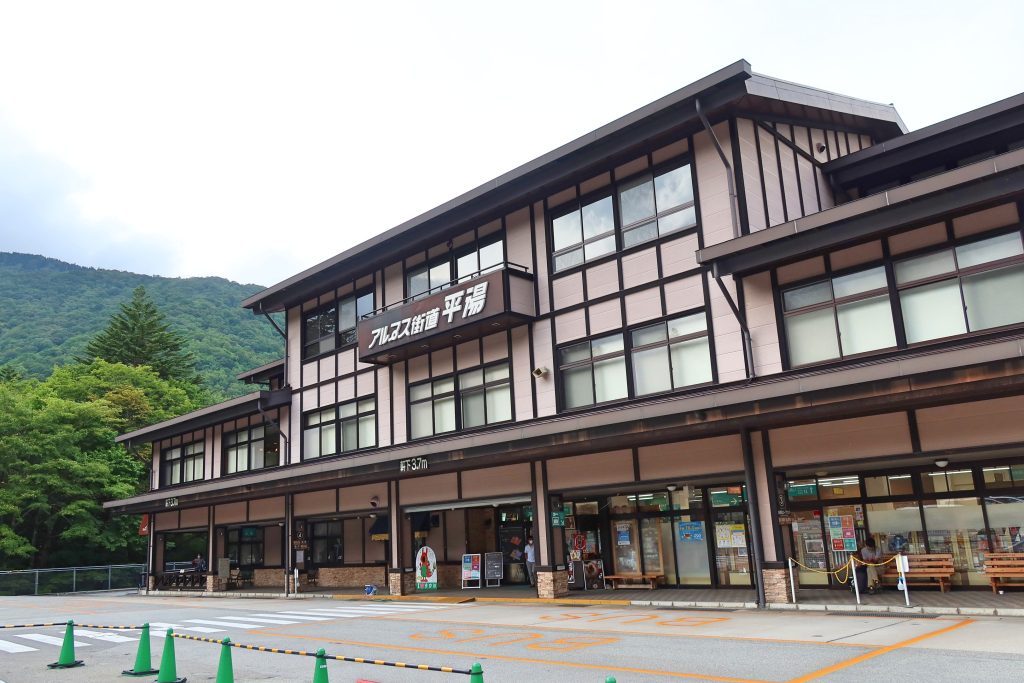
The E-bike rental station is a 3 minute walk from Hirayu Bus Terminal, where direct buses from Shinjuku, Takayama and Matsumoto arrive. Shuttle buses to Kamikochi also arrive and depart from this terminal.
Okuhida Base: This is an unmanned bike rental station with long opening hours. You can rent an e-bike and even an extra battery as early as 7:00 in the morning.
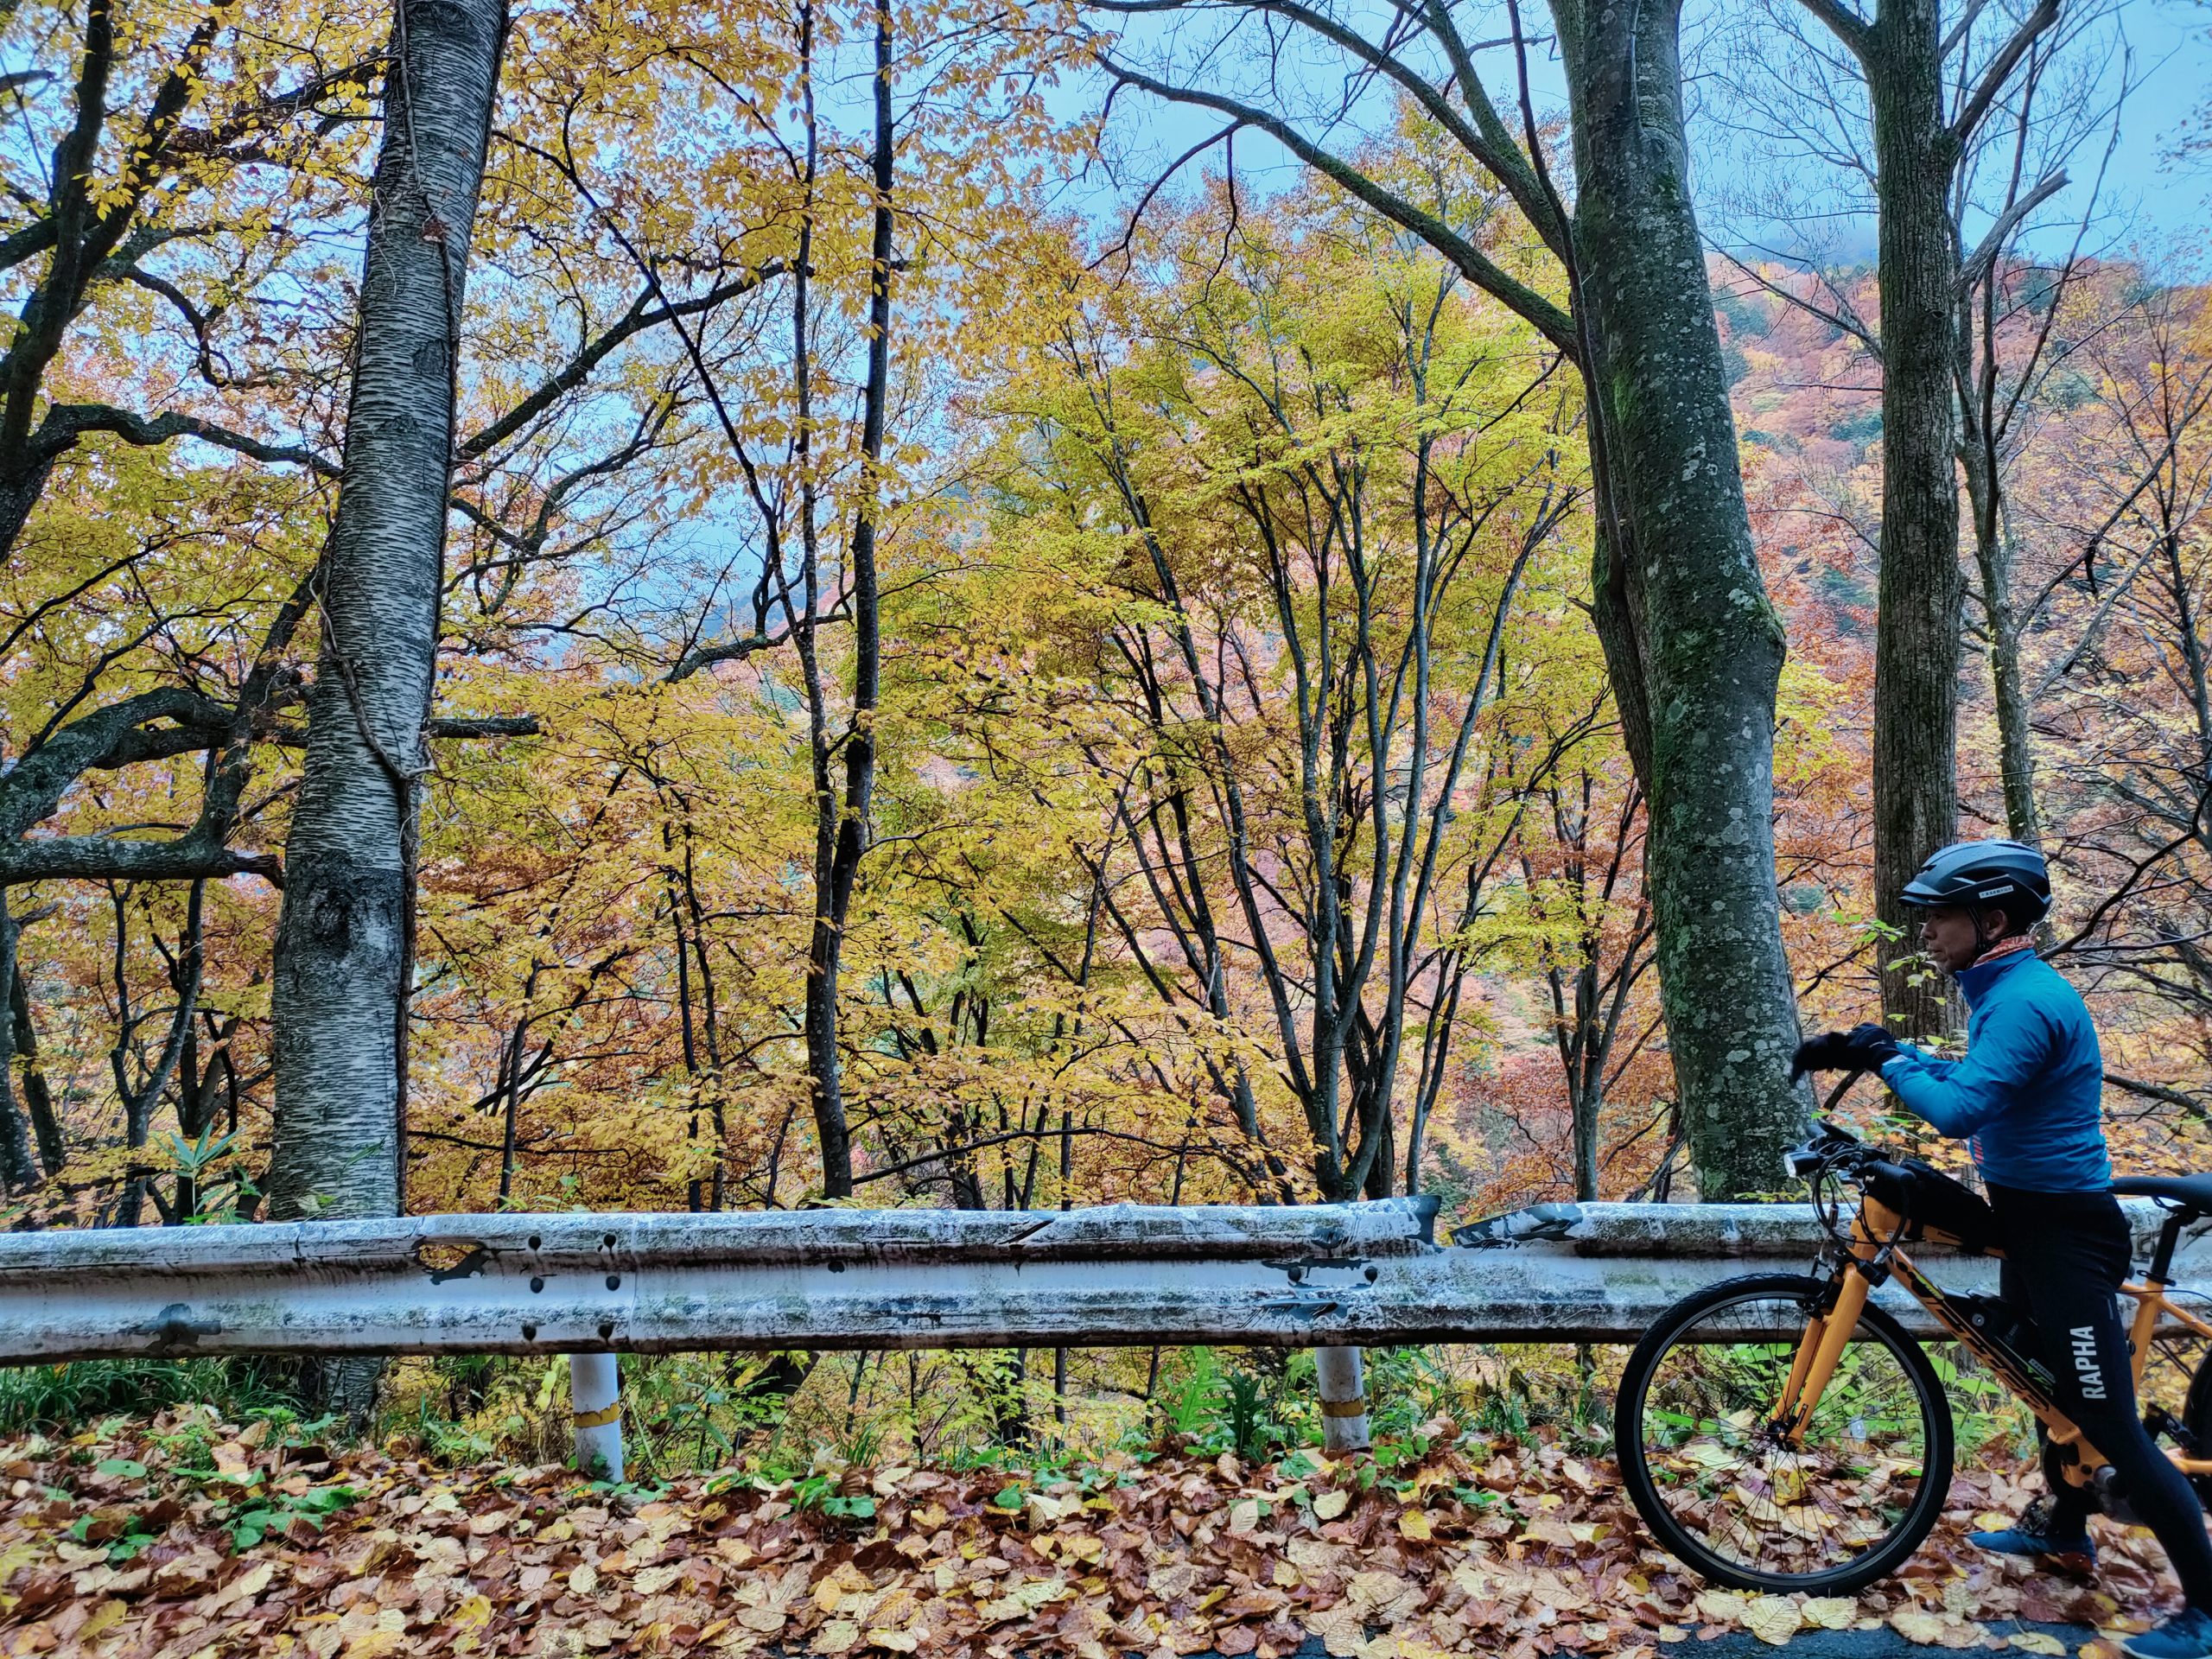
7:45 [Depart from Hirayu Onsen]
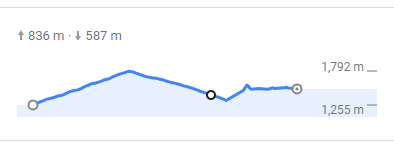
Okuhida Base is located in Hirayu Onsen at an elevation of approximately 1,200 meters above sea level! At a stretch, it raises the elevation about 600 meters.
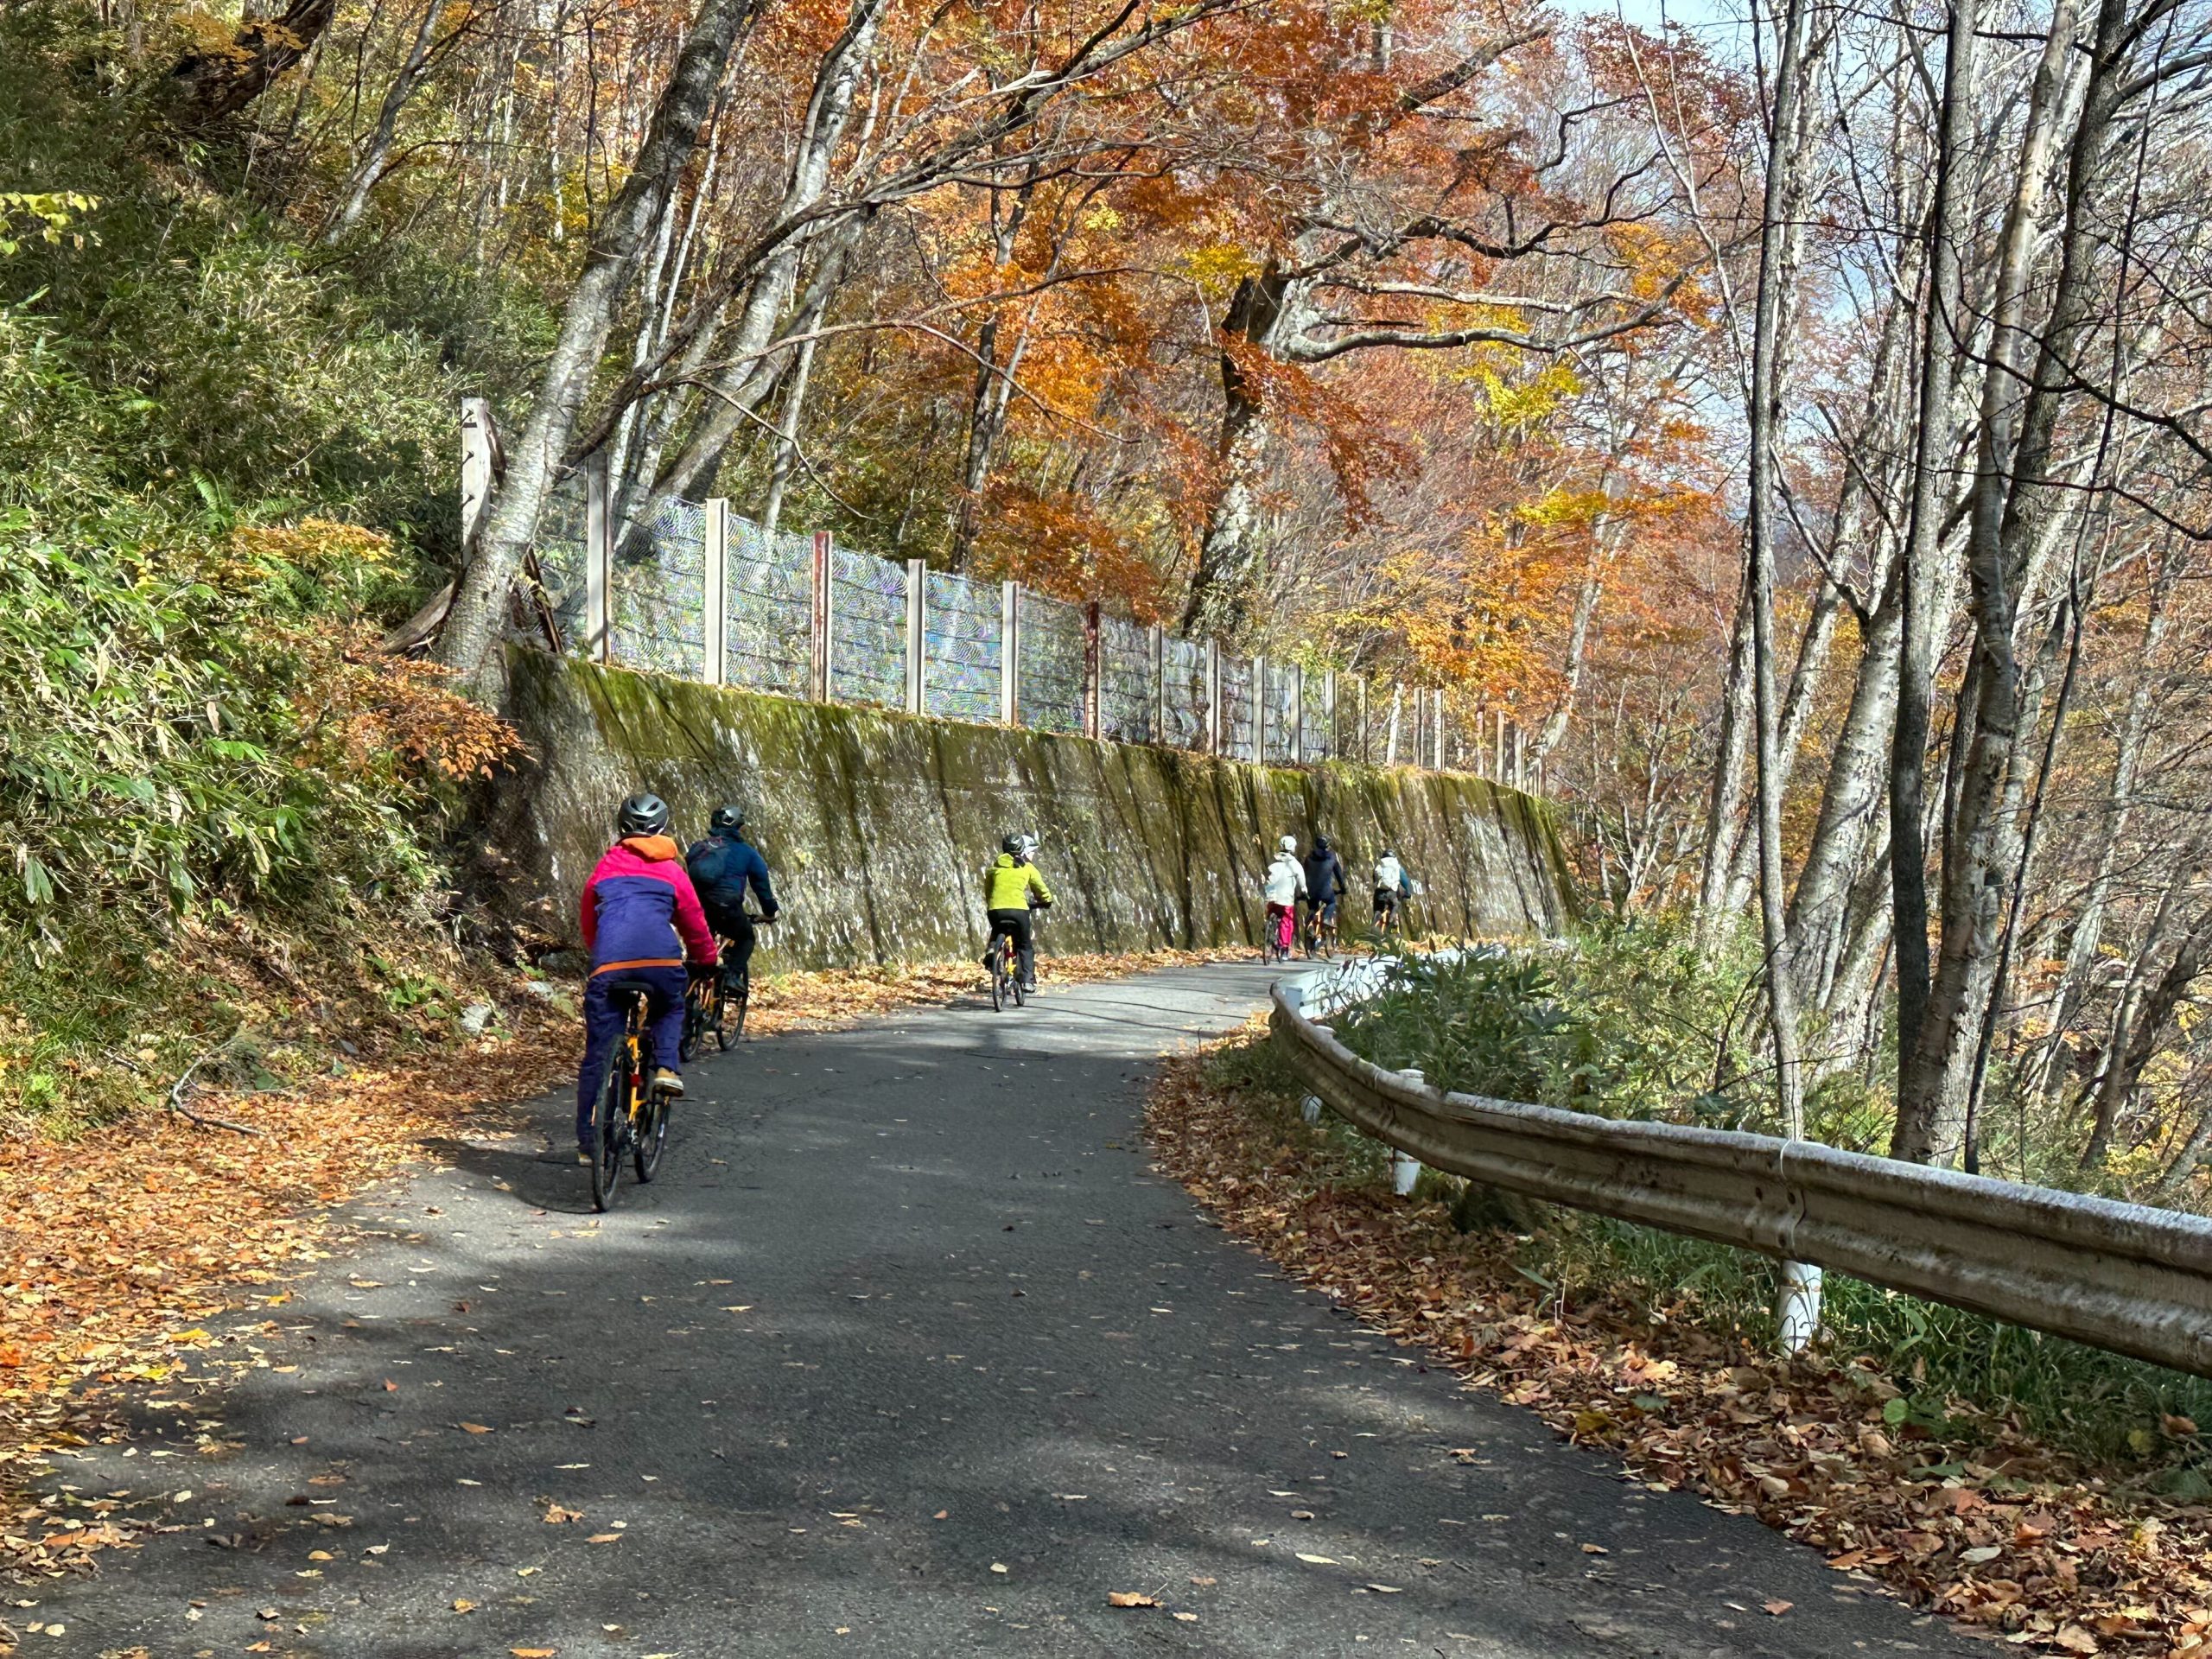
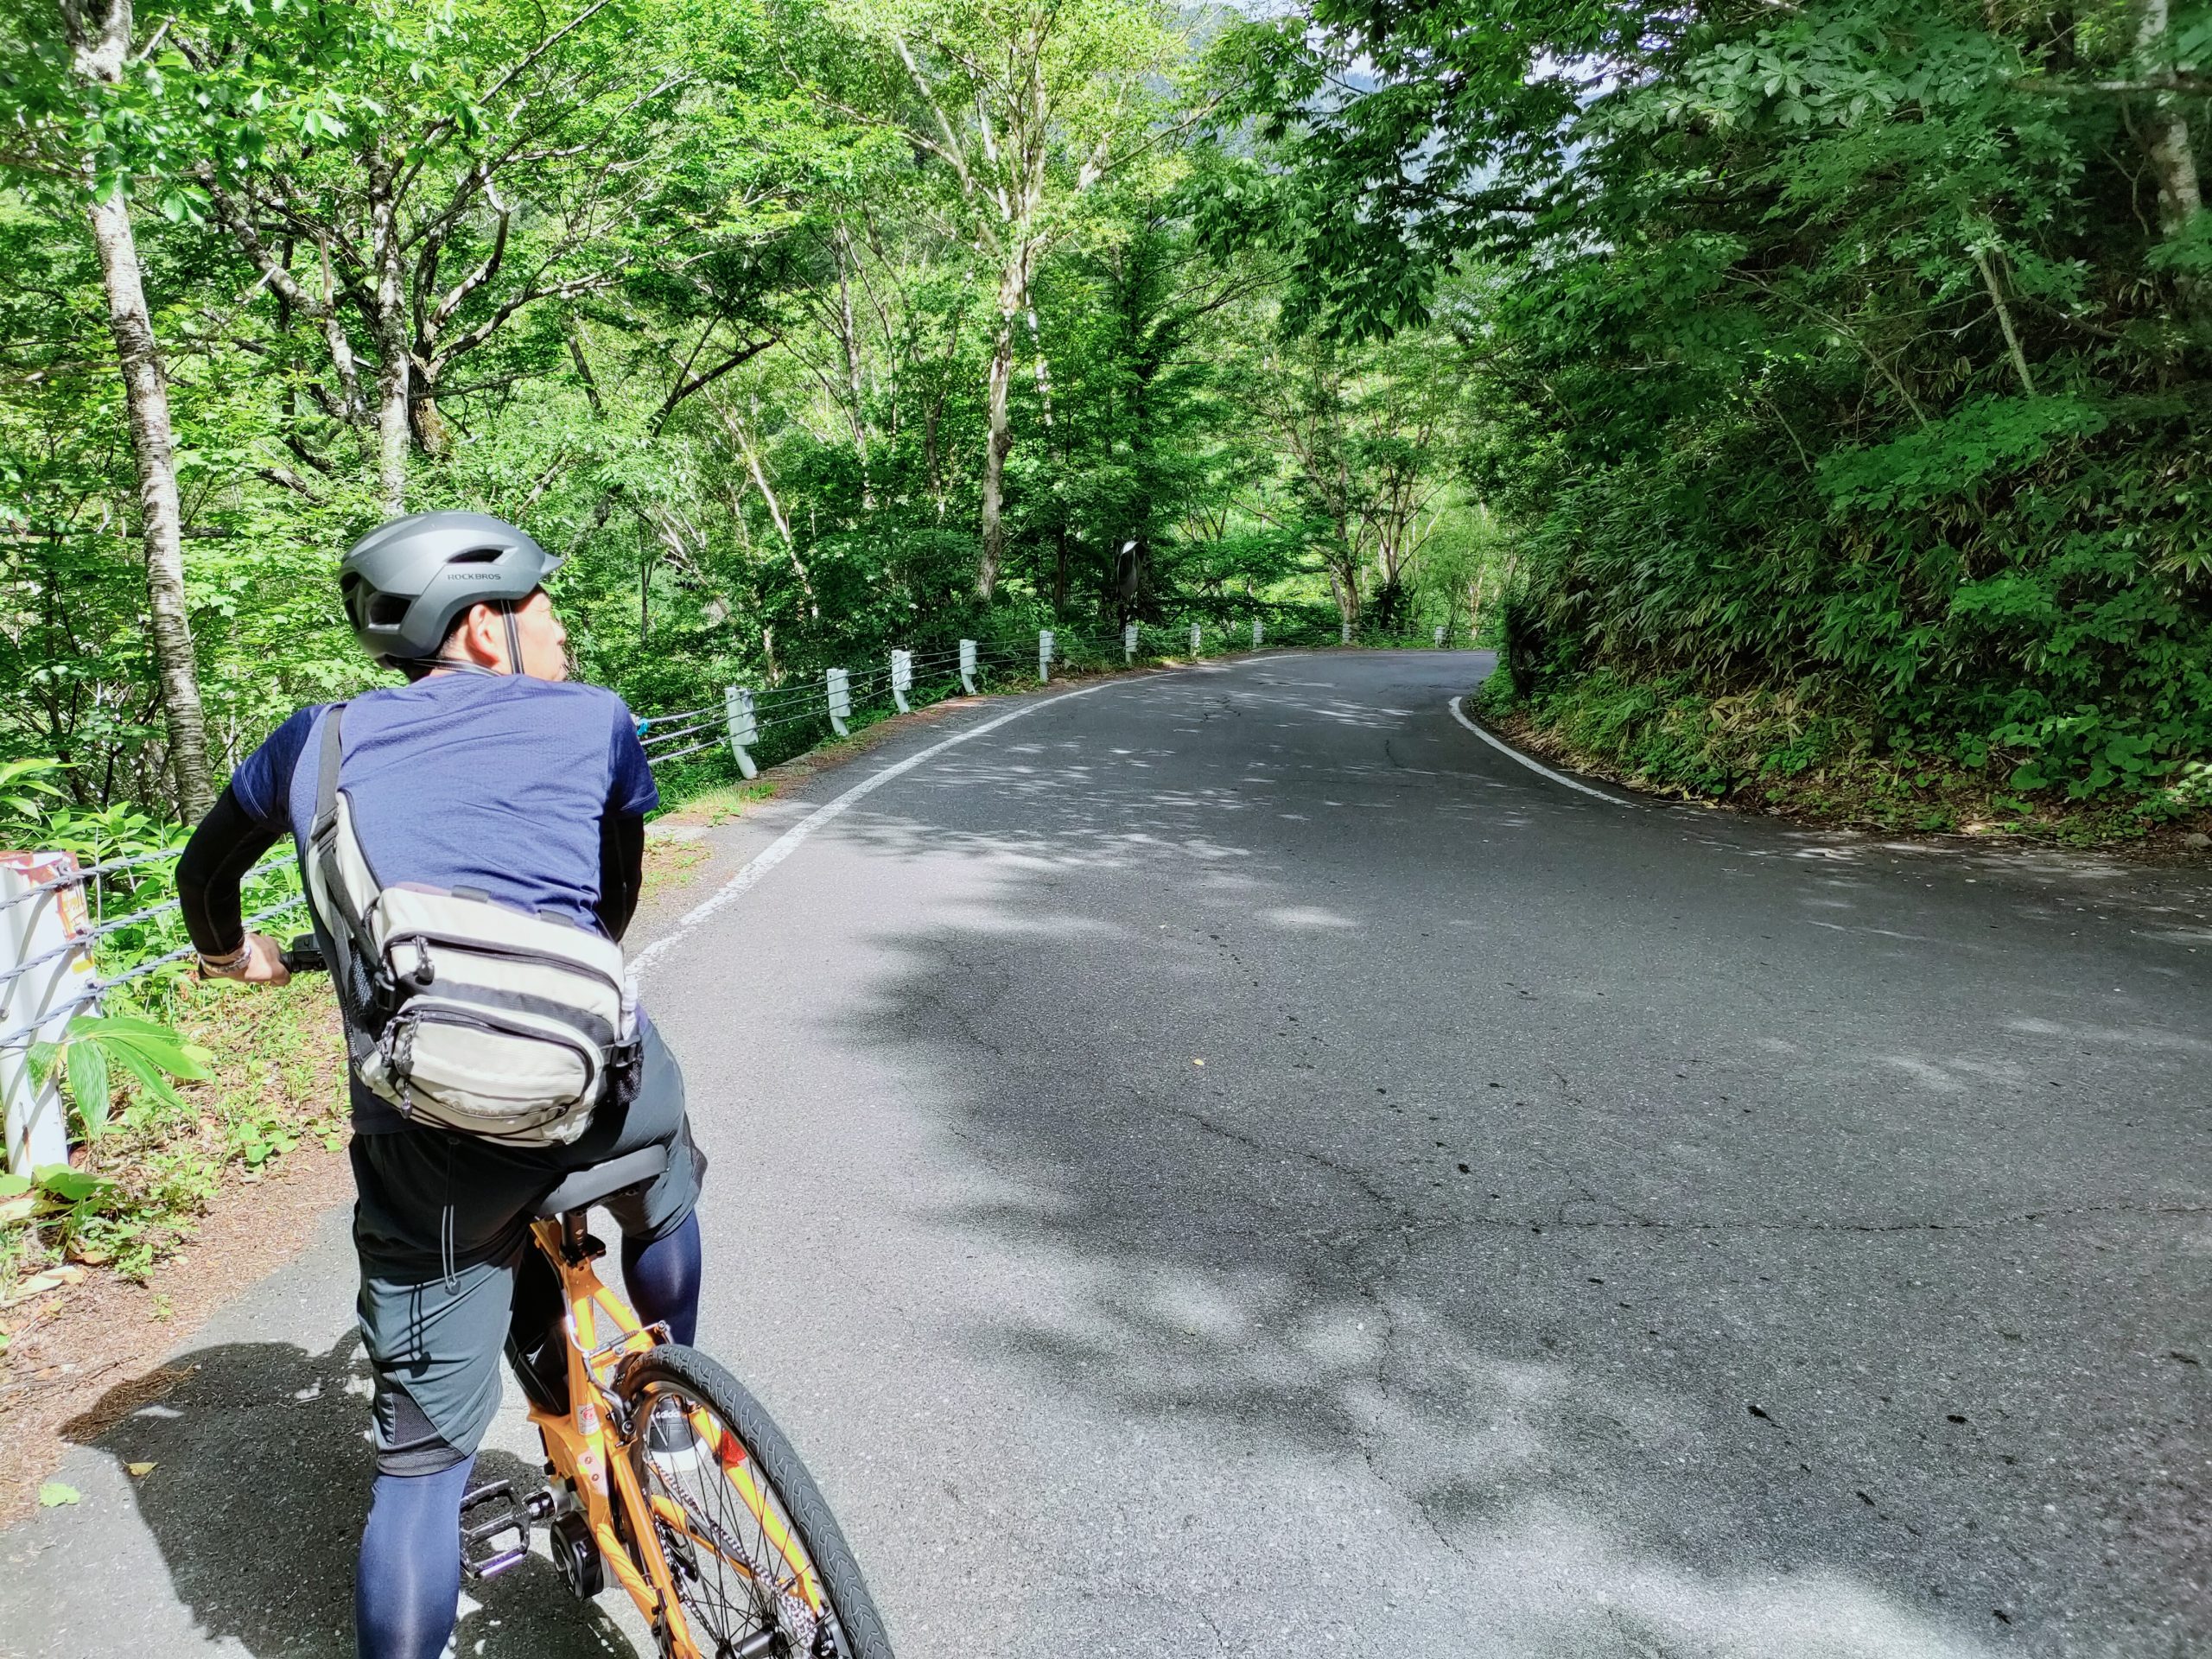
This roads around Hirayu Onsen have extremely little traffic and are very comfortable, but because the roads are a bit old, the road surface can be rough in some places. Please keep this in mind.
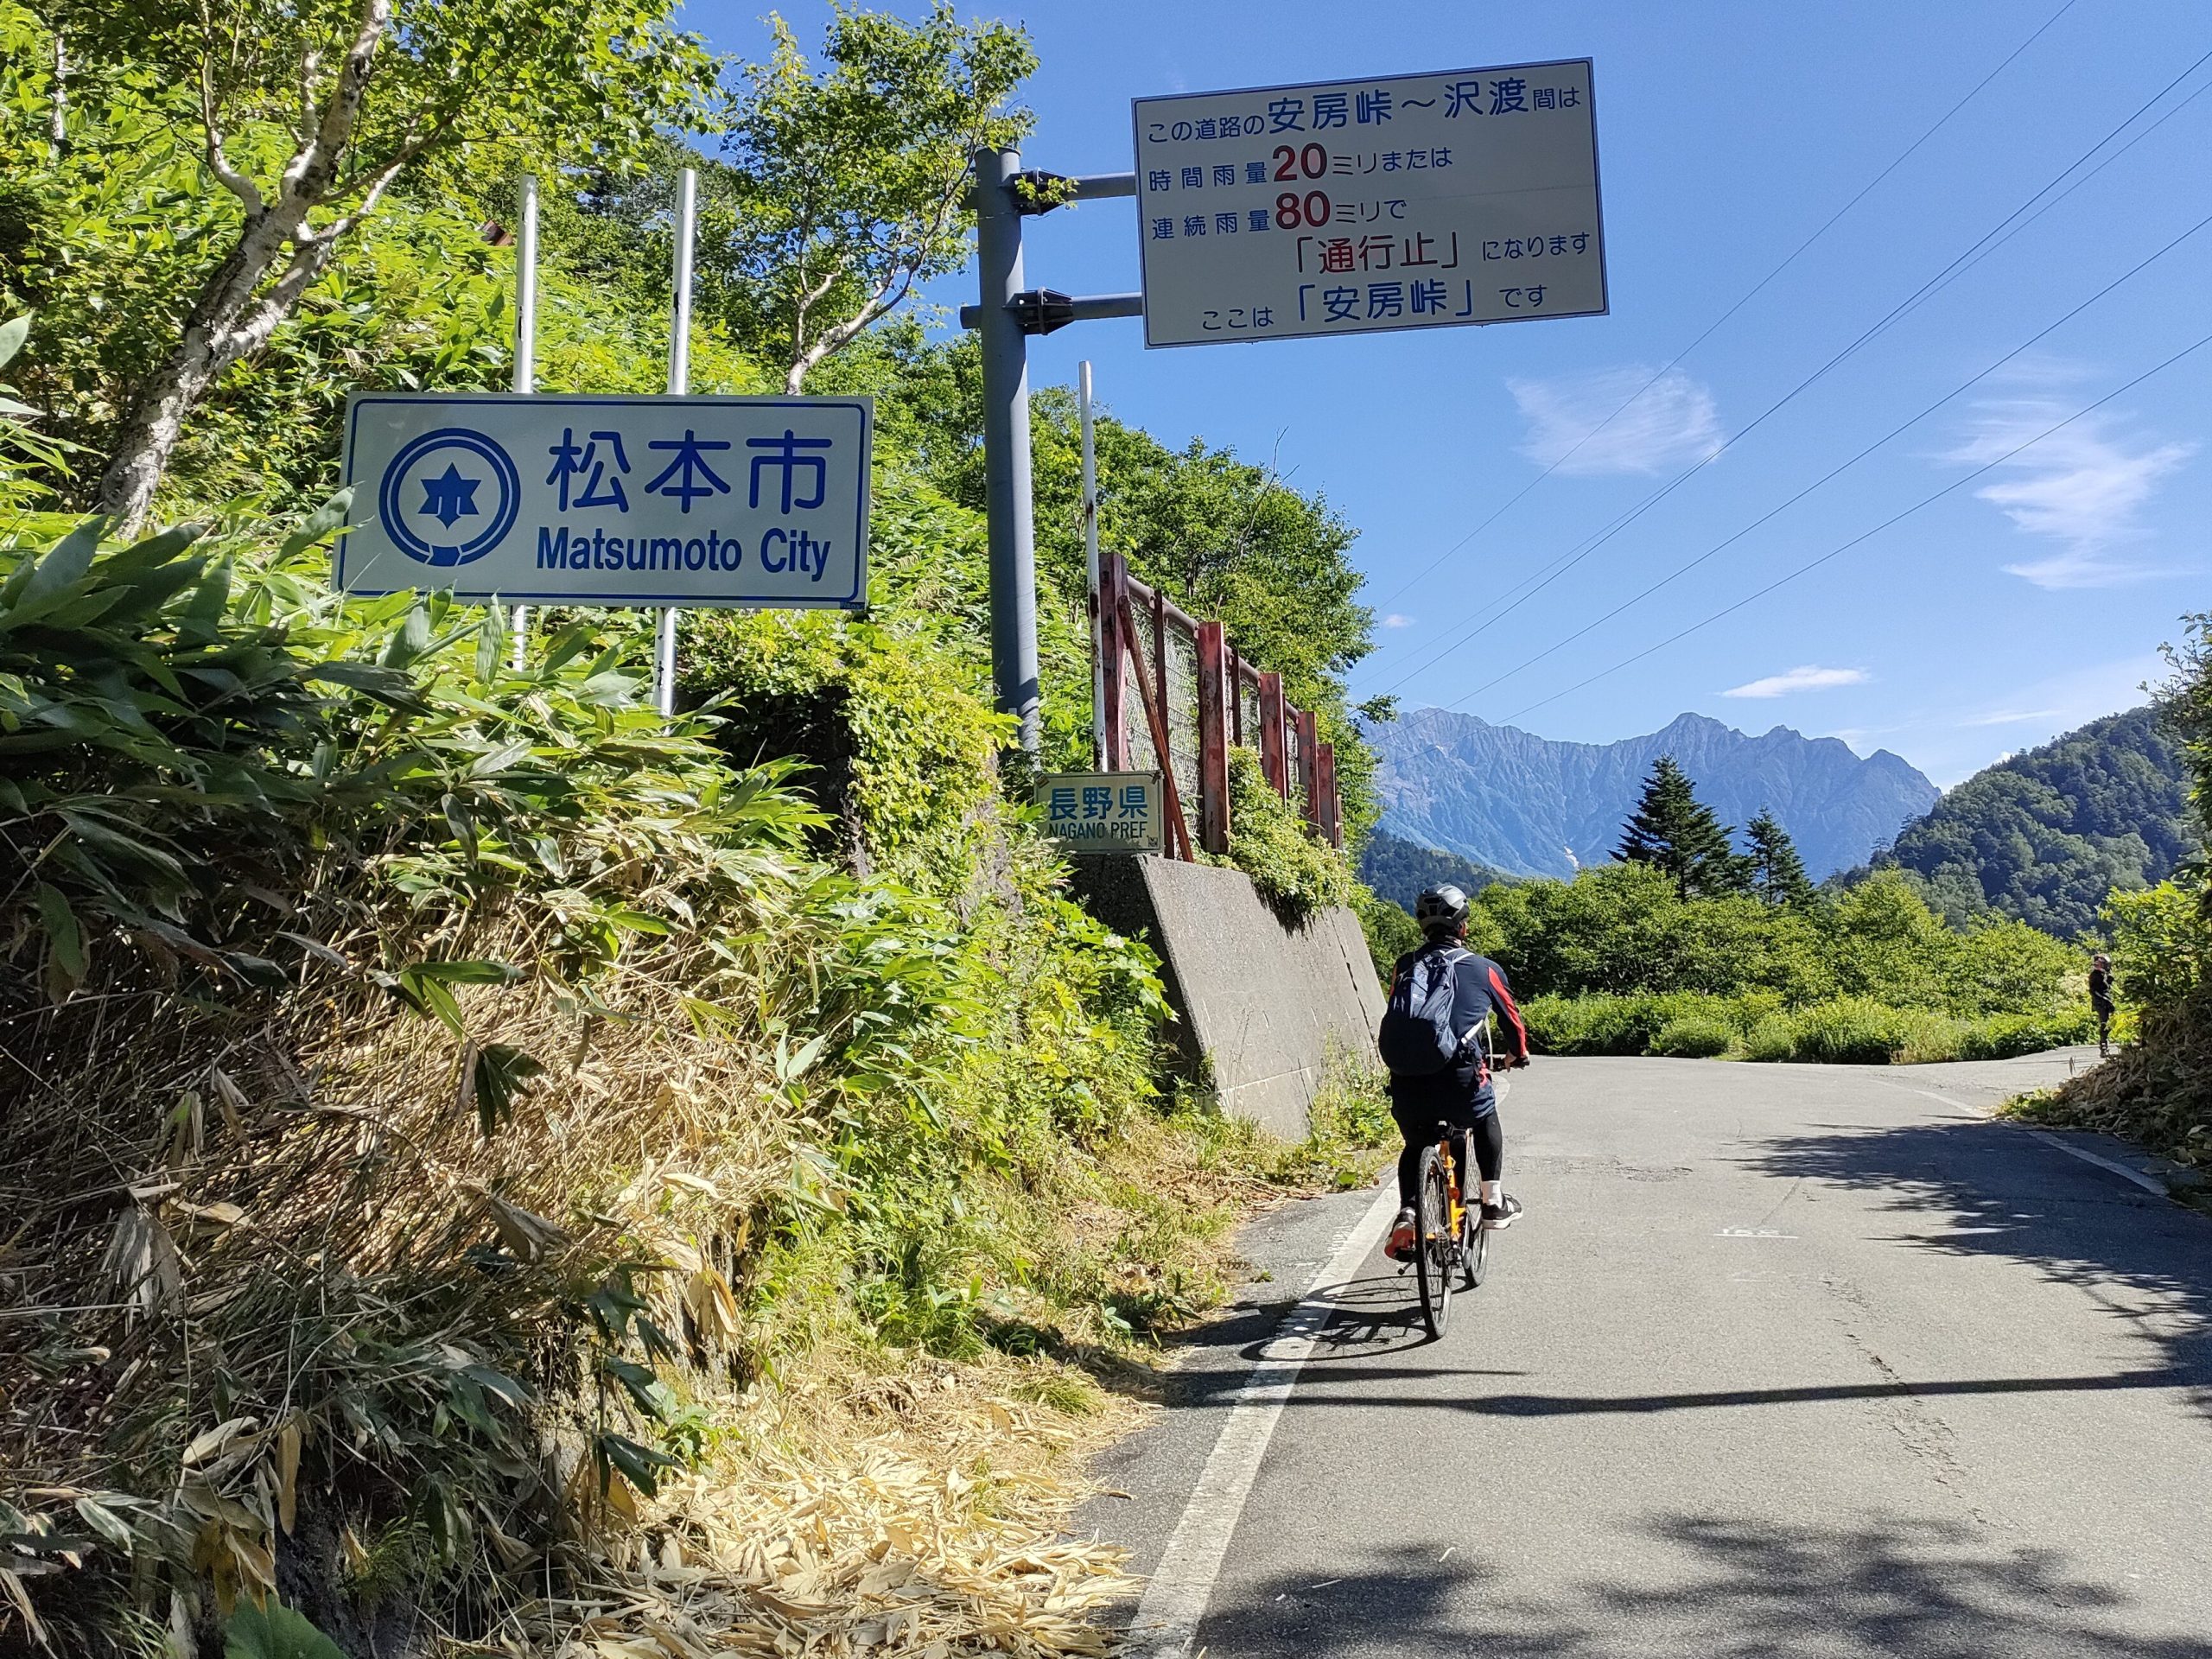
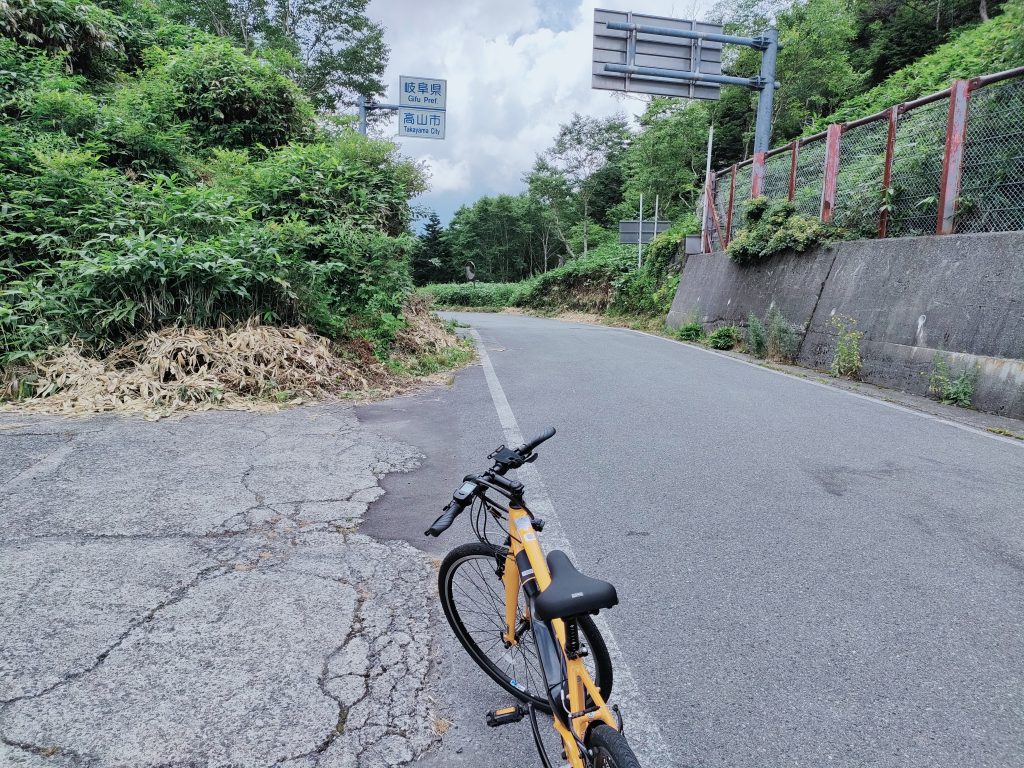
8:40 [Reach Abo Pass]
Abo Pass (elevation 1,790m)
After our departure, we reached the border point between Takayama City, Gifu Prefecture and Matsumoto City, Nagano Prefecture, Abo Pass. From this point the road starts to go downhill. It can be dangerous, so remember to ride down slowly.
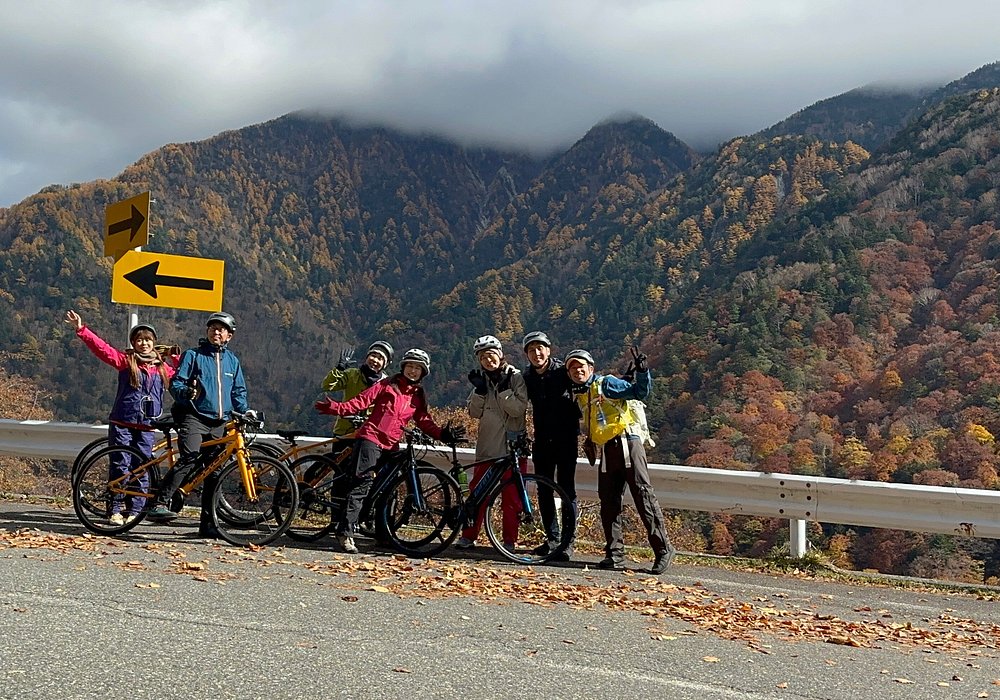
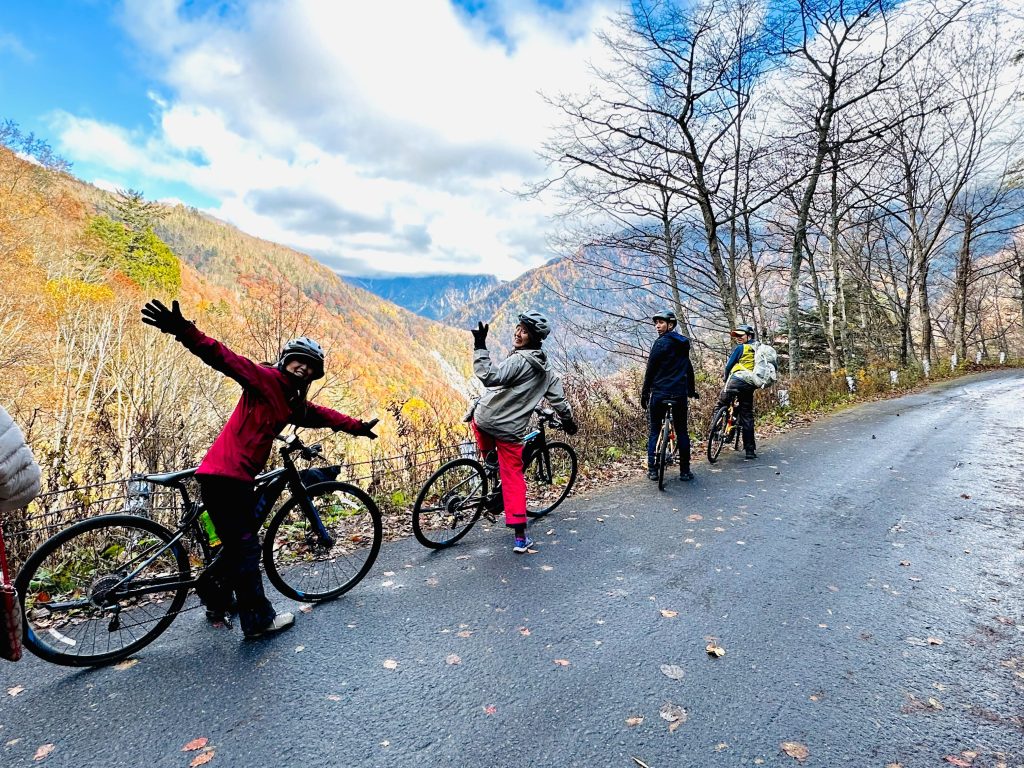
Everyone cycled down the mountain pass with spectacular views of the Northern Alps, including Yake-dake (焼岳).
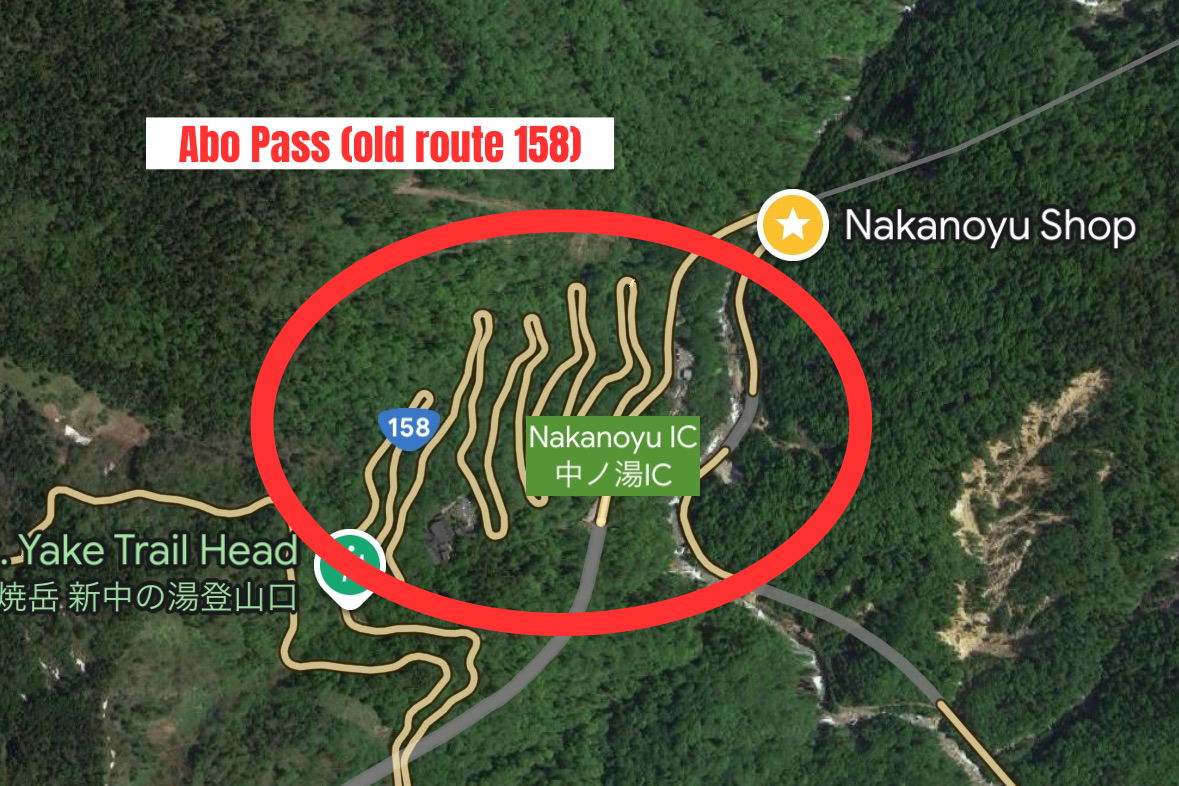
9:05 [Passing Nakanoyu Hot Spring]
Along Abo Pass is a hot spring and hotel called Nakanoyu Hot Spring. From here on out, the road can be a little uneven and rough at spots. There are sharp turns so remember to ride the bike down slowly.
9:20
Arrive at the entrance/exit of the Chubu Jukan Expressway (Abo Tunnel). Take the national highway down toward Kama Tunnel, Kamikochi, and Matsumoto. You can leisurely ride a bicycle downhill without pedaling here.
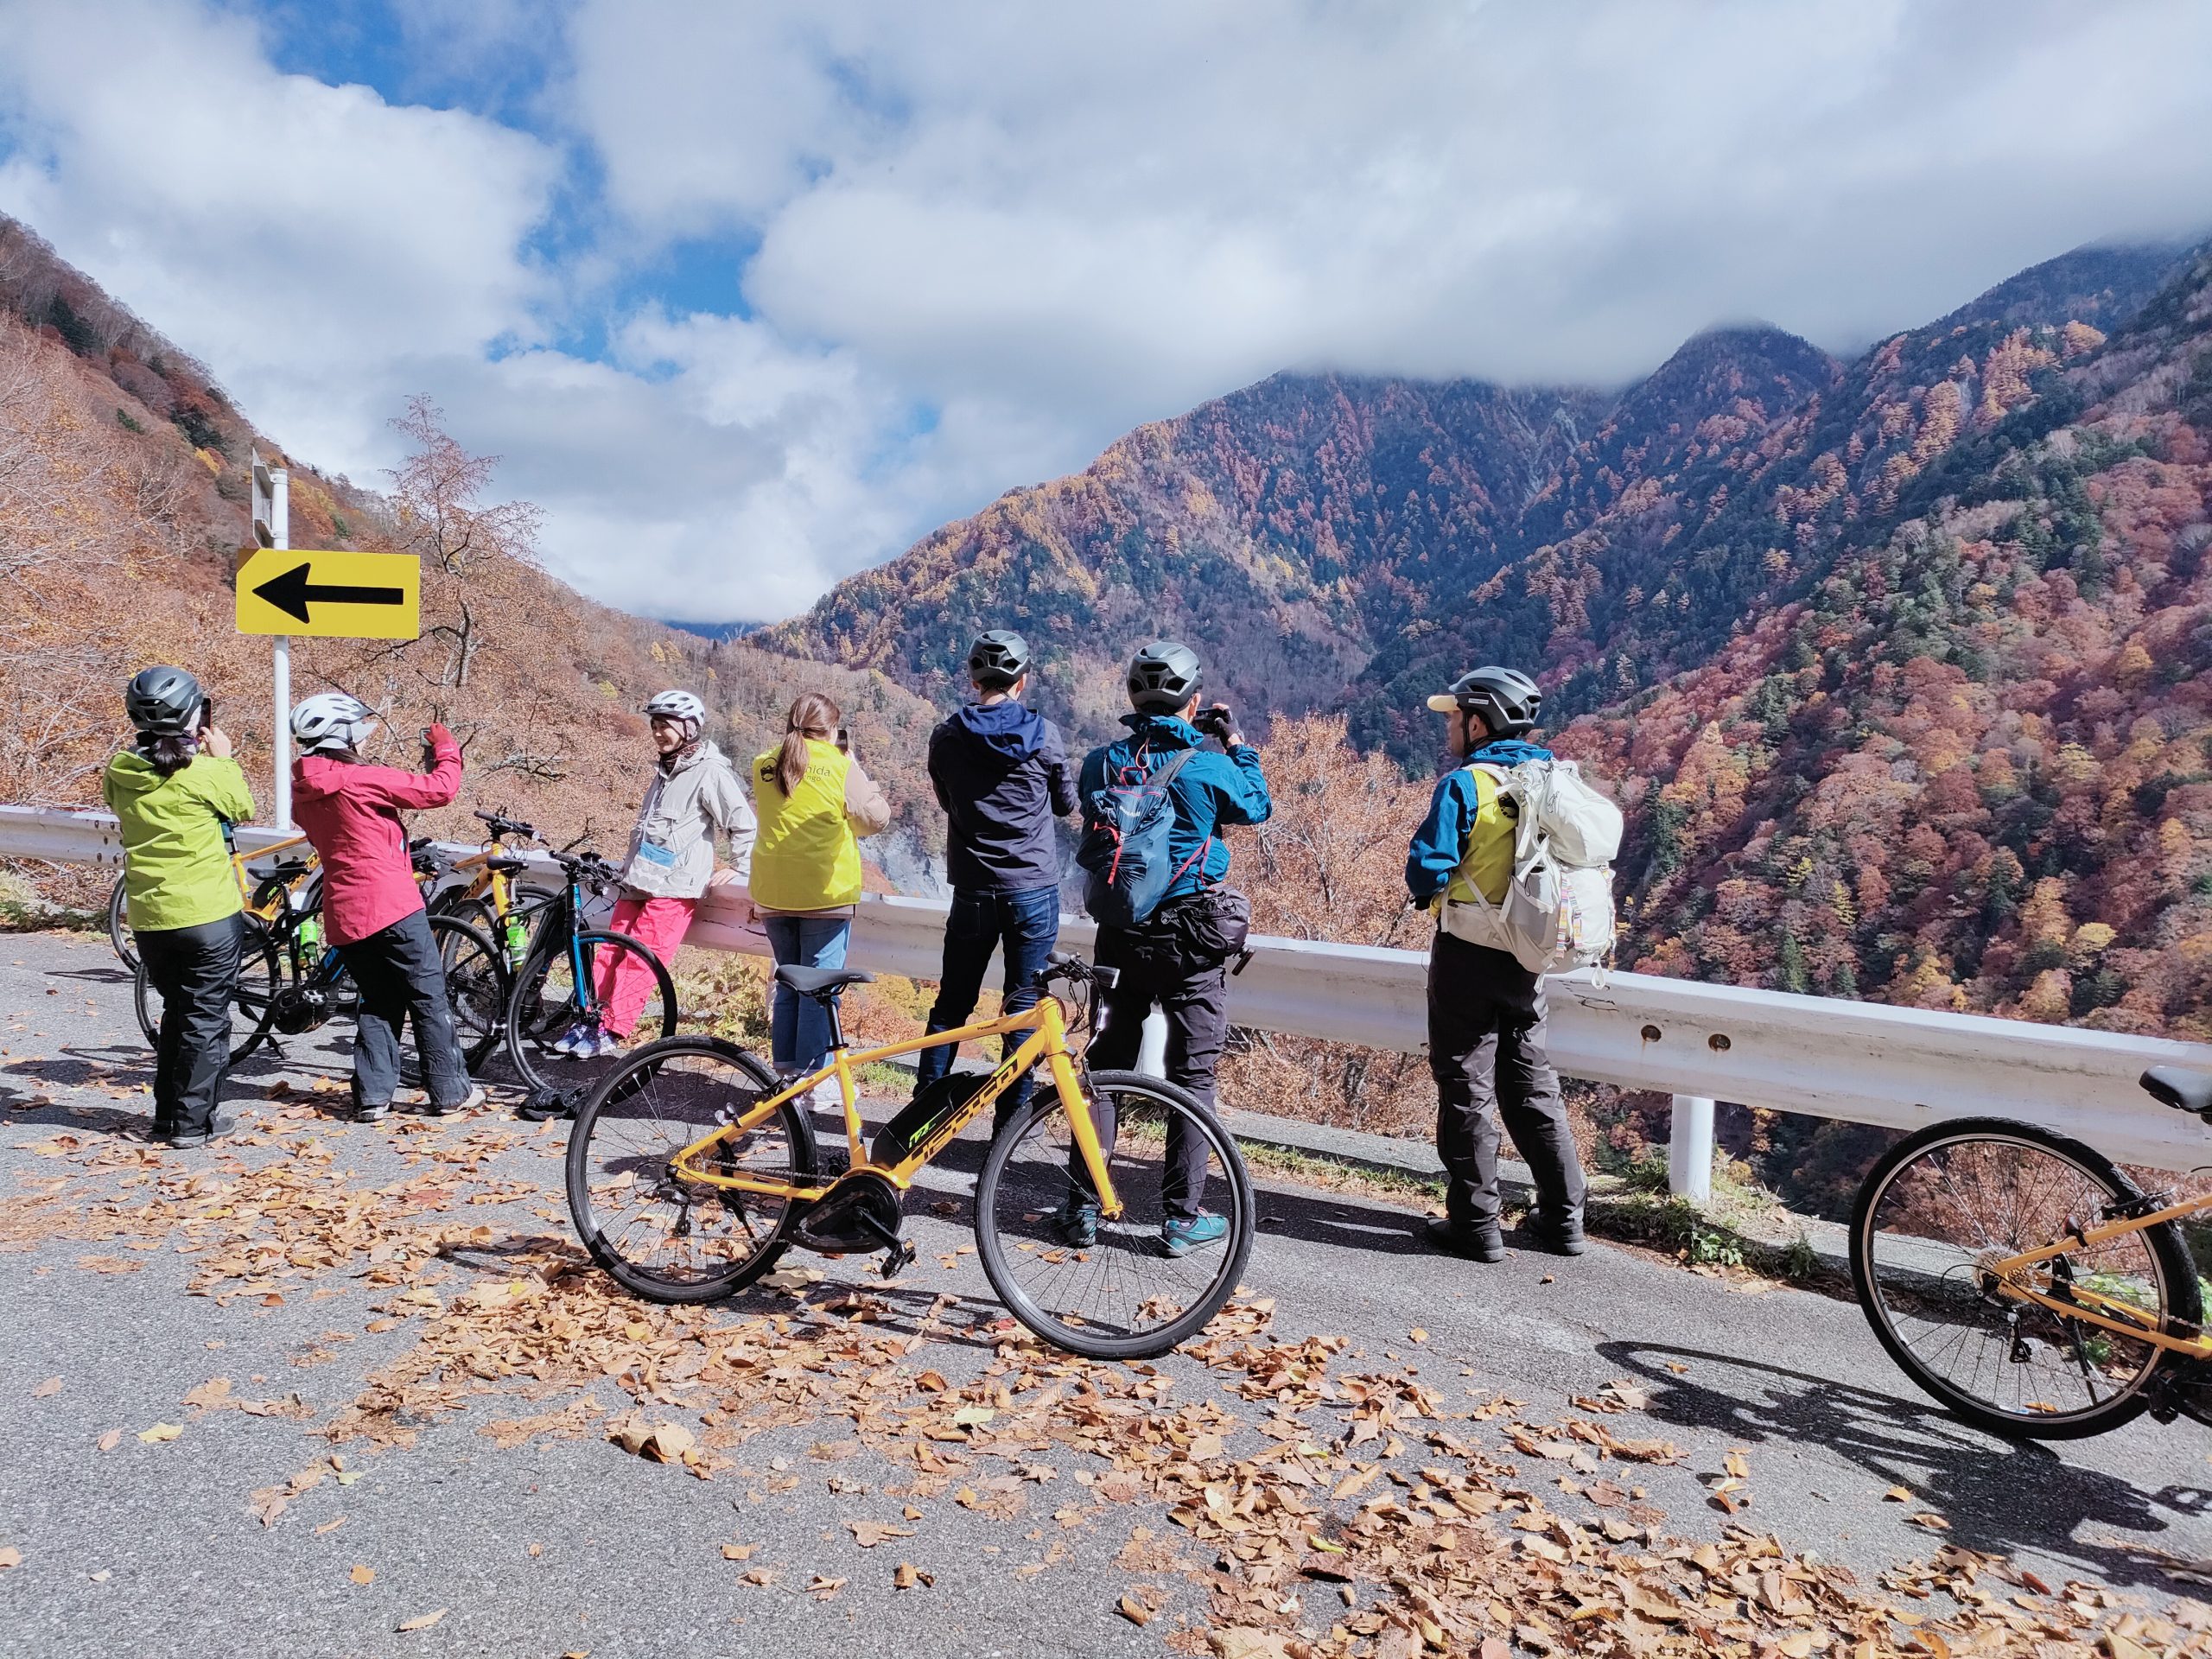
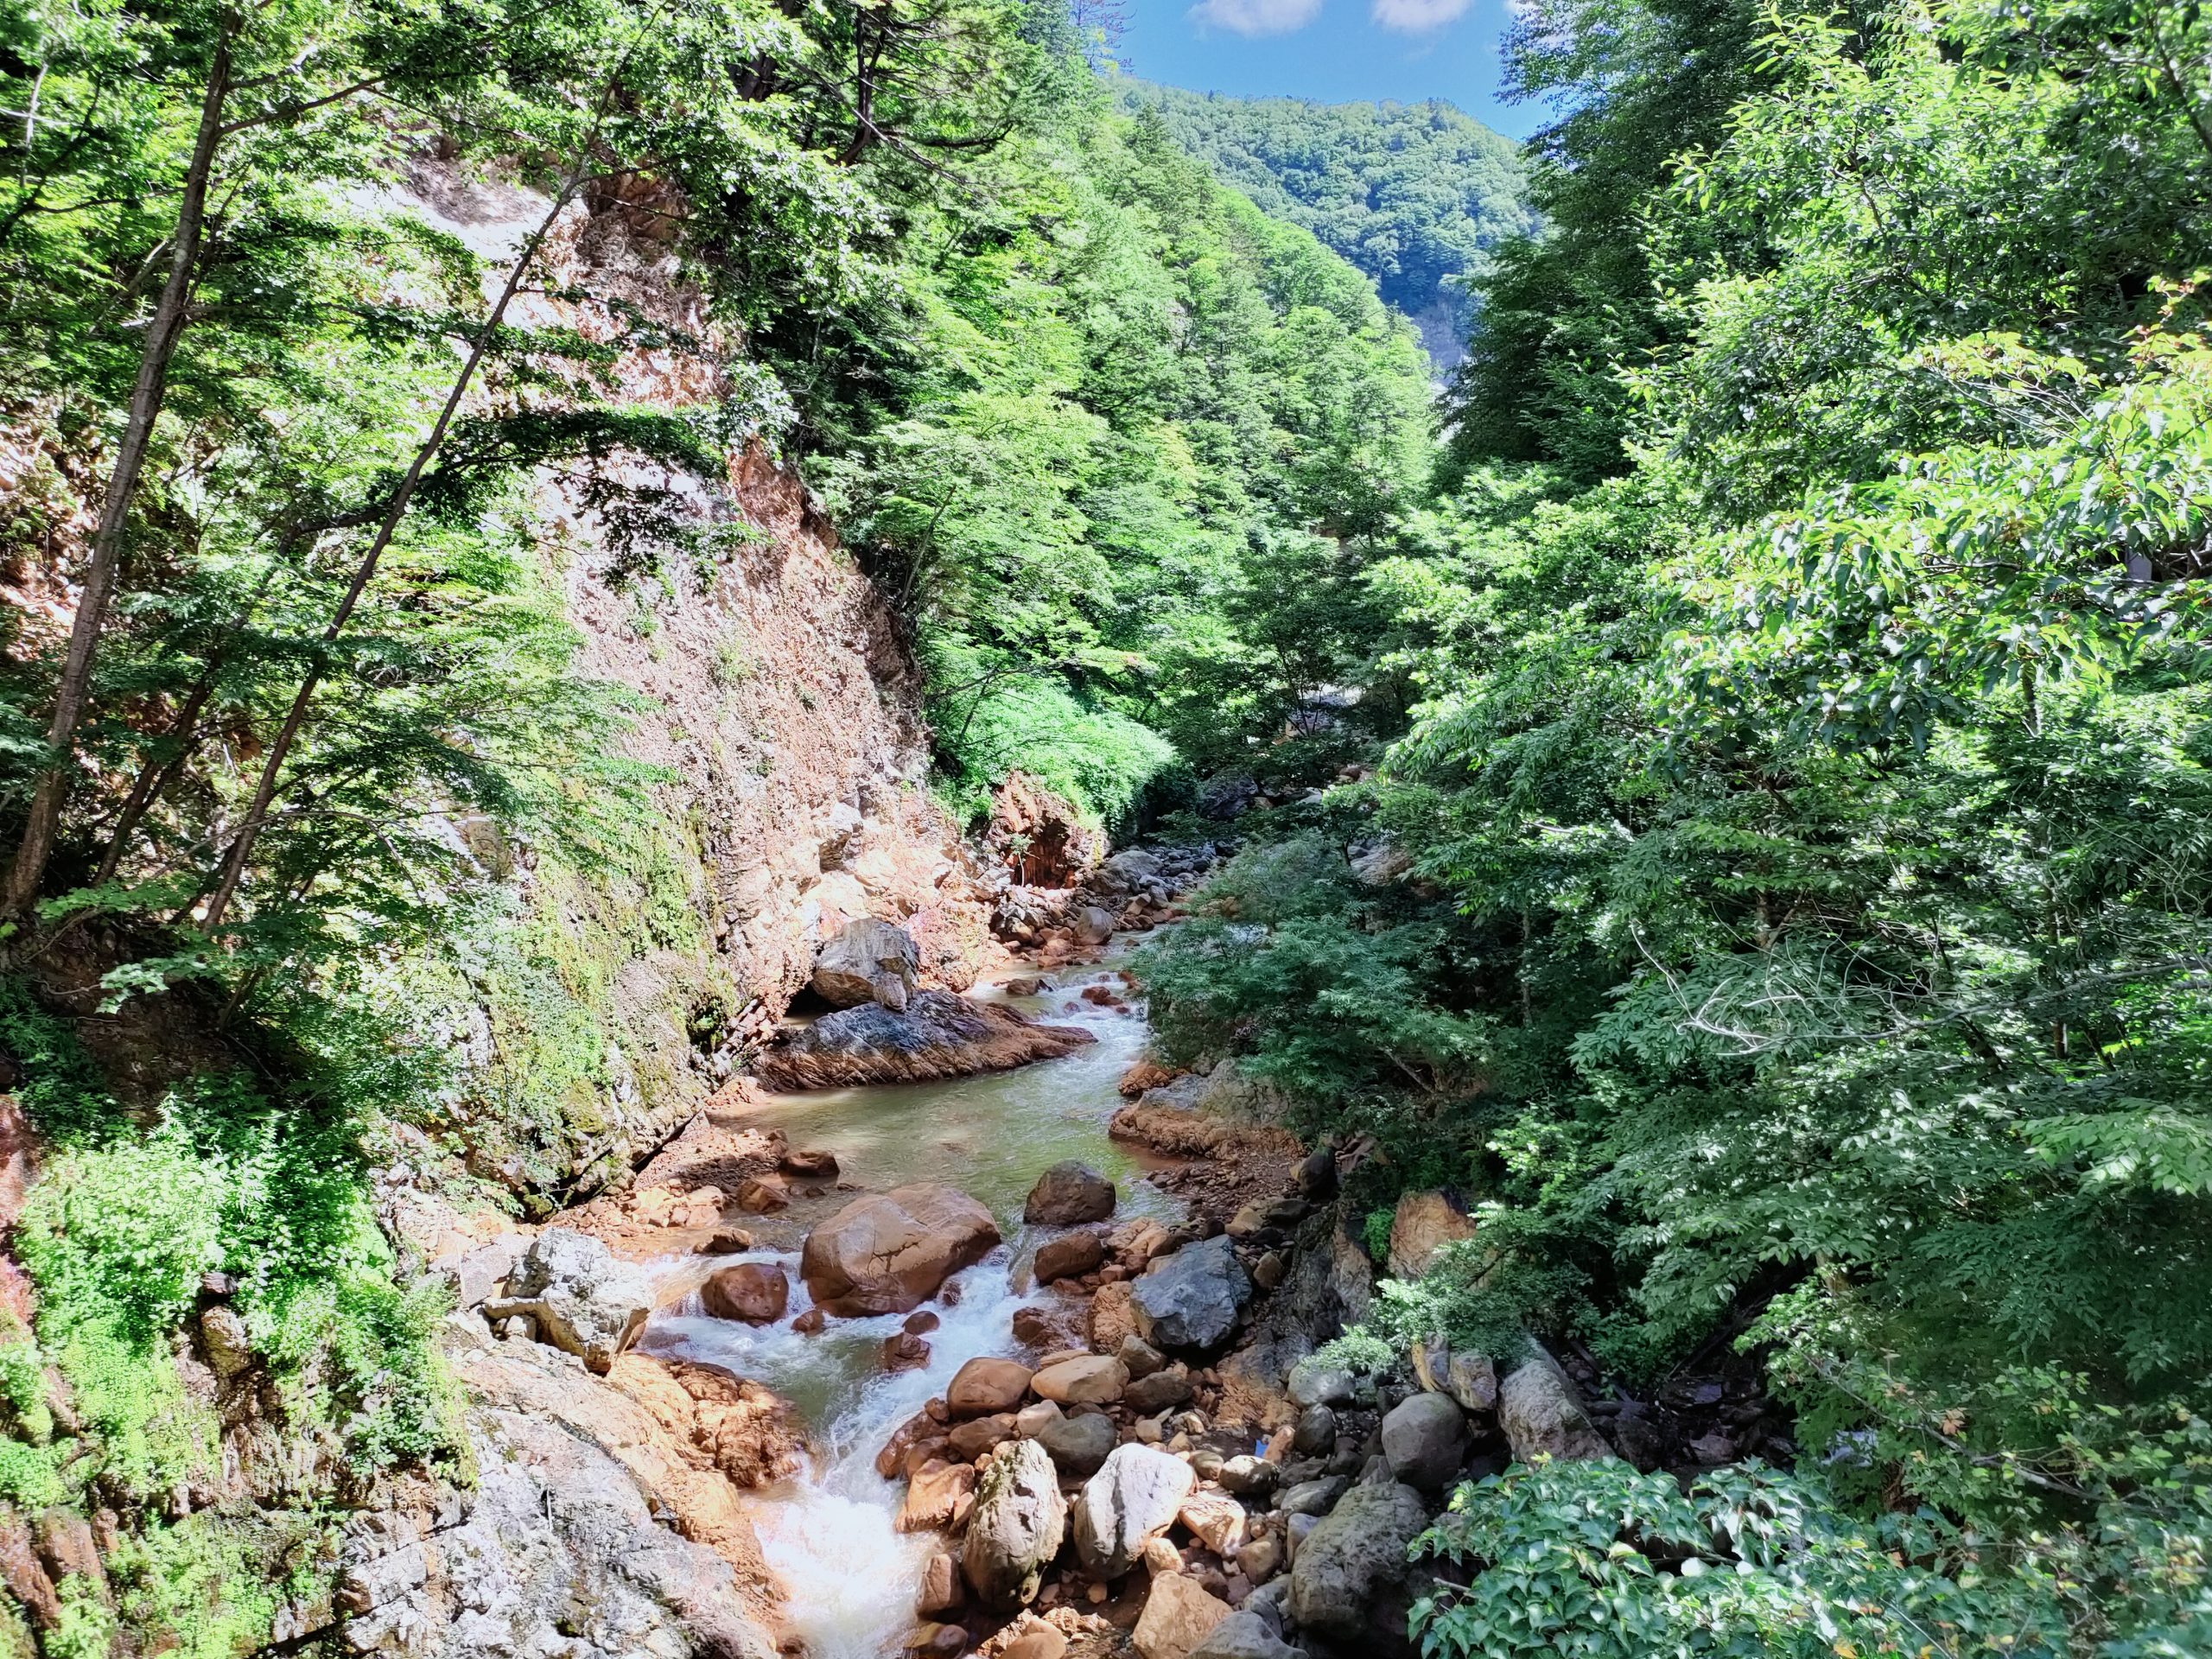
From here we could see a beautiful lookout point, including a beautiful river.
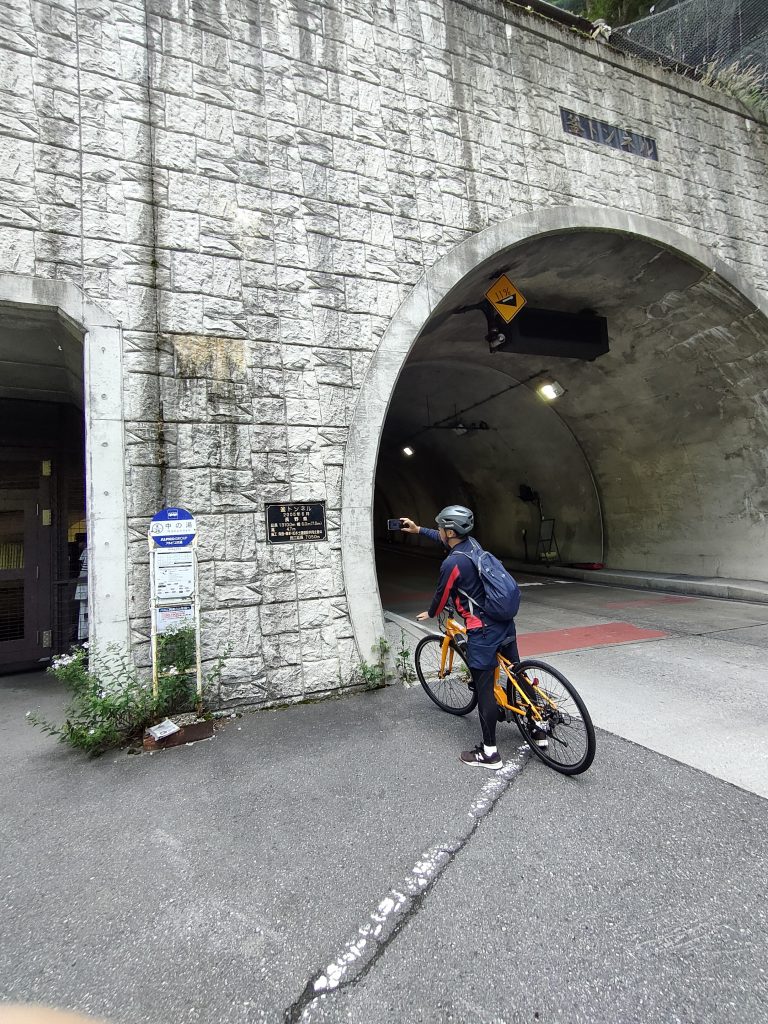
9:25 [Pass Nakanoyu Shop]
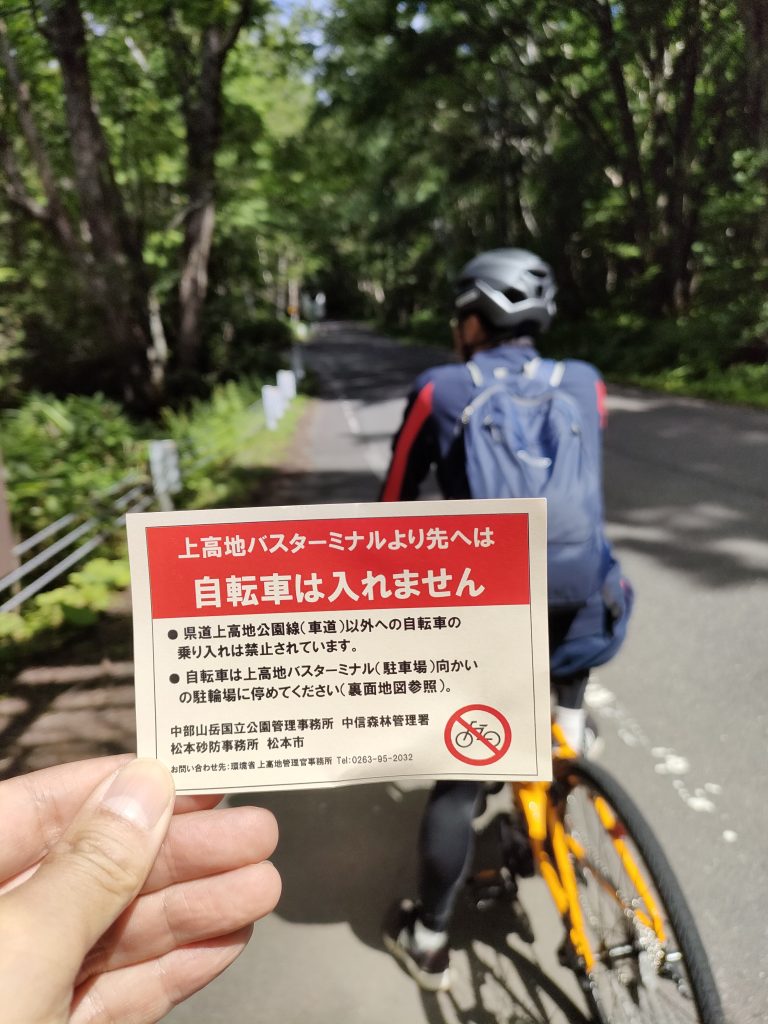
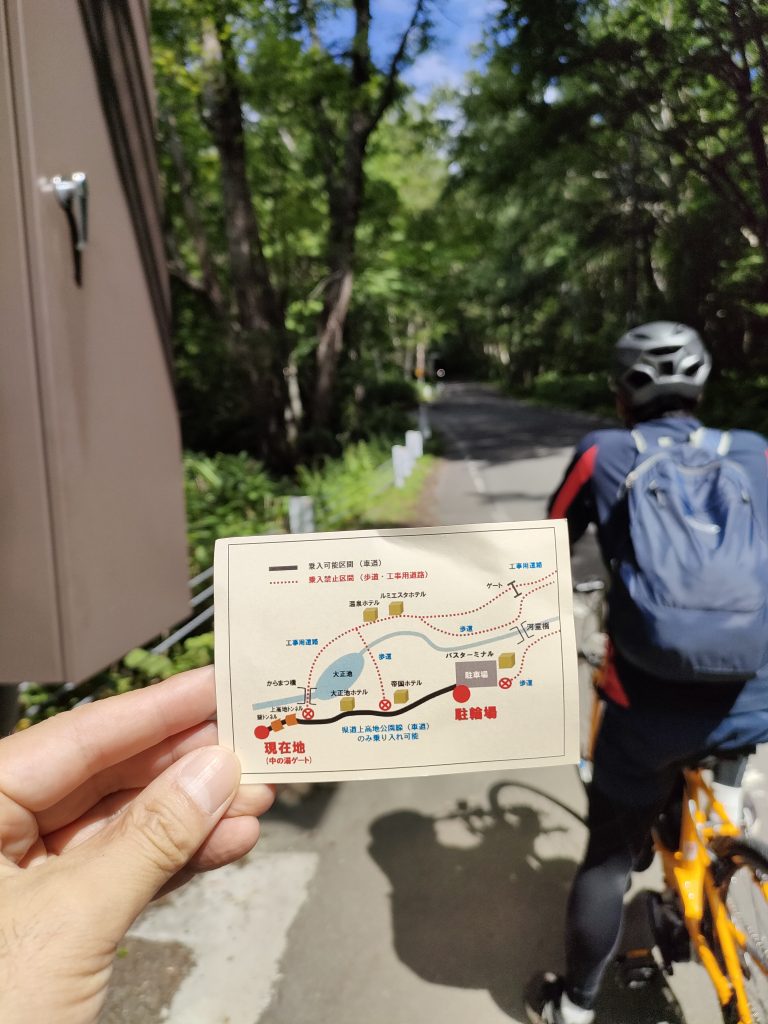
Next, we arrived at the Nakano-yu store. From here, it is a connecting road to Kamikochi, where private cars are restricted.
A security guard will approach you from the store inside. The store sells warm drinks, snacks, and hot curry. At first I felt nervous..I thought I got in trouble! But actually they just gave me a card with route directions and tips about riding to Kamikochi. They even waved me off and told me to be careful!
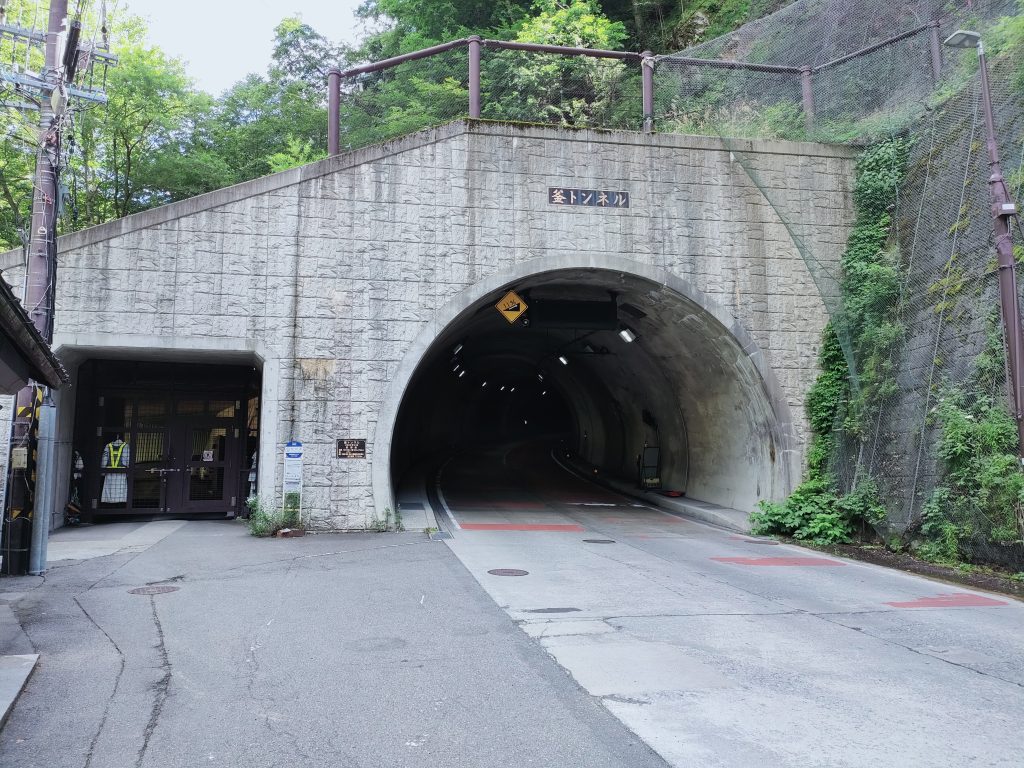
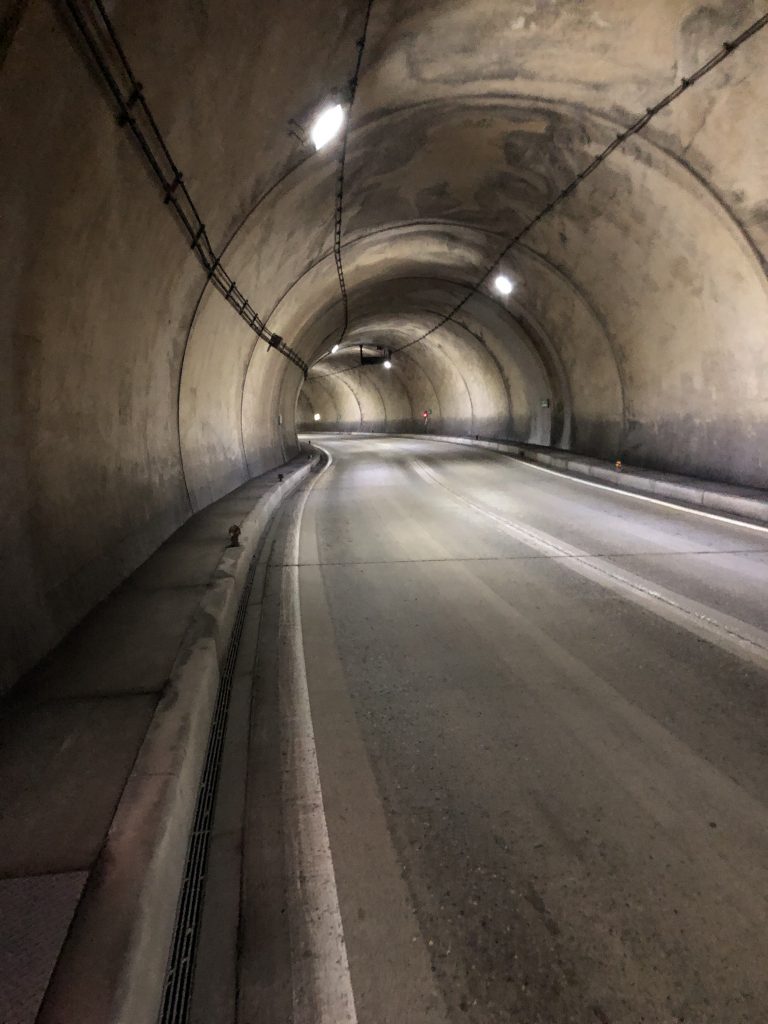
From here, we cycled through the difficult Kama Tunnel (Length: 1,310m Maximum gradient: 10.9%)
The Kama Tunnel alone increases in elevation by around 100m! Private cars are restricted, but there are quite a few large busses, taxis, and cars, so be careful!
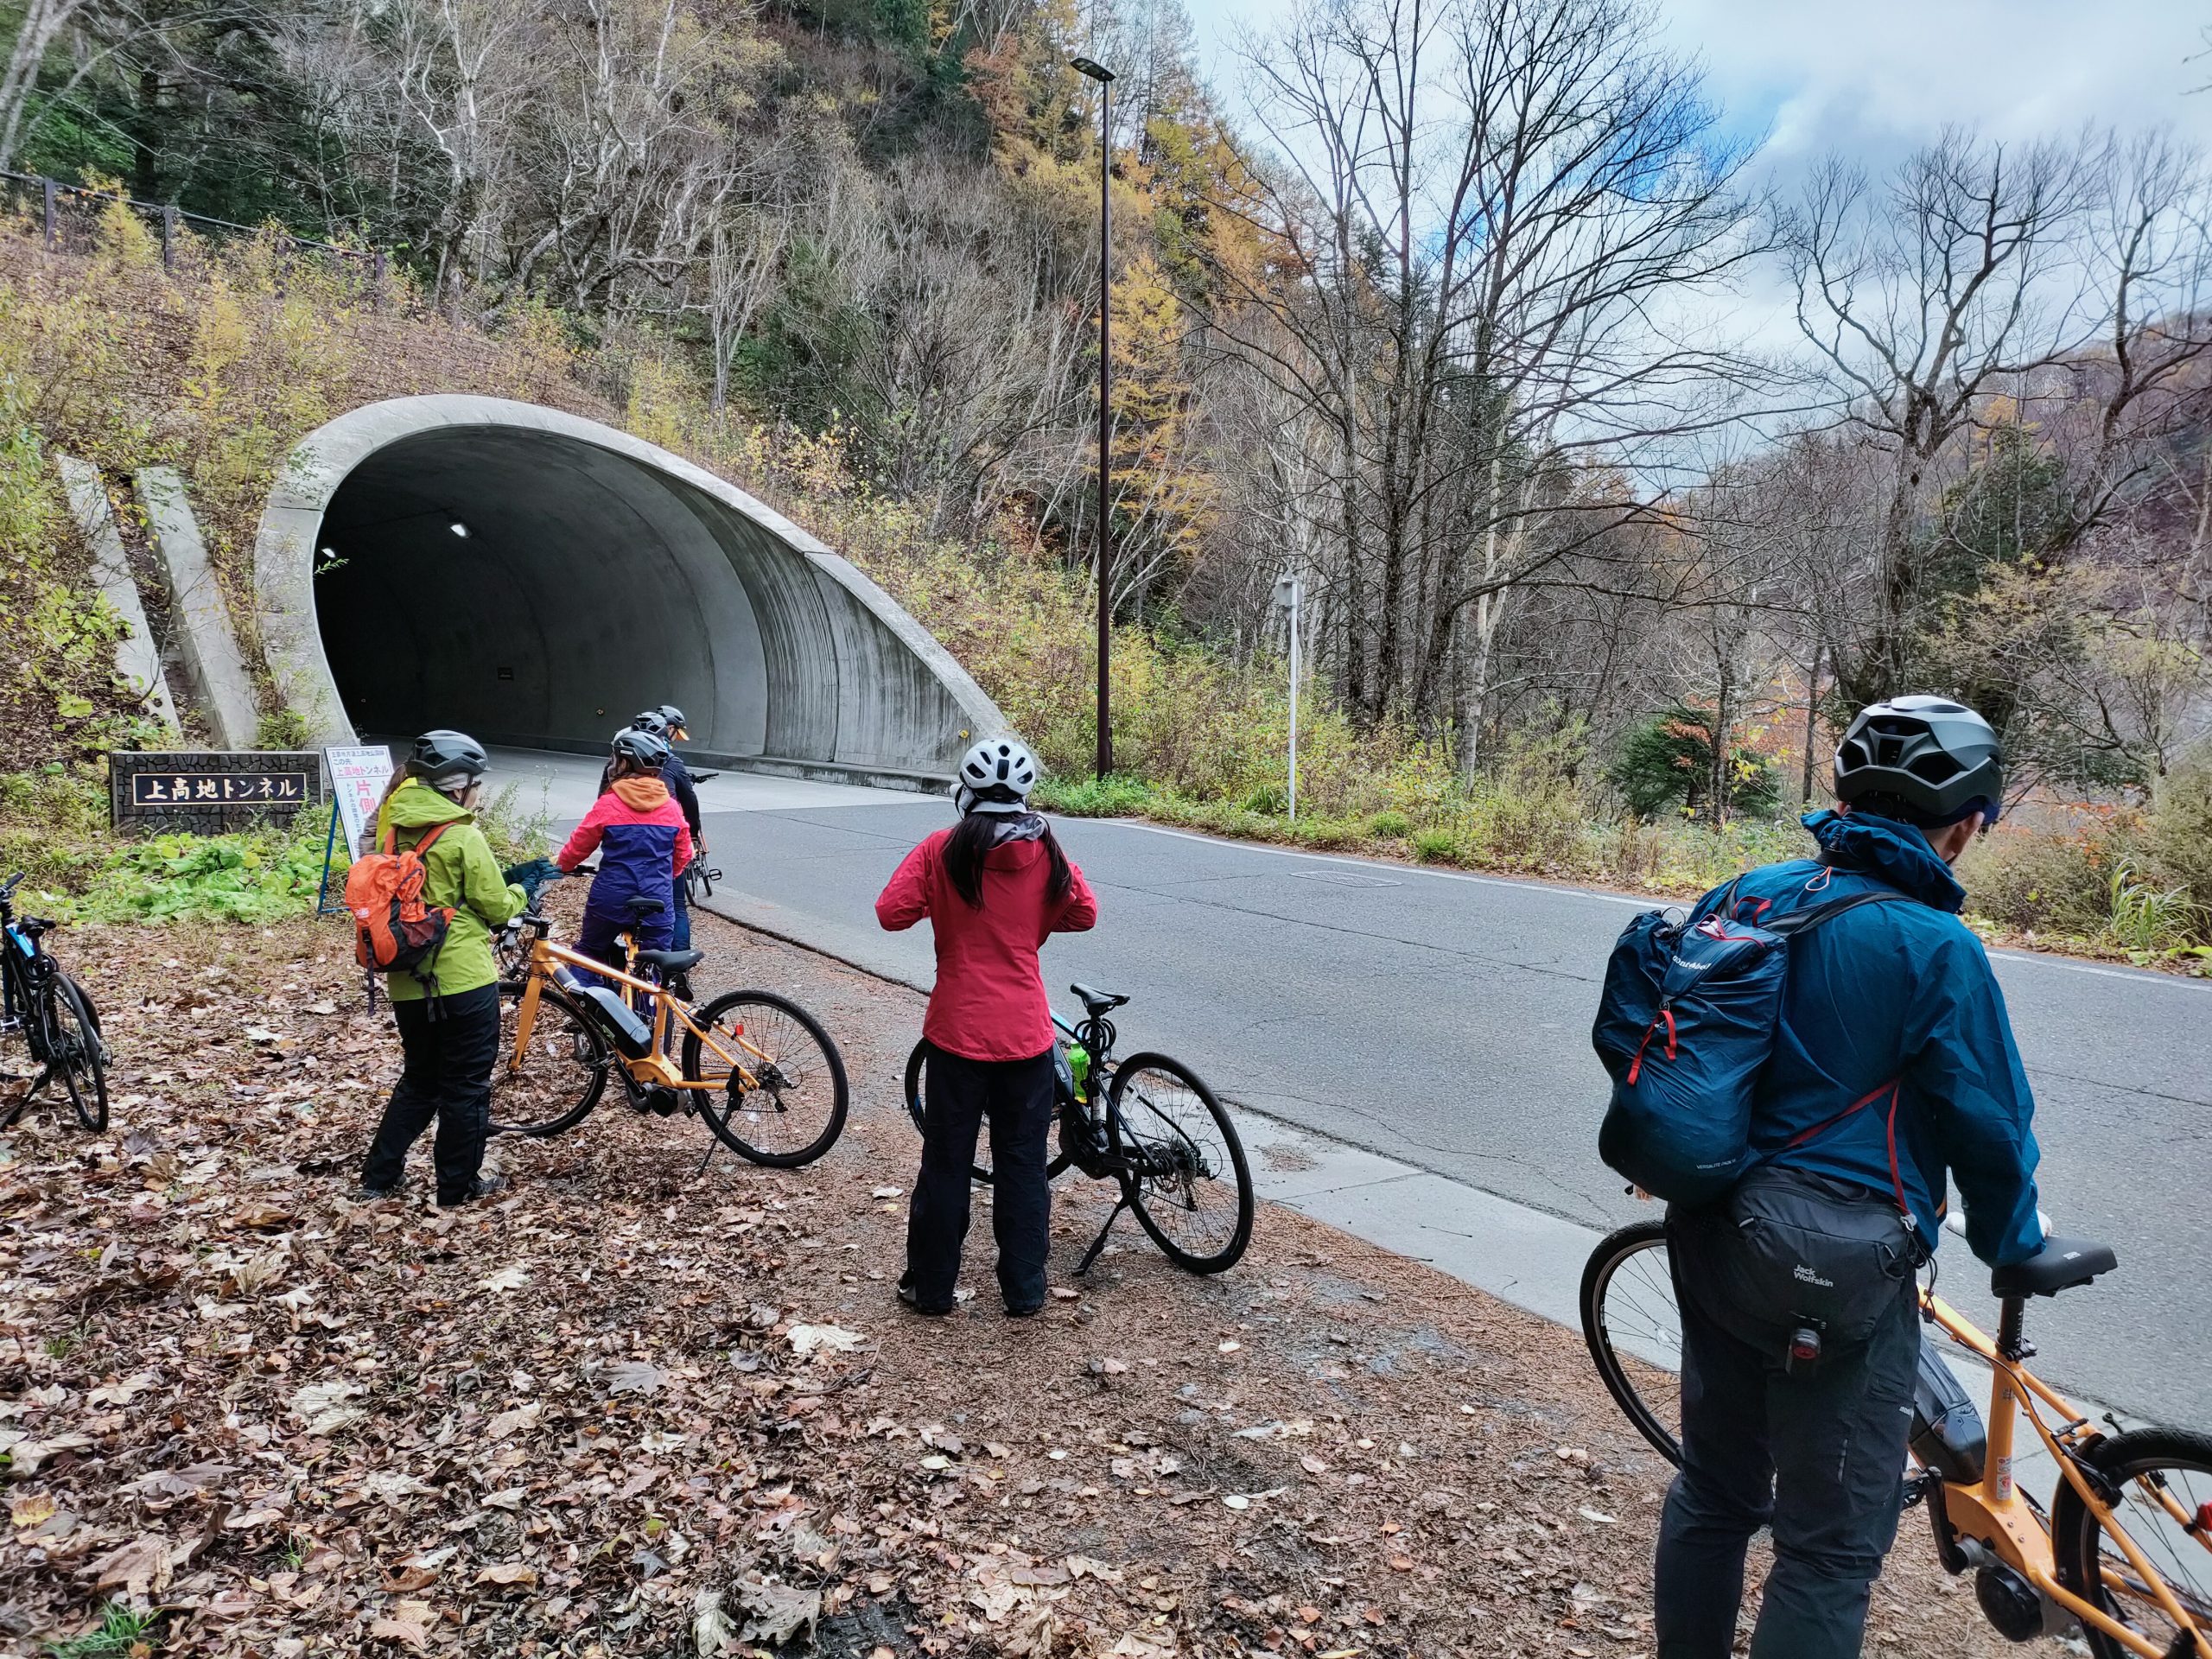
Once you leave Kama Tunnel, you’ll come across Kamikochi Tunnel, which is about 588m long!
Once we got out of here…
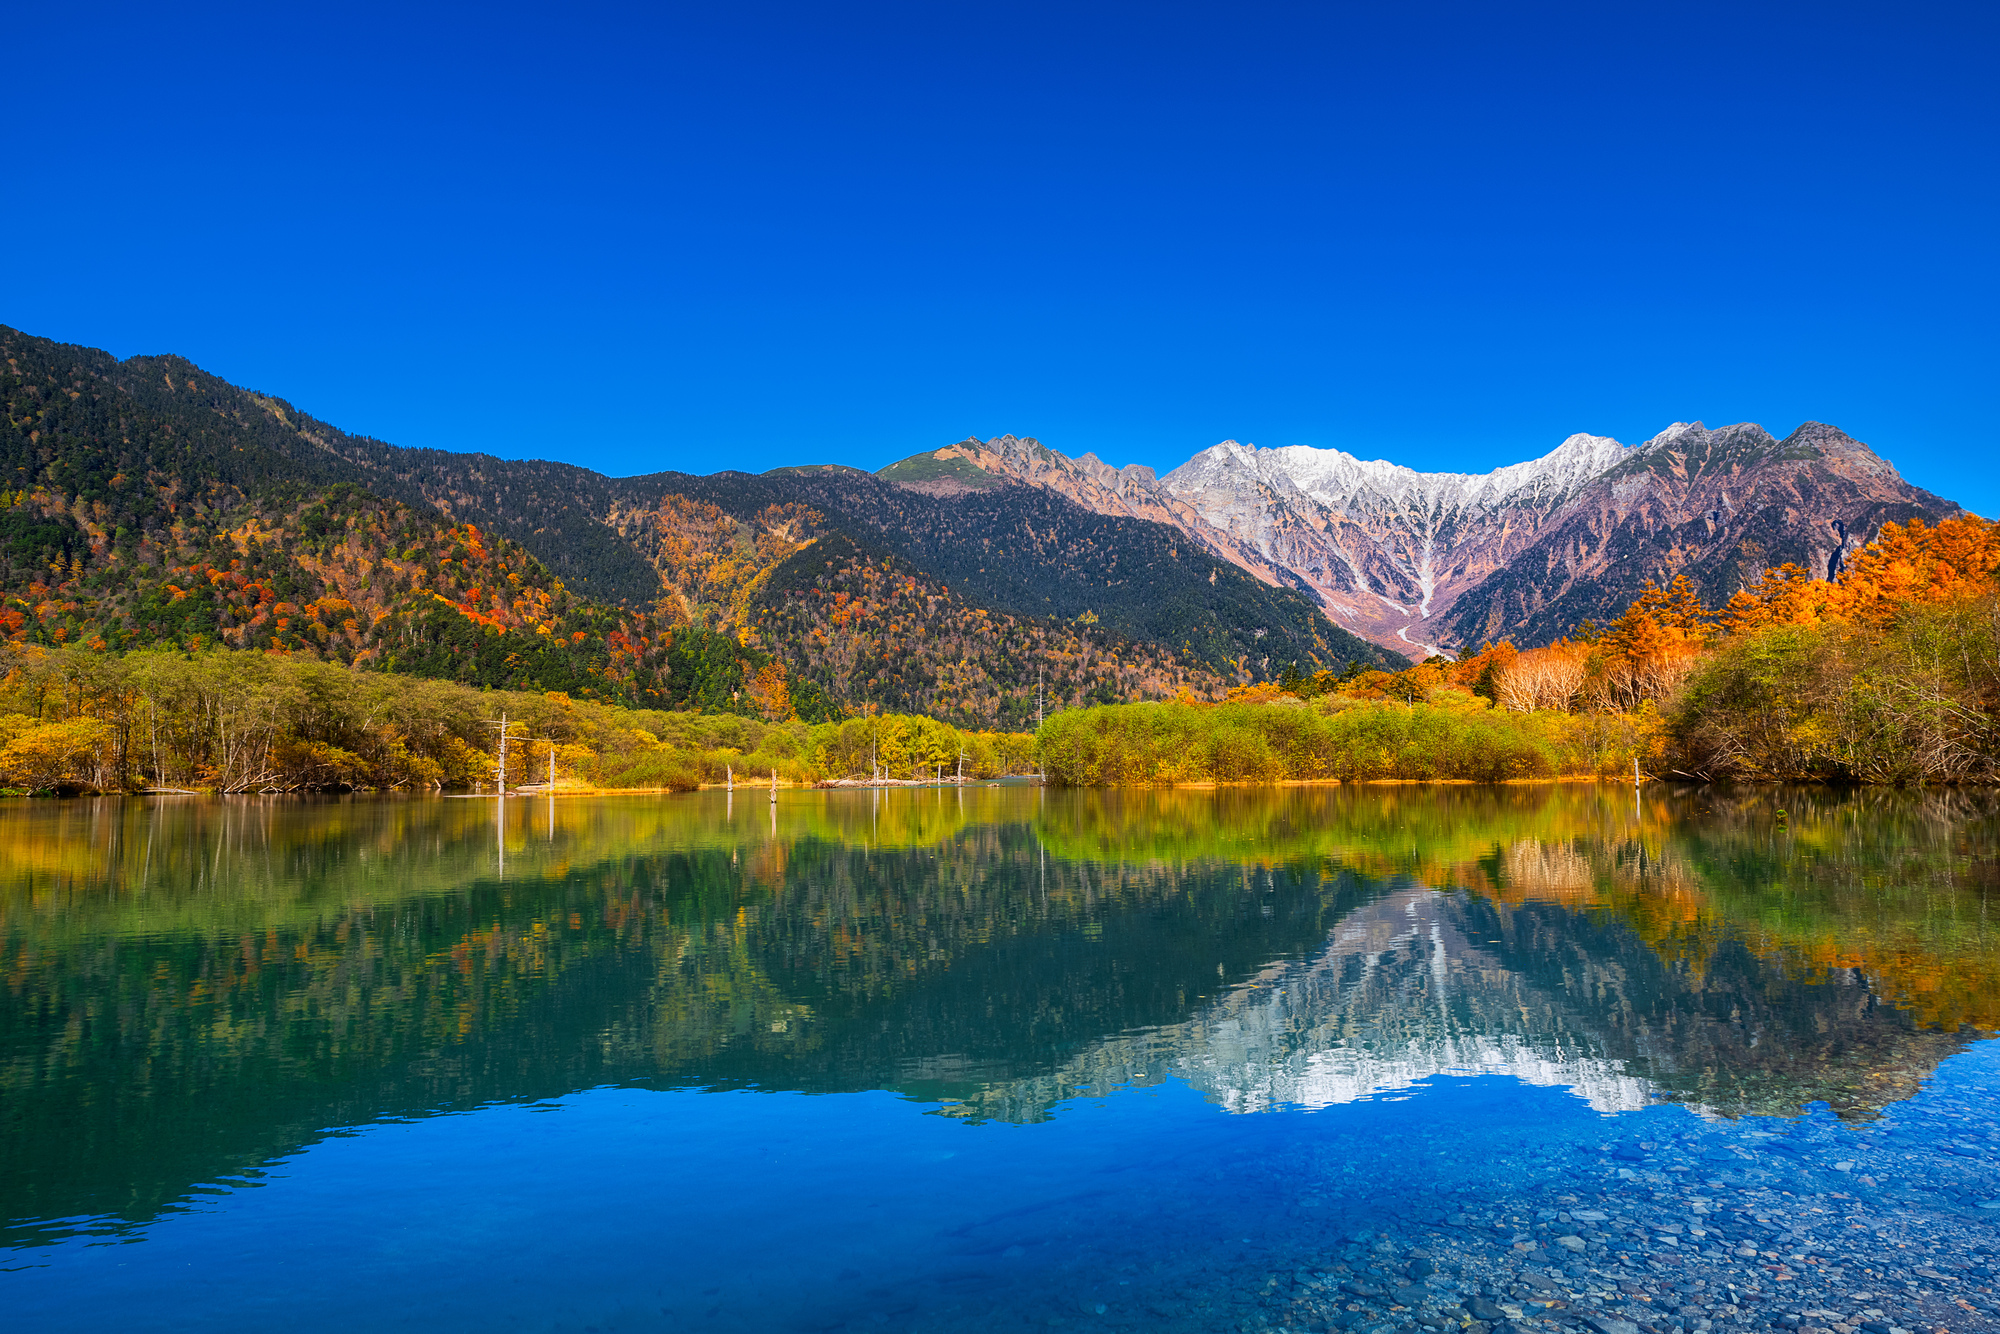
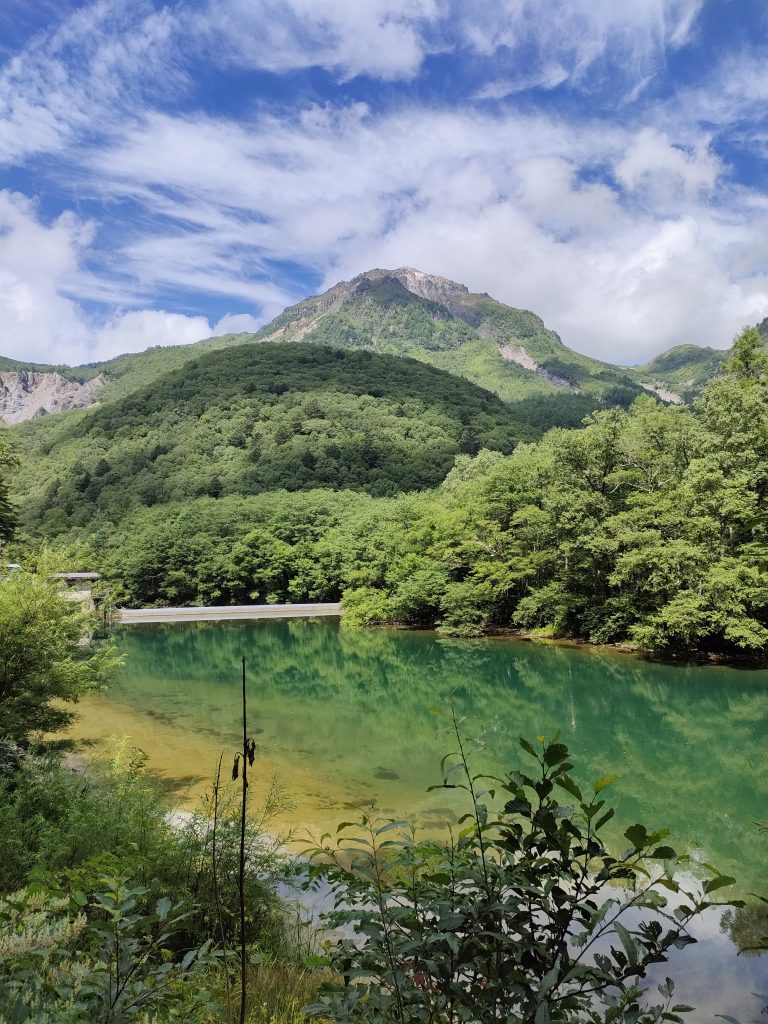
9:50 [Taisho Ike Pond]
Yake-dake and Taisho Pond appeared right in front of our eyes! We felt rewarded for our hard work so far.
The Kamikochi area is truly very beautiful. Being able to enjoy this wonderful scenery at our own pace felt particularly rewarding. After soaking up the views, there was gradual uphill slope ahead, but then…
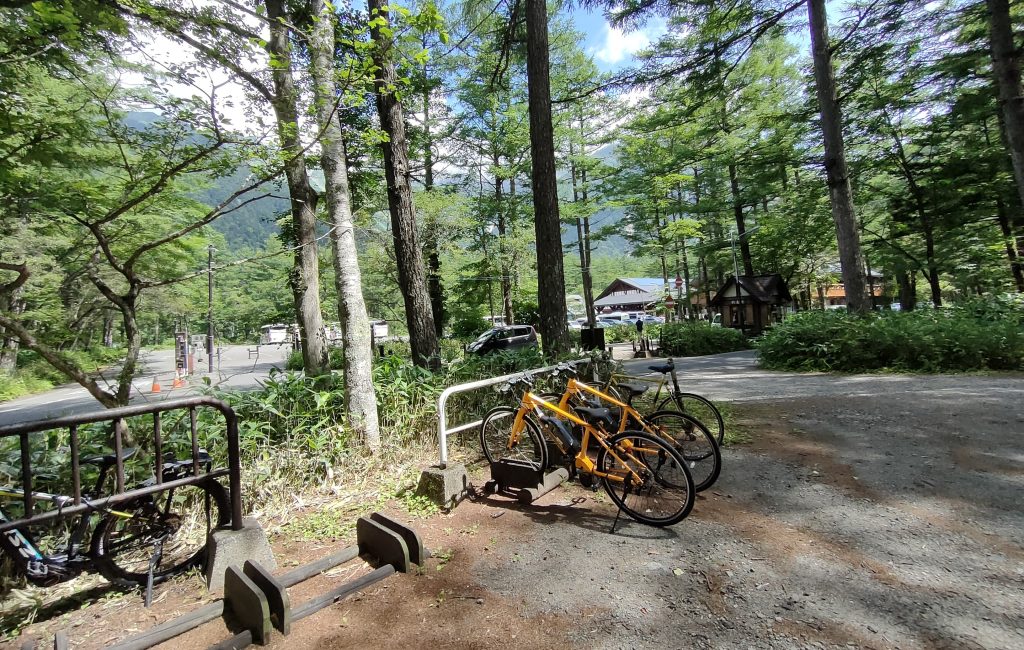
10:15 [Arrive at Kamikochi!]
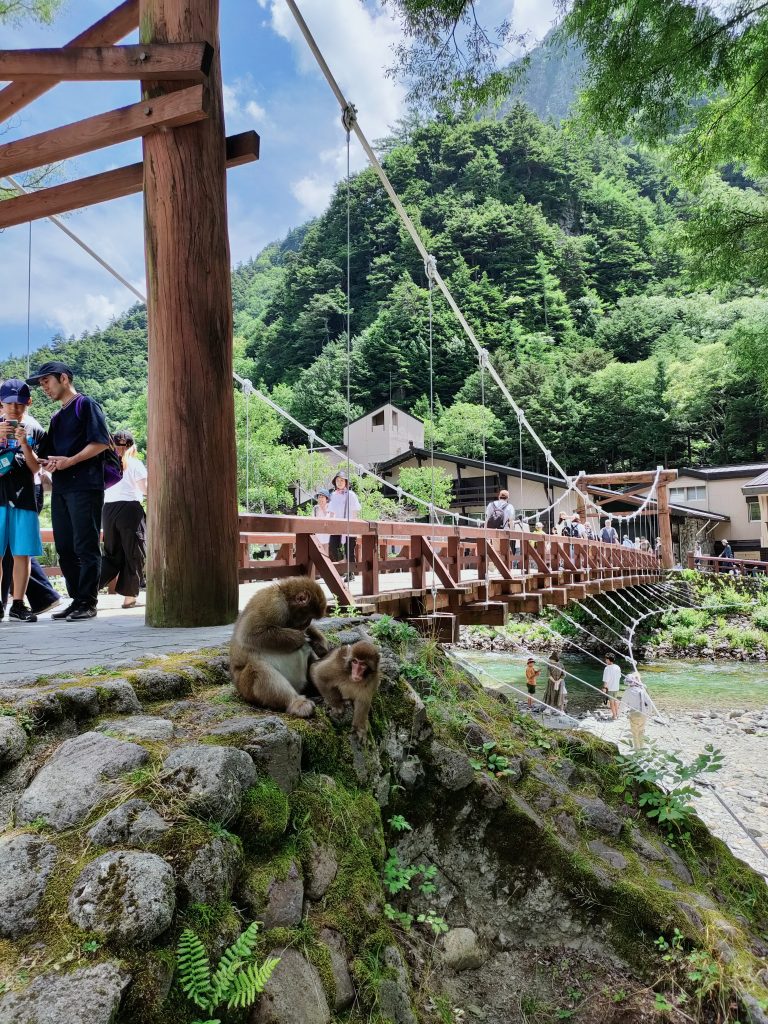
We finally arrived at Kamikochi Bus Terminal! Right next to the entrance should be some bicycle racks.
Park your bicycle at the bicycle parking lot and walk to the Kappa Bridge from here (a 6 minute walk).
I wanted to enjoy more hiking routes such as Myojin Pond, but I had other work to do, so I had to return early… Nevertheless… We enjoyed exploring Kamikochi until it was time to go.
11:10 [Returning to Hirayu]
Next we departed from Kamikochi Bus Terminal.
There is a slight descent that continues to the Kama Tunnel.
Once you’re in the tunnel however, it’s a steep descent!
We made it through, but there were a lot of cars around. It can be dangerous, so please descend slowly and carefully.
We passed through the tunnel and returned to the Nakanoyu store.
But… the most difficult part of the route laid ahead… ^^;;
From the Nakanoyu store to Abo Pass, the elevation jumps from 1,315 meters to 1,790 meters. It is an uphill slope.
As a 50 year old, these roads were really testing me, but alas…I had to go!
12:00 [back past Nakanoyu Hot Spring]
We returned to Nakanoyu Hot Spring. From here, it continues uphill.
Even with the electric bicycles, it was at times challenging.
12:30 [reach Abo Pass’s entrance]
But we were finally able to make it to Abo Pass! Once you reach this point, the hardest part is over.
Once you get to this point, all you have to do is go down. Descend slowly, putting your safety first.
13:00 [Return the e-bike]
We finally arrived back at Okuhida Base in Hirayu Onsen!
We returned our rental bicycles and went straight to the hot springs to relieve our aching feet ^^ Nearby are a lot of day trip hot springs and a free foot bath located the entrance of Hirayu-no-yu.
Some useful advice:
⬥Biking to Kamikochi includes many steep slopes, so a lot of battery consumption takes place. To ensure that you have enough bike power, we recommend you using ECO mode to conserve energy.
⬥If you are concerned about your stamina or batteries, we recommend renting spare batteries (1,000 yen).
CAMP HACK is an outdoor web magazine that provides information for all those who are interested in camping. CAMP HACK is an outdoor web magazine that delivers information for everyone who is interested in camping. Please check it out! Japan’s largest camping and outdoor news magazine|CAMP HACK
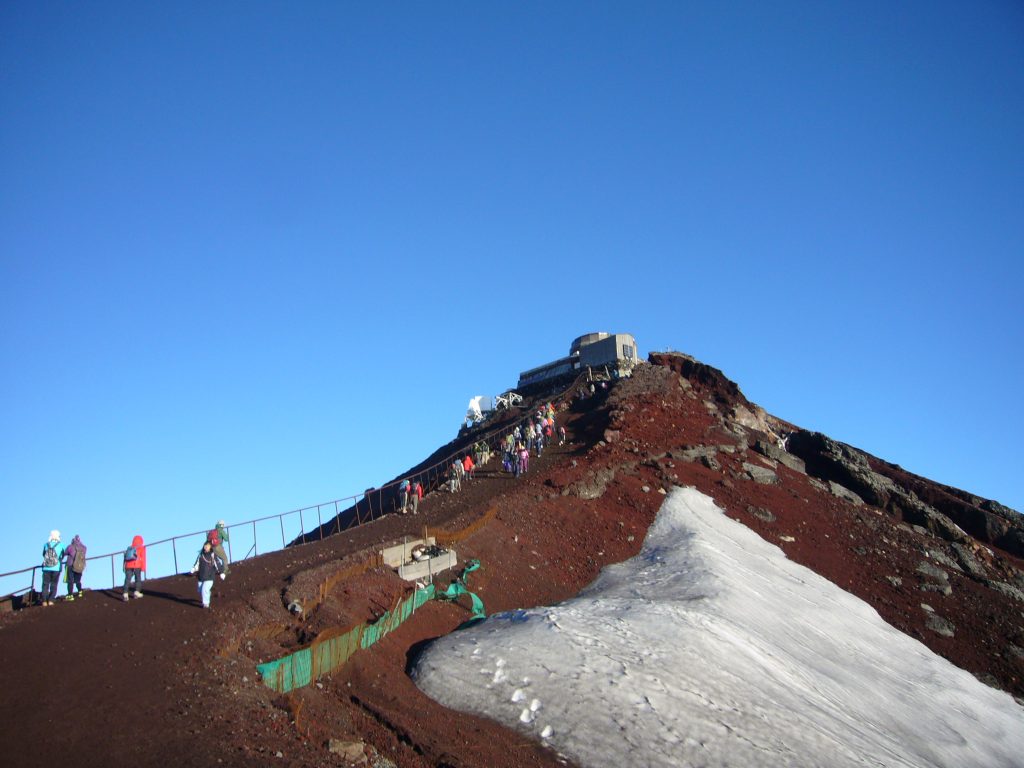
What is the highest point in Japan? It is Mt. Fuji, known to all Japanese! Its elevation is 3,776 meters above sea level!
For those who are considering climbing Mt. There are multiple trailheads and four different routes to the summit of Mt!
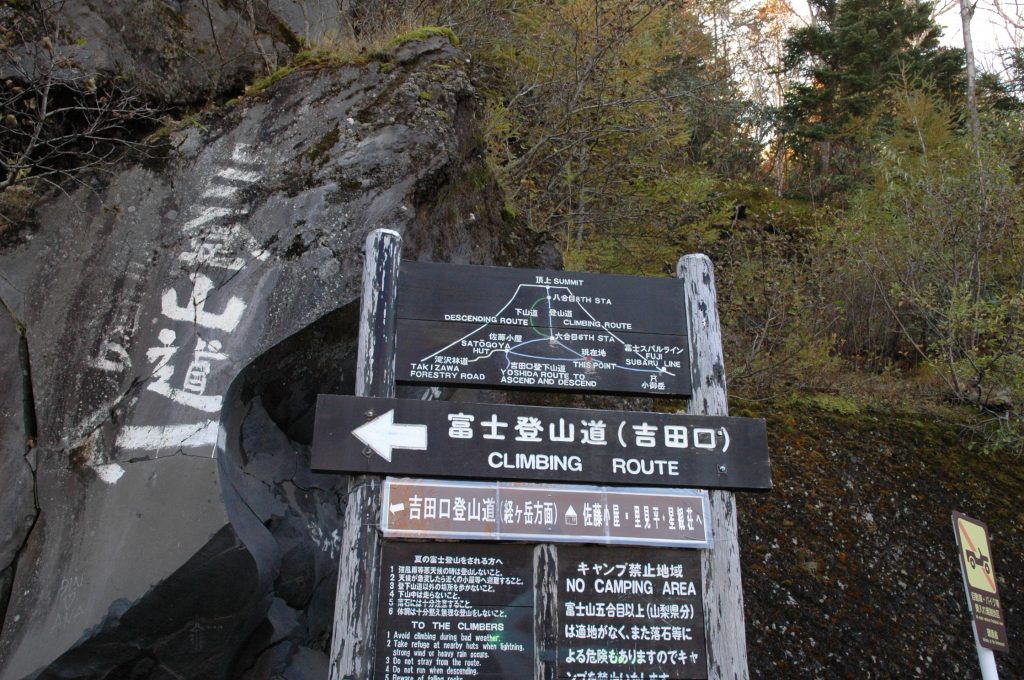
Fuji Subaru Line Fifth station (Yamanashi side) Yoshida route climbing from the trailhead at an elevation of 2,305 meters Climbing time: about 6 hours uphill, about 4 hours downhill
Fifth station at Susuriguchi (Shizuoka Prefecture side) The Susugi route climbs from the trailhead at an elevation of 1,970 meters. Climbing time: about 6 hours uphill, 3 hours downhill
Gotemba-guchi new fifth station (Shizuoka Prefecture side) Gotemba route climbing from the trailhead at an elevation of 1,440 meters Climbing time: about 7 hours uphill, 3 hours downhill
Fujinomiya Fifth Station (Shizuoka Prefecture side) Fujinomiya route climbing from the trailhead at an elevation of 2,380 meters Climbing time: 5 hours ascent, 3 hours descent
2024 Opening date of Mt. Yoshida Route: Monday, July 1, 2024 – Tuesday, September 10, 2024
Susugi Route, Gotemba Route, Fujinomiya Route: Wednesday, July 10, 2024 – Tuesday, September 10, 2024
Which trailhead do you recommend?
If you live in the Tokyo area and are a beginner climbing or mountaineering Mt,
The Yoshida Route at the fifth station of the Fuji Subaru Line is recommended.
Reason 1 The elevation at the starting point is as high as 2,305 meters! 1,471m left to the summit!
If you are going by car, the Fujinomiya route, which has the highest starting point at 2,380 meters above sea level, is also recommended, but there are significant disadvantages to driving. You or someone accompanying you must drive. The return trip is very sleepy and difficult due to fatigue, and dangerous. I drove to my first Mt. The monotonous highway driving on the way back was very, very hard.
Also, with today’s strict environmental regulations, you must park your car at the parking lot at the base of the mountain and transfer to a shuttle bus to reach the trailhead.
Reason 3 There are many mountain huts, so you can rest assured when the need arises.
The disadvantage of the Yoshida Route is that it is the most popular course, so it is crowded in high season.
If you are physically fit and prefer an open route, the Gotemba route is recommended. For access to the Gotemba route Take the bus bound for “Mizugatsuka Koen” from bus stop No. 1 at Fujiyamaguchi, Gotemba Station. Timetable and Fare (Gotemba Station→Gotemba-guchi Shin-gogo-me)
Recommended Route Fuji Subaru Line Fifth StationYoshida Route Access and transportation information to
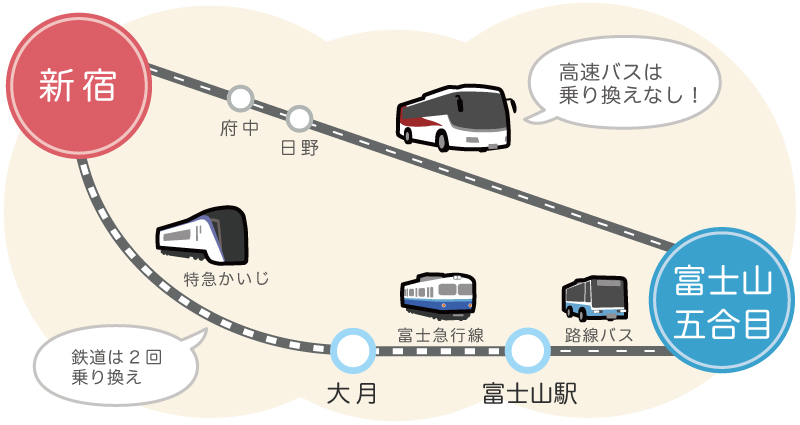
<Recommended! > ~Express Bus~.
Shinjuku Expressway Bus Terminal ⇓ fifth station on Mt Fuji (Fuji Subaru Line Fifth Station) Two round trips per day from 5/7/2024 to 6/30/2024! Travel time: approx. 2 hours and 40 minutes Fee: 3,800 yen (1 adult, one-way, web fare)
Shinjuku Station ⇓ (Express: approx. 60 min. 2,360 yen) ⇓ Ohtsuki station ⇓ (Fujikyu Line) ⇓ Fuji Station ⇓ ( Local bus: 1,570 yen ) ⇓ fifth station on Mt Fuji (Fuji Subaru Line Fifth Station)
~Automobile~.
Takaido etc. ⇓ (Chuo Road) ⇓ Otsuki JCT ⇓ (Chuo Highway, Fujiyoshida line) ⇓ Kawaguchiko IC ⇓ Fuji Parking (Formerly Yamanashi Prefectural Fuji Hokuroku Parking Lot) ⇓ ( Shuttle bus: 45 minutes, 2,100 yen round trip) ⇓ fifth station on Mt Fuji (Fuji Subaru Line Fifth Station)
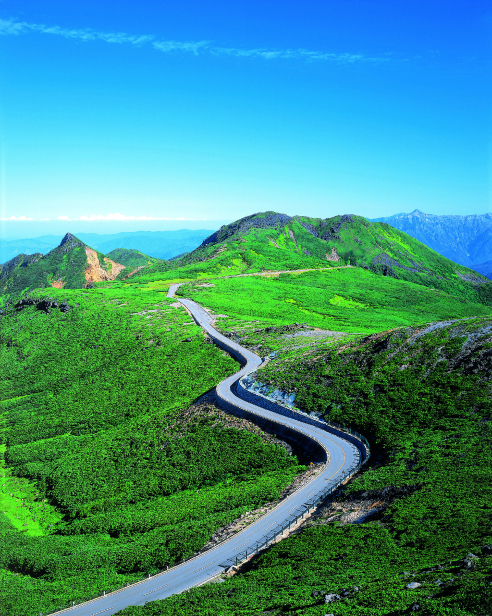
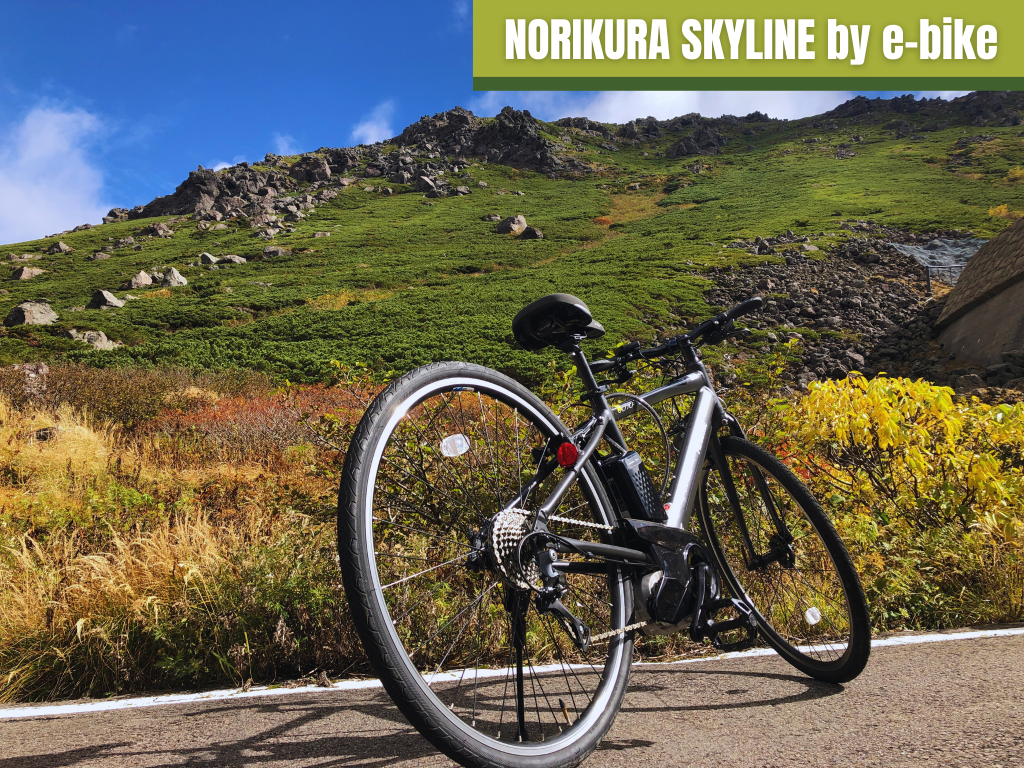
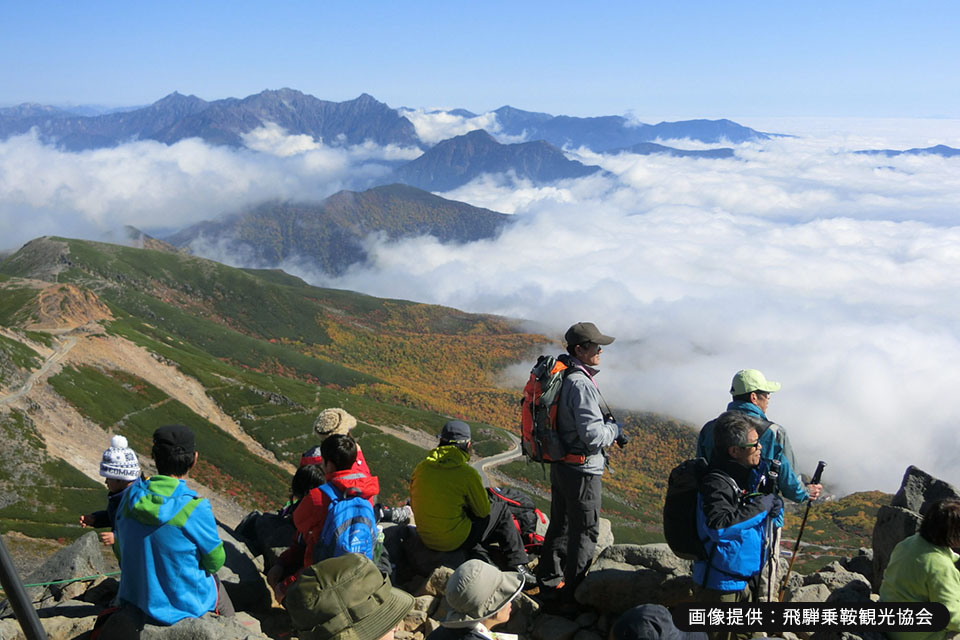
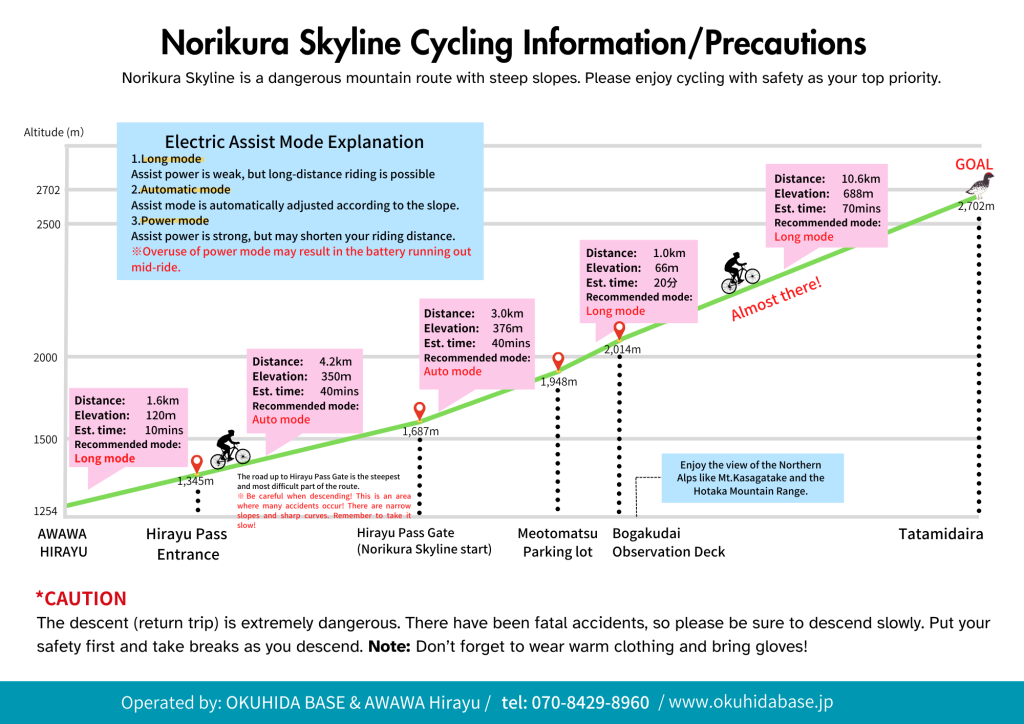
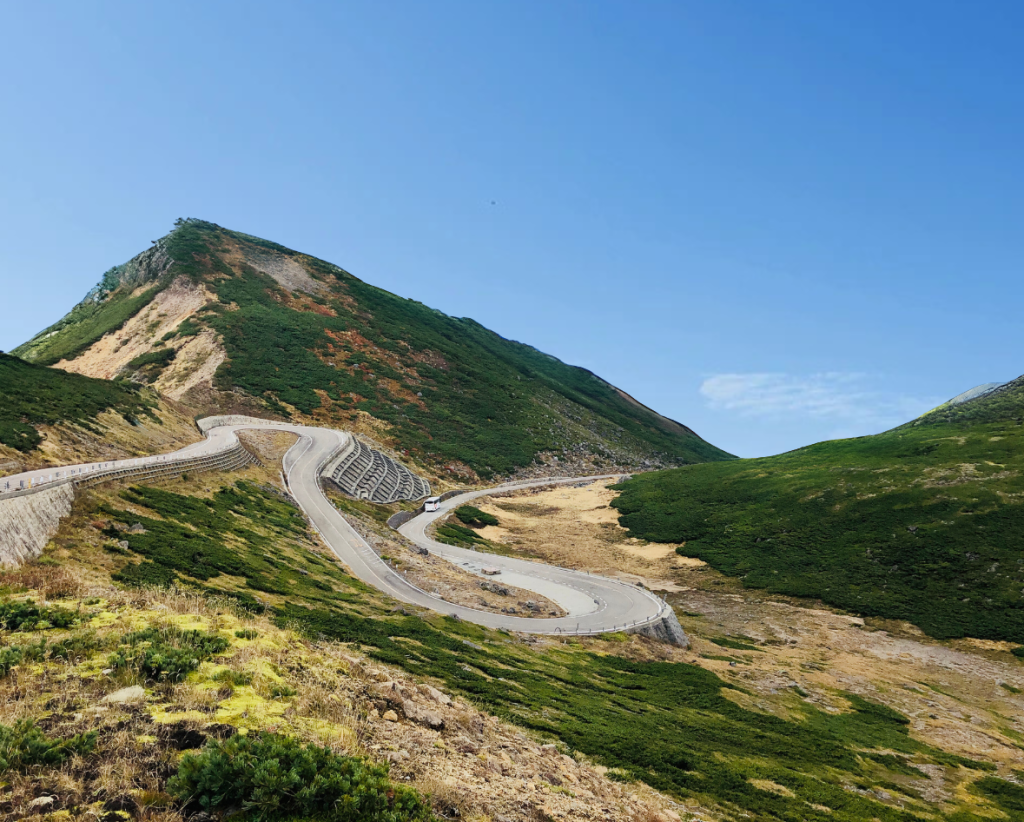
Norikura Skyline is considered a sacred route amongst Japanese cyclists. The summit, Tatamidaira, sits at 2,702 meters above sea level, making it the highest point in Japan accessible by bicycleor bus. True to its name, the route feels like you’re riding through the sky. The beauty of Norikura Skyline is something words can hardly capture.
Gallery
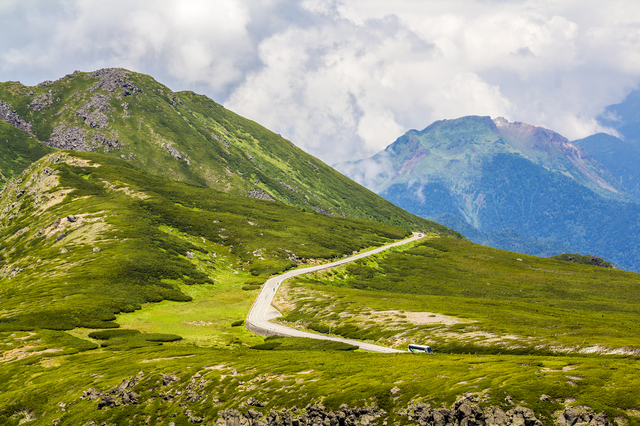
A road in the sky
To get an idea of what biking along Norikura Skyline is like, watch this video that was filmed there:
While you can’t drive here because of environmental protection traffic restrictions, you can go by cycling! Norikura Skyline is located within the Chubu-Sangaku National Park, and for nature conservation purposes, general vehicles are not allowed on the road. Only buses and bicycles are allowed.
Where is Norikura Skyline?
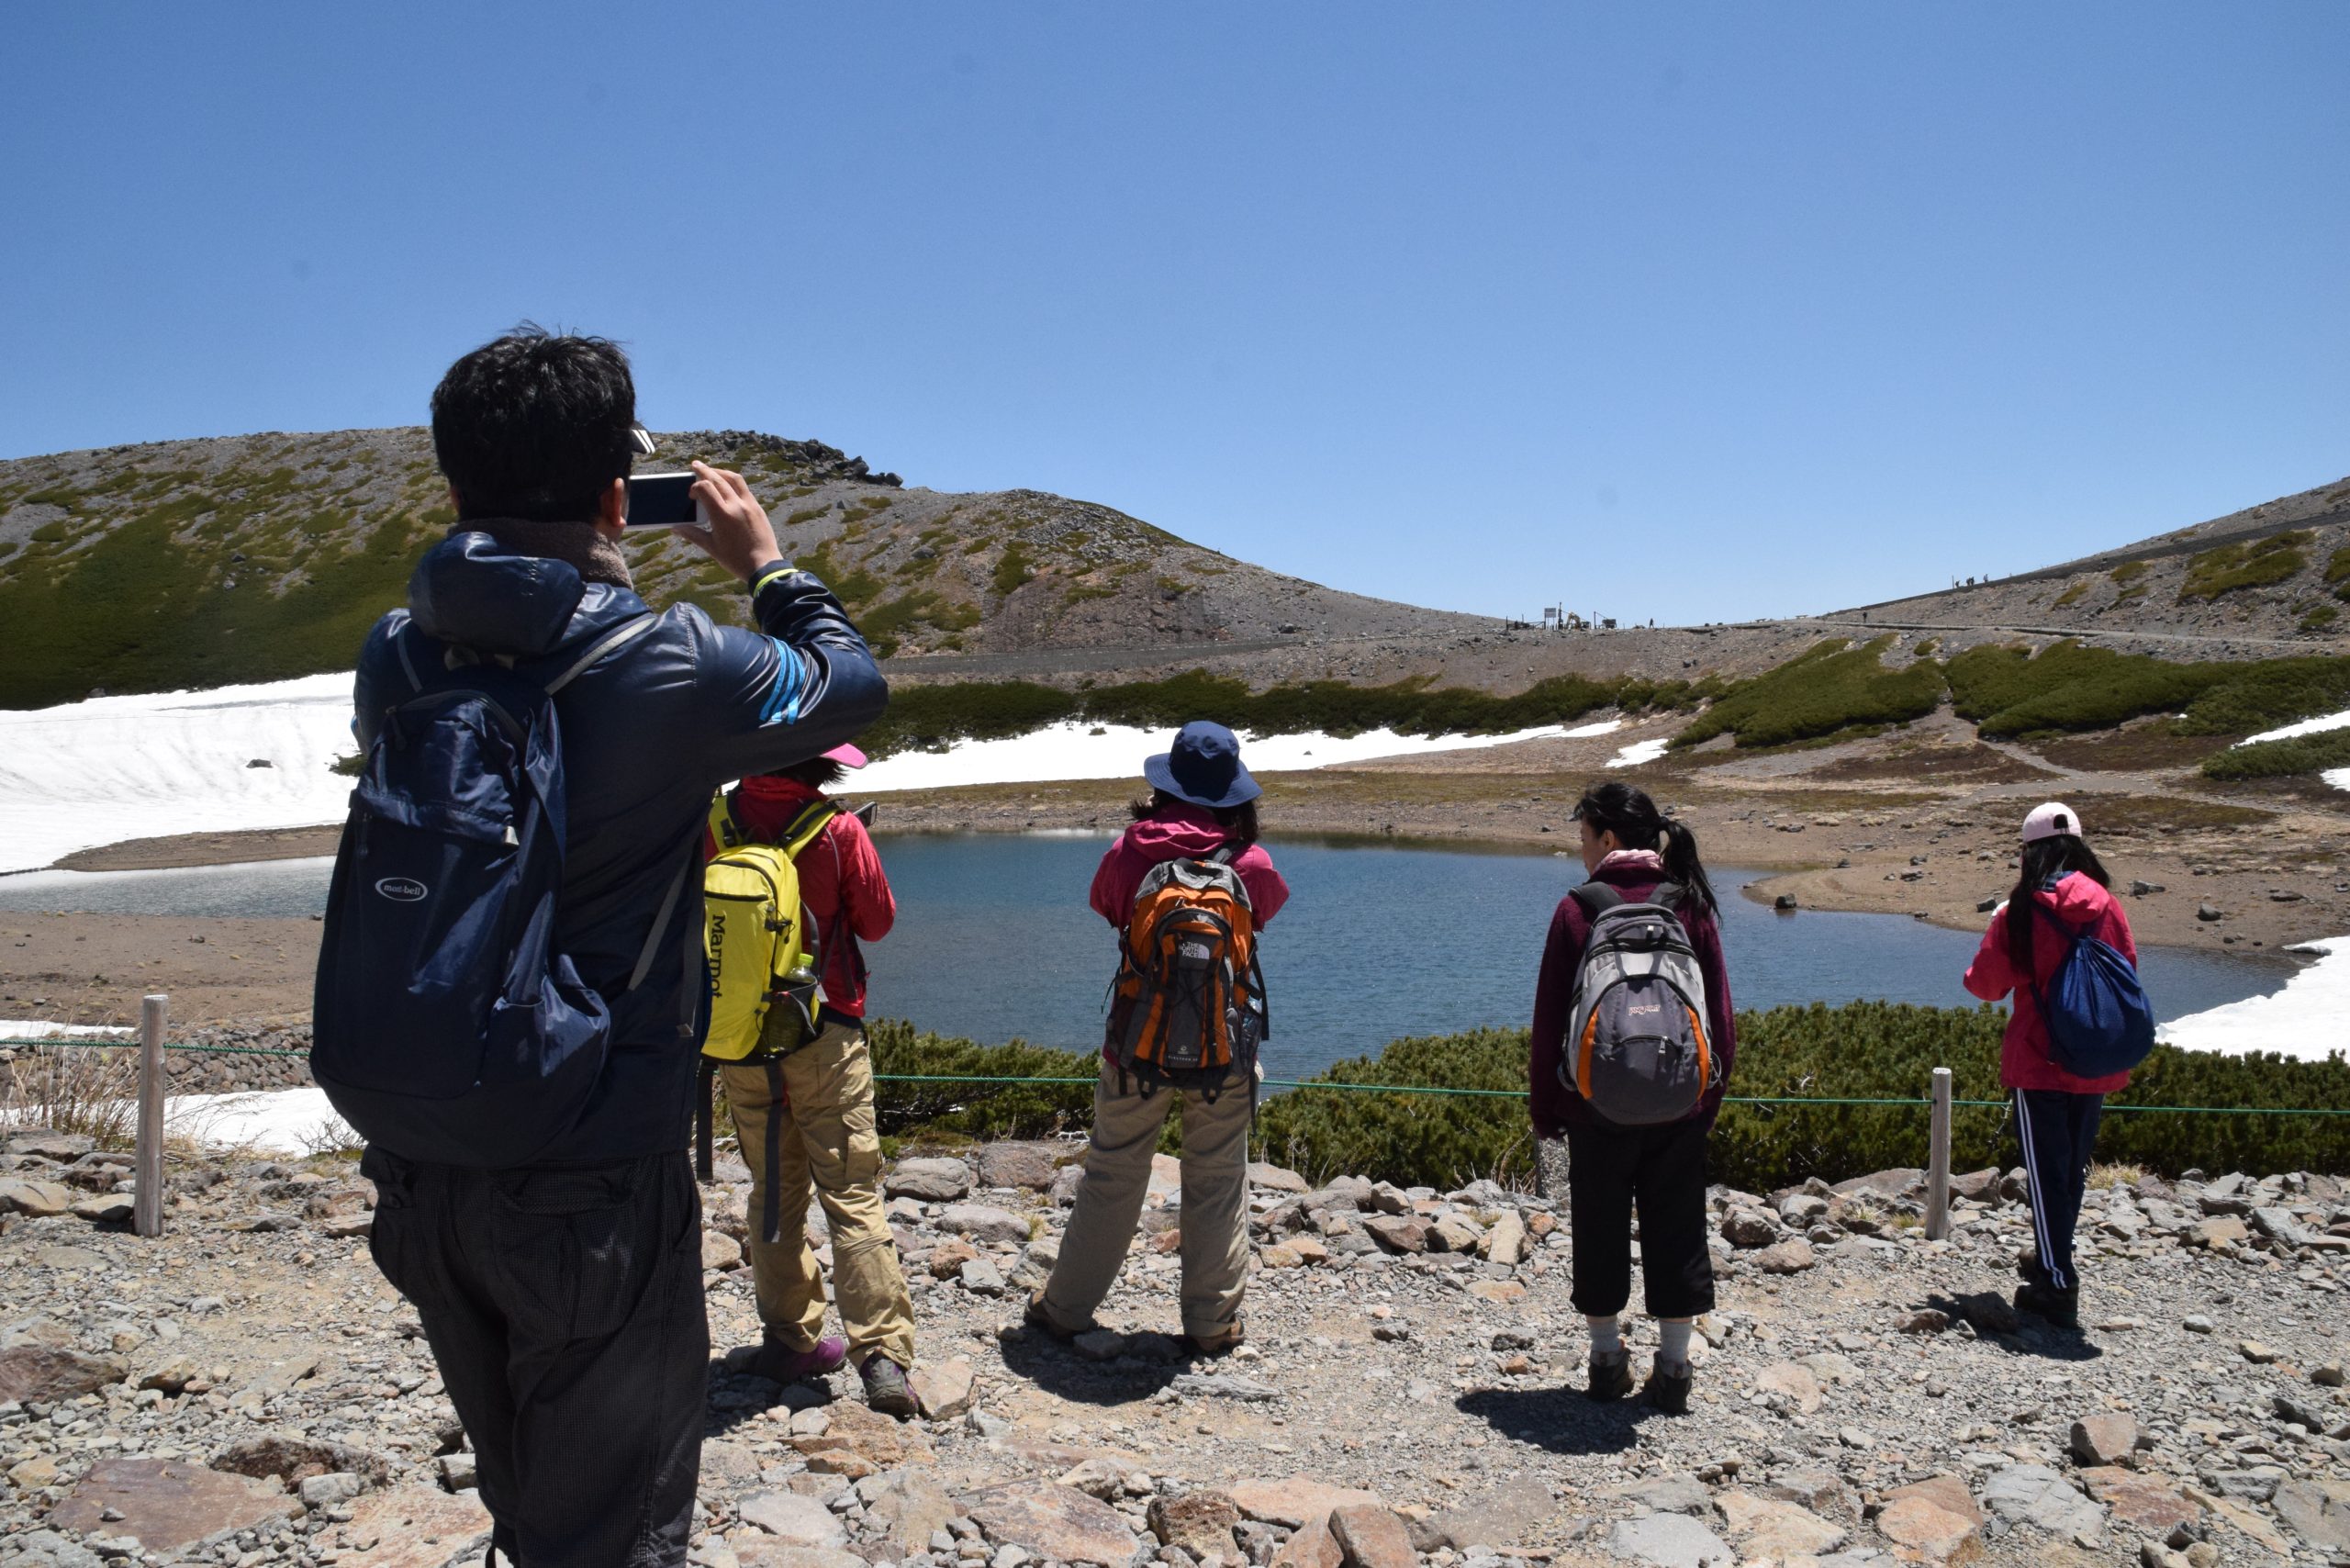
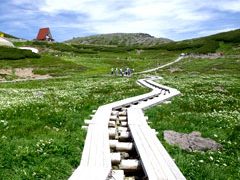
Norikura Skyline is the mountain road leading to Mt.Norikura, a picturesque mountain with many hiking routes located between Nagano and Gifu Prefecture. At the summit of Mt.Norikura is Tatamidaira, which has a parking lot, souvenir store, and rest area for buses and bicyclists. This is where you can park your bike and walk around the area to hike, grab some lunch, or enjoy the views.
As a 49 year old middle aged man who teleworks every day, I decided to take on the challenge by rentingelectrically power assisted bicycles (e-bikes) with my friend.
Route overview
*Hirayu Onsen is located directly at the base of Mt.Norikura. Daily e-bike rentals can be made here.
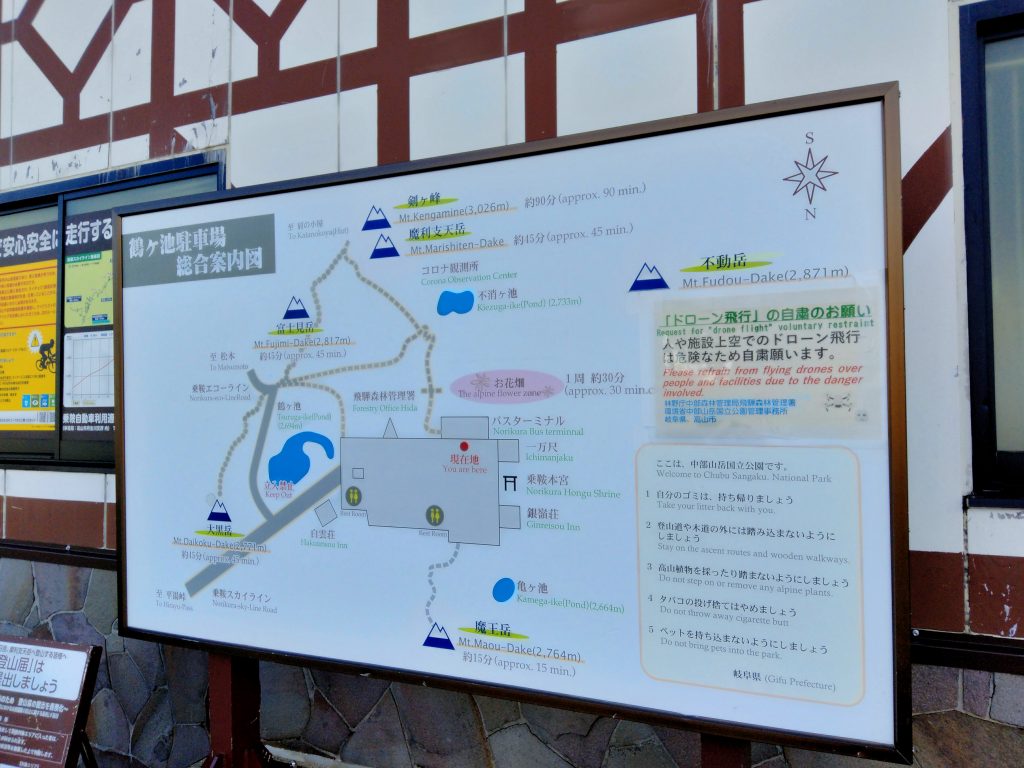
1. [START POINT] Hirayu Onsen (a neighborhood in Okuhida) 2. Norikura Skyline Hirayu Pass Gate (fill out a questionnaire with the guards before ascending) 3. Meotomatsu Parking Lot (a rest point with a bathroom) [bathroom under construction] 4. Norikura Skyline Bogakudai (small observation deck) 5. [END POINT] Tatamidaira (you can park your bike here)
The Norikura Skyline ends at Tatamidaira, where you can park your bicycle.
Where to rent an e-bike
E-bikes can be rented at a small e-bike station called Okuhida Base in Hirayu, Takayama, around a 3 minute walk from Hirayu Bus Terminal. It is connected to the side of the pizza shop and cafe AWAWA HIRAYU. The e-bikes can be retrieved contactless starting from 7AM and the booking process is all made online. For more detailed information about the bicycles and reservations, you can visit the Okuhida Base website.
When routing with google maps, set your destination to Norikura Tatamidaira. There’s no option to route via bike, but instead you can use the walking route google displays (its the same as the bicycle route). Feel free to use the map we provided below as well.
Experience review
7:45 [Pick up the e-bike]
At the base of Norikura Skyline is a small e-bike rental store in Hirayu called Okuhida Base. It is located about a 3 minute walk from the Hirayu Bus Terminal and is open from 7:00 AM.
Late September, the weather was sunny and the temperature was around 20°C, perfect for cycling. We departed after purchasing a 500 ml bottle of water at the liquor store nearby. I would later regret not buying any food for energy… (more to be explained later)
I strongly recommend that everyone purchase plenty of energy snacks along with water.
Okuhida Base is an unmanned, bicycle and single-seat small electric vehicle rental base.
After making an online reservation on the website and paying with a credit card, you will receive a PIN number for your key locker in advance by e-mail.
Use that PIN to take out the key.
The key for the bicycle and the locker are included in the set.
Inside the locker is a helmet and a charged battery.
Put on your helmet, set the battery on the bike, and you are ready to go.
8:00 [Depart]
After light preparation, we departed for the peak of the Norikura Skyline, Tatamidaira, which is 2,702 meters above sea level. It is around 1,500 meters higher compared to our starting point, Hirayu, which is about 1,250 meters above sea level.
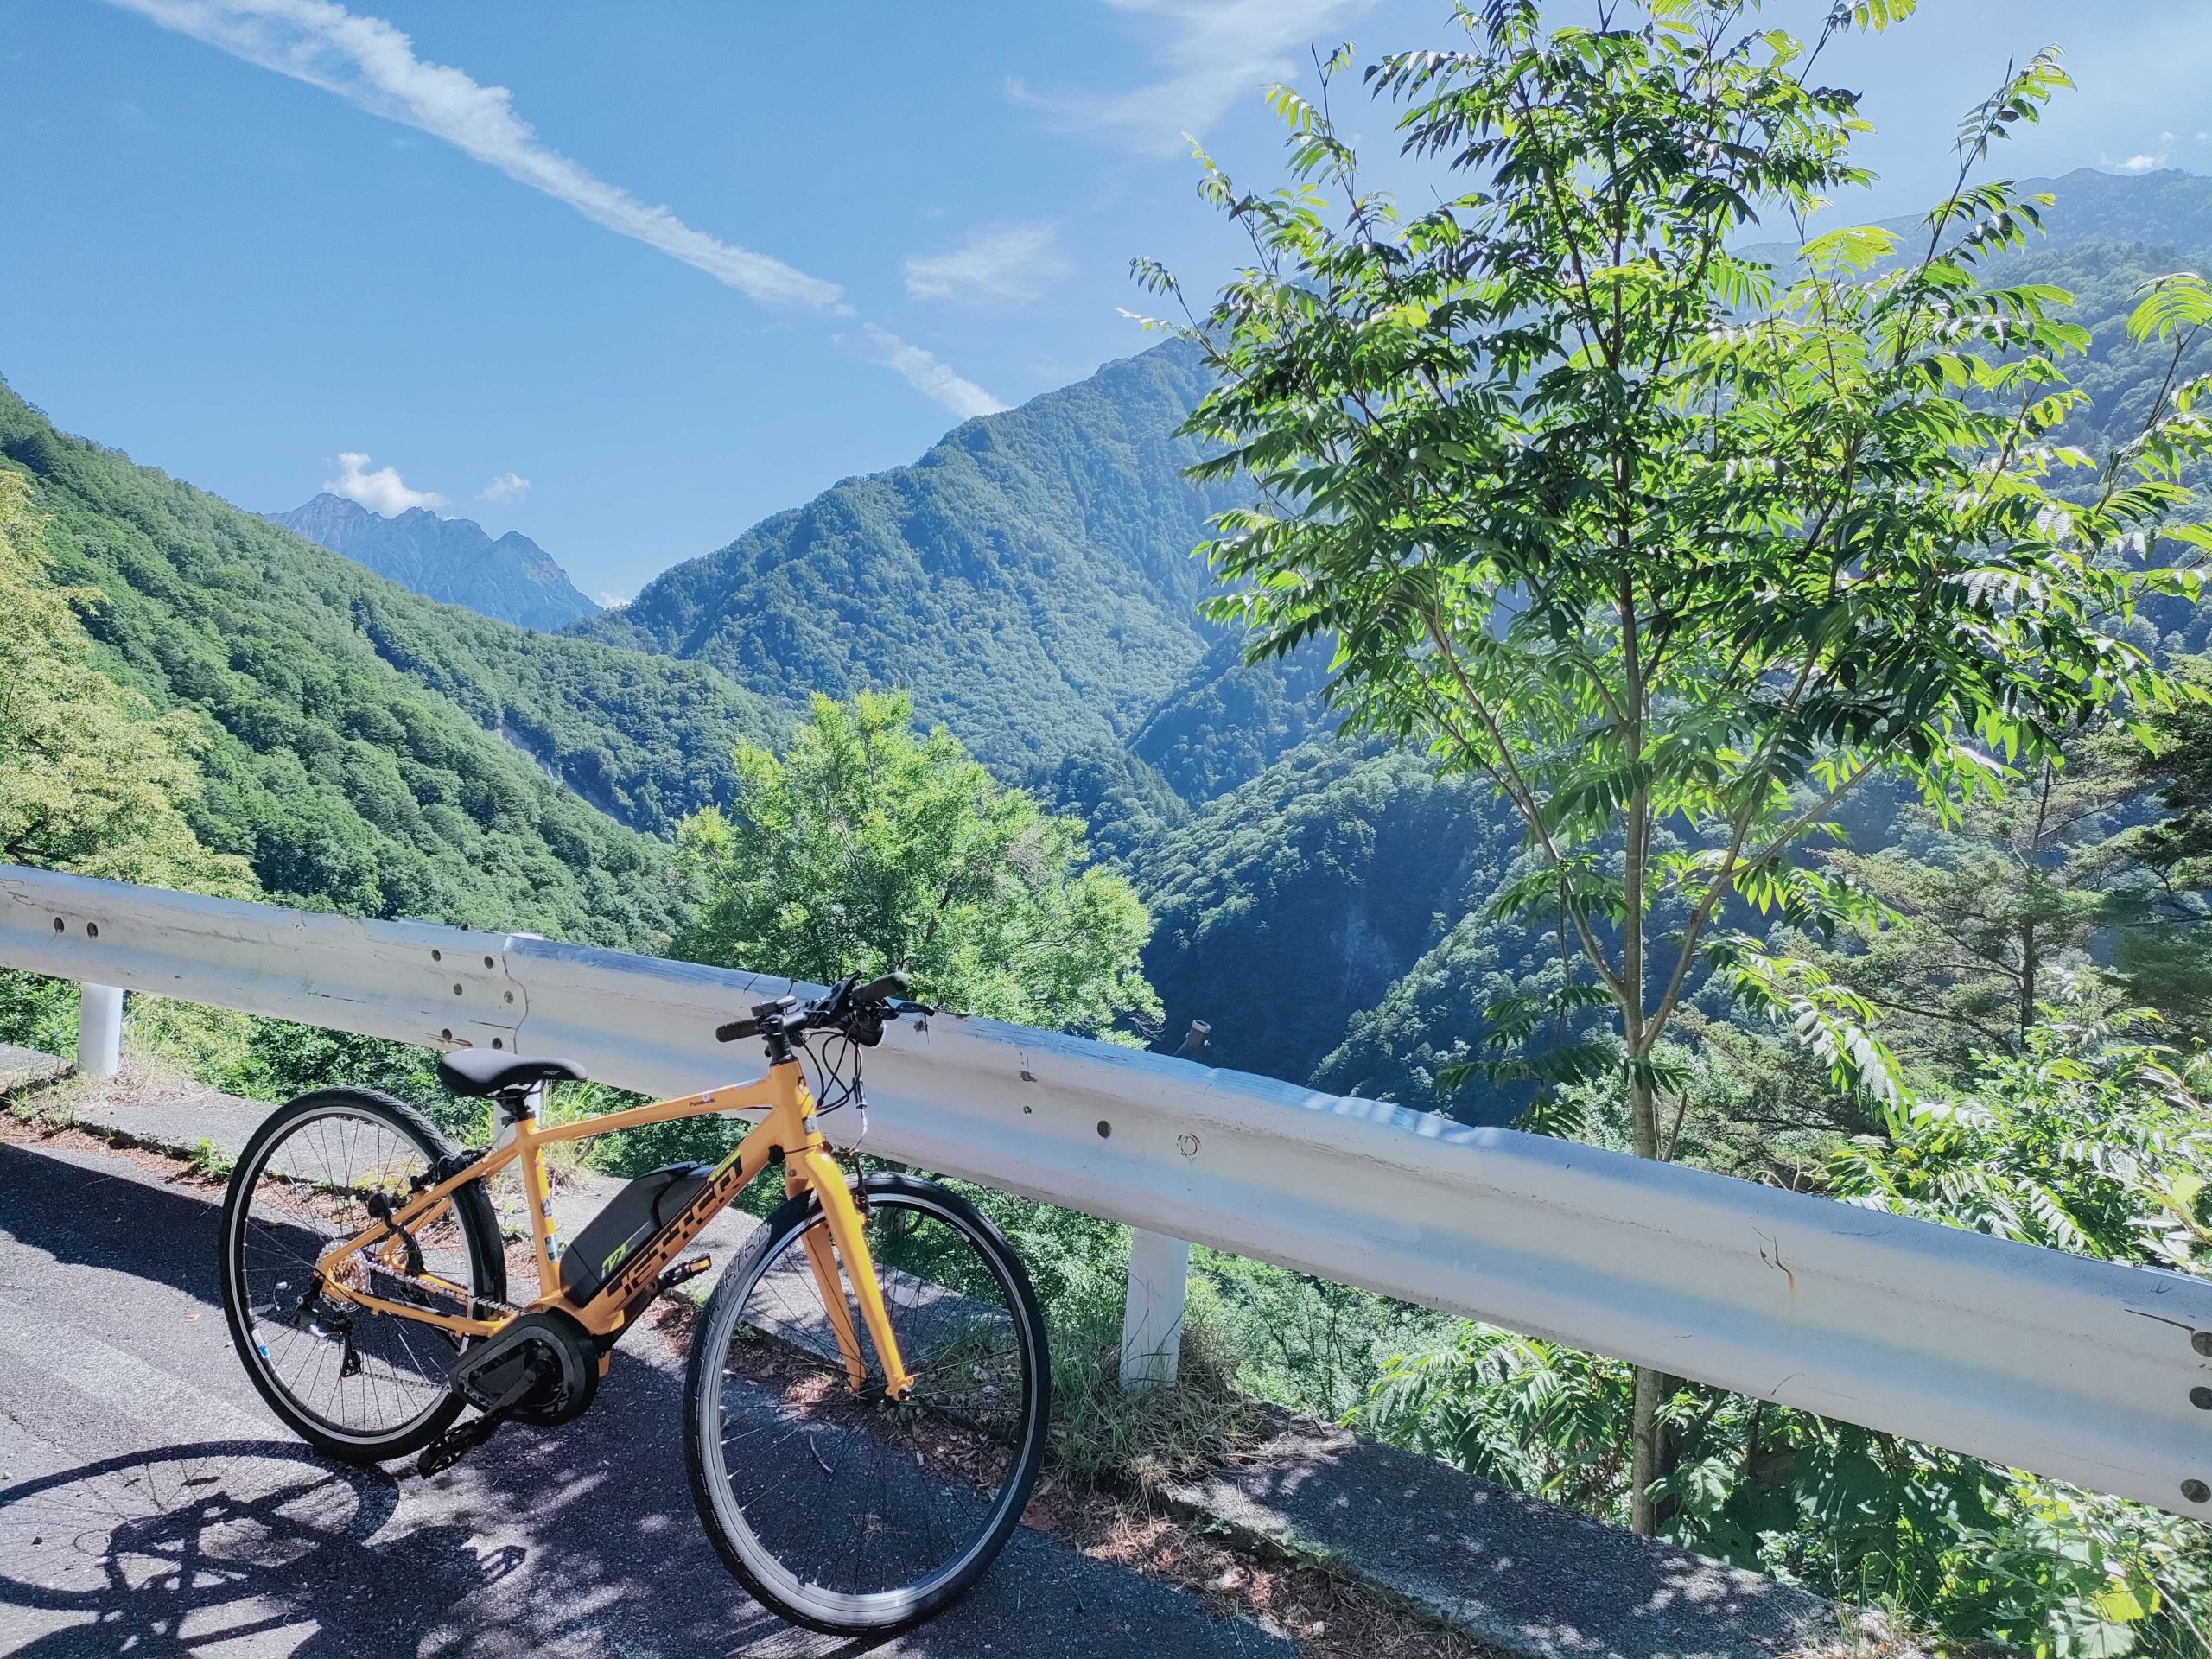
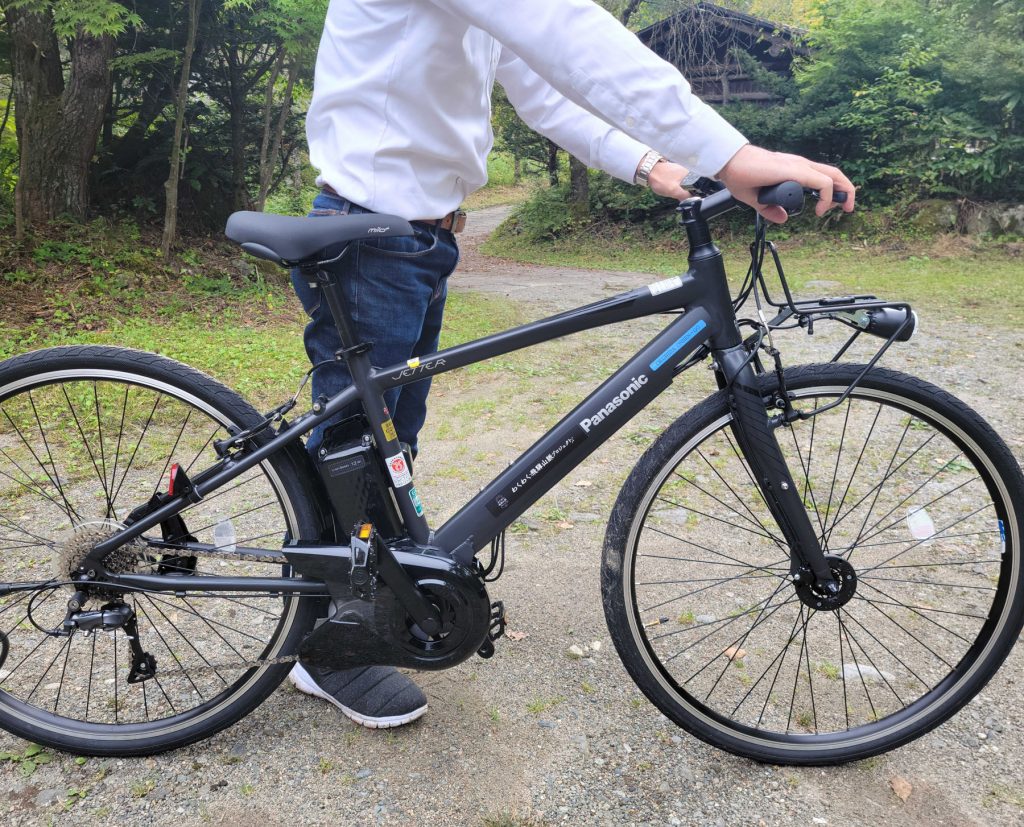
The e-bike comes with electric assist, so it is easy to ride with the motor pushing you back. Compared to electric bicycles that I use on a daily basis, the power seemed different. Since it’s a sports type bicycle, it still has the look of a road cycle yet it is quite sporty to ride and pedal.
Here’s a little advice 1) I hurt my knee in the process.
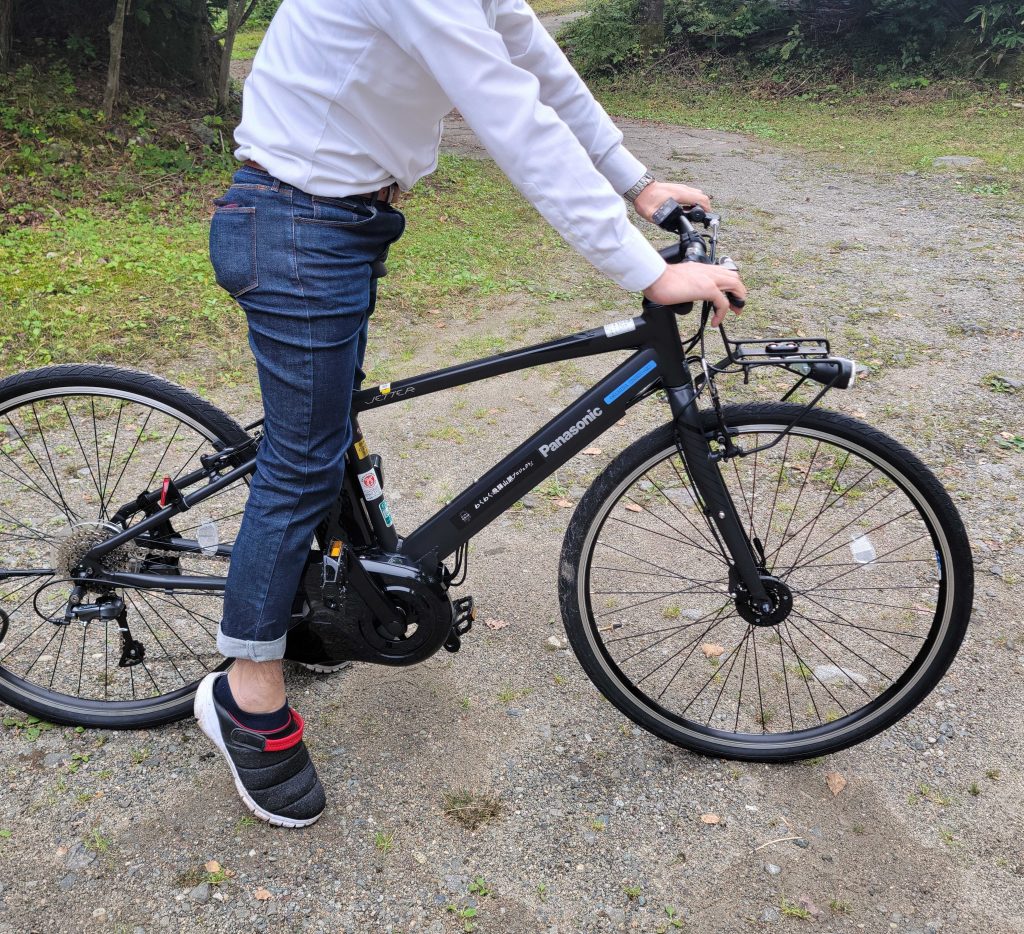
I recommend raising the saddle when riding.
As an amateur cyclist, I pedaled uphill without thinking, and my knees hurt halfway up.
I thought to myself, “Oh no, I’m in trouble! Watching other bicycles go by, I saw that everyone’s saddle was very high!
Their toes barely reached the ground, if at all!
I realized that in order to reduce the burden on my knees and to pedal with ease, I needed to raise the saddle.
If I had realized this earlier, I wouldn’t have gotten hurt! This has helped me recover quickly ^^.
On the other hand, since the return trip is downhill and steep, a lower saddle lowered the center of gravity and makes riding more stable and secure.
8:10 [Hirayu Pass]
Take Route 158 toward Takayama, passing the Hirayu Campground, and you will soon reach the entrance to Hirayu Pass. Turn left here and continue on to Hirayu Pass (towards Norikura Skyline).
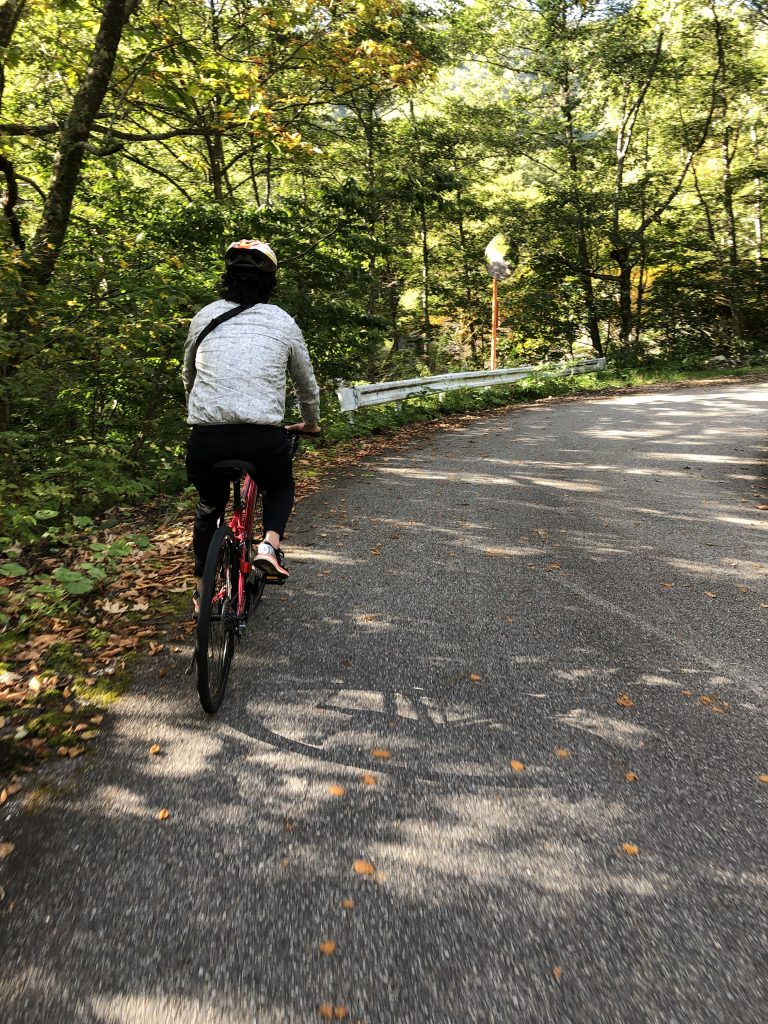
From here, you will be in a bicycle paradise!
You will be riding comfortably along the pass surrounded by forest. At this time, I felt really grateful for the assist system.
The steep slopes are also going well.
Eventally the Hirayu Pass got a bit difficult. I thought it was tougher than Norikura Skyline ^^;;;.
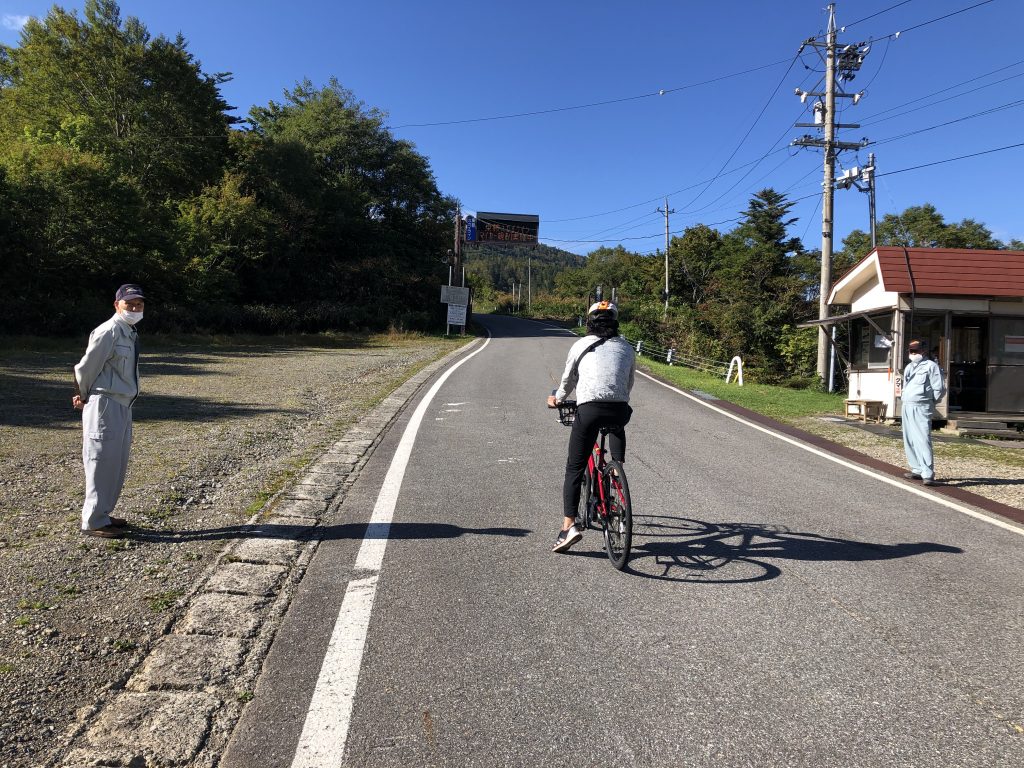
8:25 [Hirayu Pass Gate]
Finally, we arrive at the Hirayu Pass gate at the entrance to the Norikura Skyline. At the entrance, you will be given a questionnaire. Please make sure to fill it out. The gate is open from May 15th to October 31st. We were told that the gate would be open from 3:30 to 18:00 on this day, and that we were at a high altitude of over 2,500 meters. Its recommended to ascend in the morning and descend at noon.
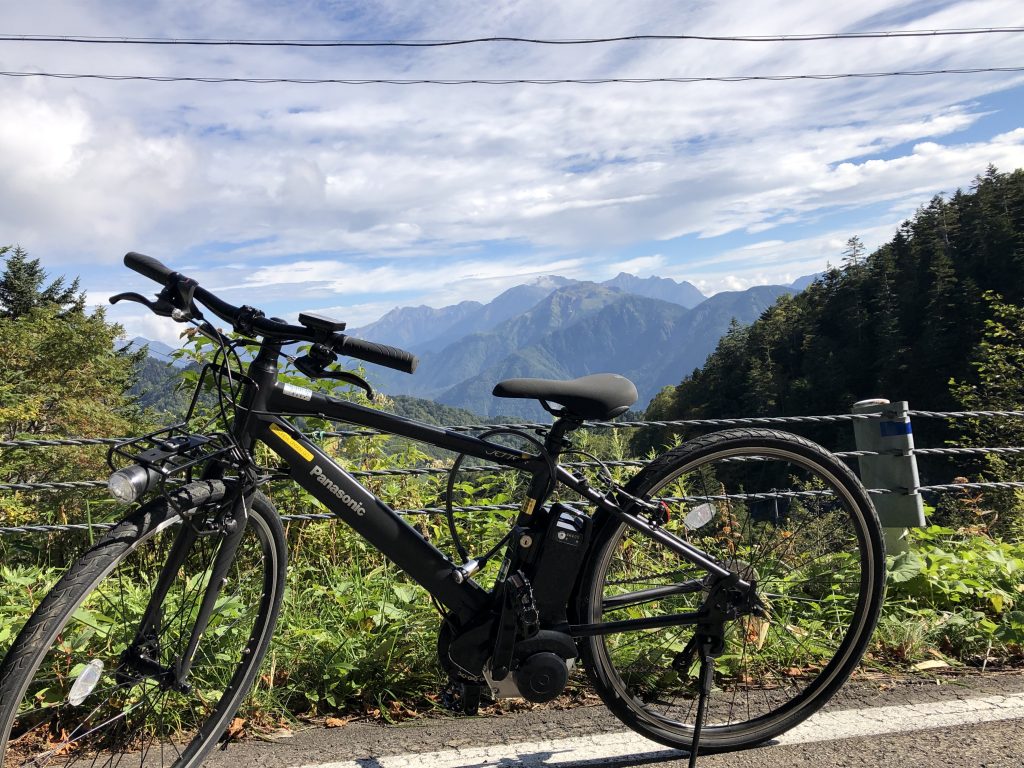
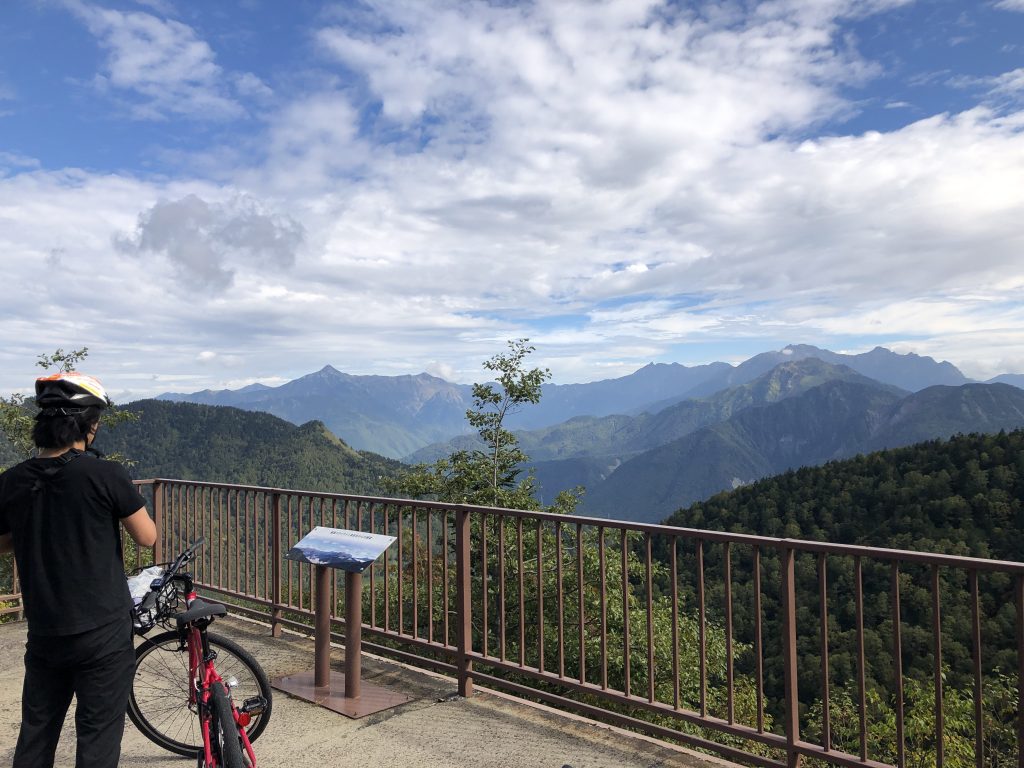
Unlike the previous bus ride up, we cycled at a leisurely pace, enjoying the scenery and feeling the breeze. Thanks to the electric power assist, I could ride up the mountain easily. Couples can enjoy talking while viewing the spectacular view, but unfortunately me and my friend were just two uncles ^^;;;. From Kasagatake, Yarigatake, to Okuhotaka,… The whole view of the mountains of the Northern Alps was breathtaking.
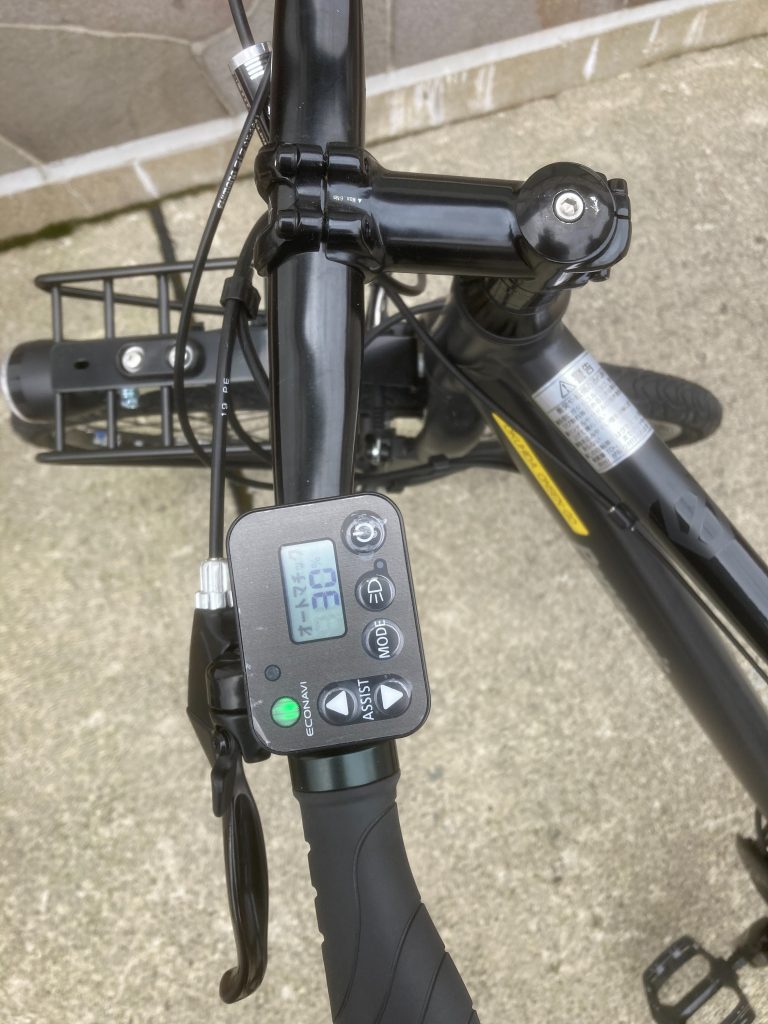
Here’s a little advice 2) Use automatic mode
Automatic mode is recommended as the bicycle assist mode.
Long mode is good for able-bodied cyclists, but it was bit tough for me.
My friend who climbed with power mode ran out of battery 1km before the goal, Tatamidaira. The last 1km was unassisted cycling.
In automatic mode, I had 30% of battery remaining at Tatamitaira.
The return trip is almost entirely downhill and does not require any assist mode. ^^
Keep your saddle low and descend slowly and safely first.
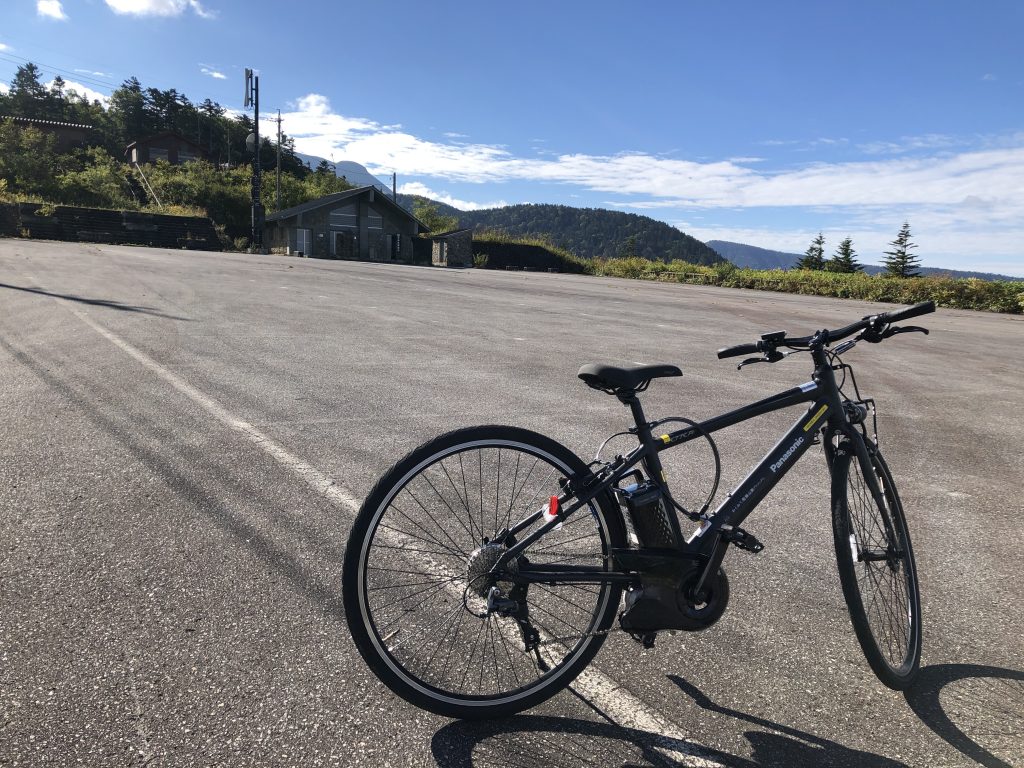
8:40 [Meotomatsu Parking]
Next, arrive at the Meotomatsu parking lot, which has a large observation deck and restrooms (currently under construction as of September 2025)! Here we took a short break. We recommended you take this time for restroom breaks. From here, you can also see the city of Takayama and Mt.Hakusan in the distance!
Those who are not confident in their physical strength or who do not have enough time can enjoy the ride to the couple pine tree parking lot.
8:56 [Norikura Skyline Bogakudai]
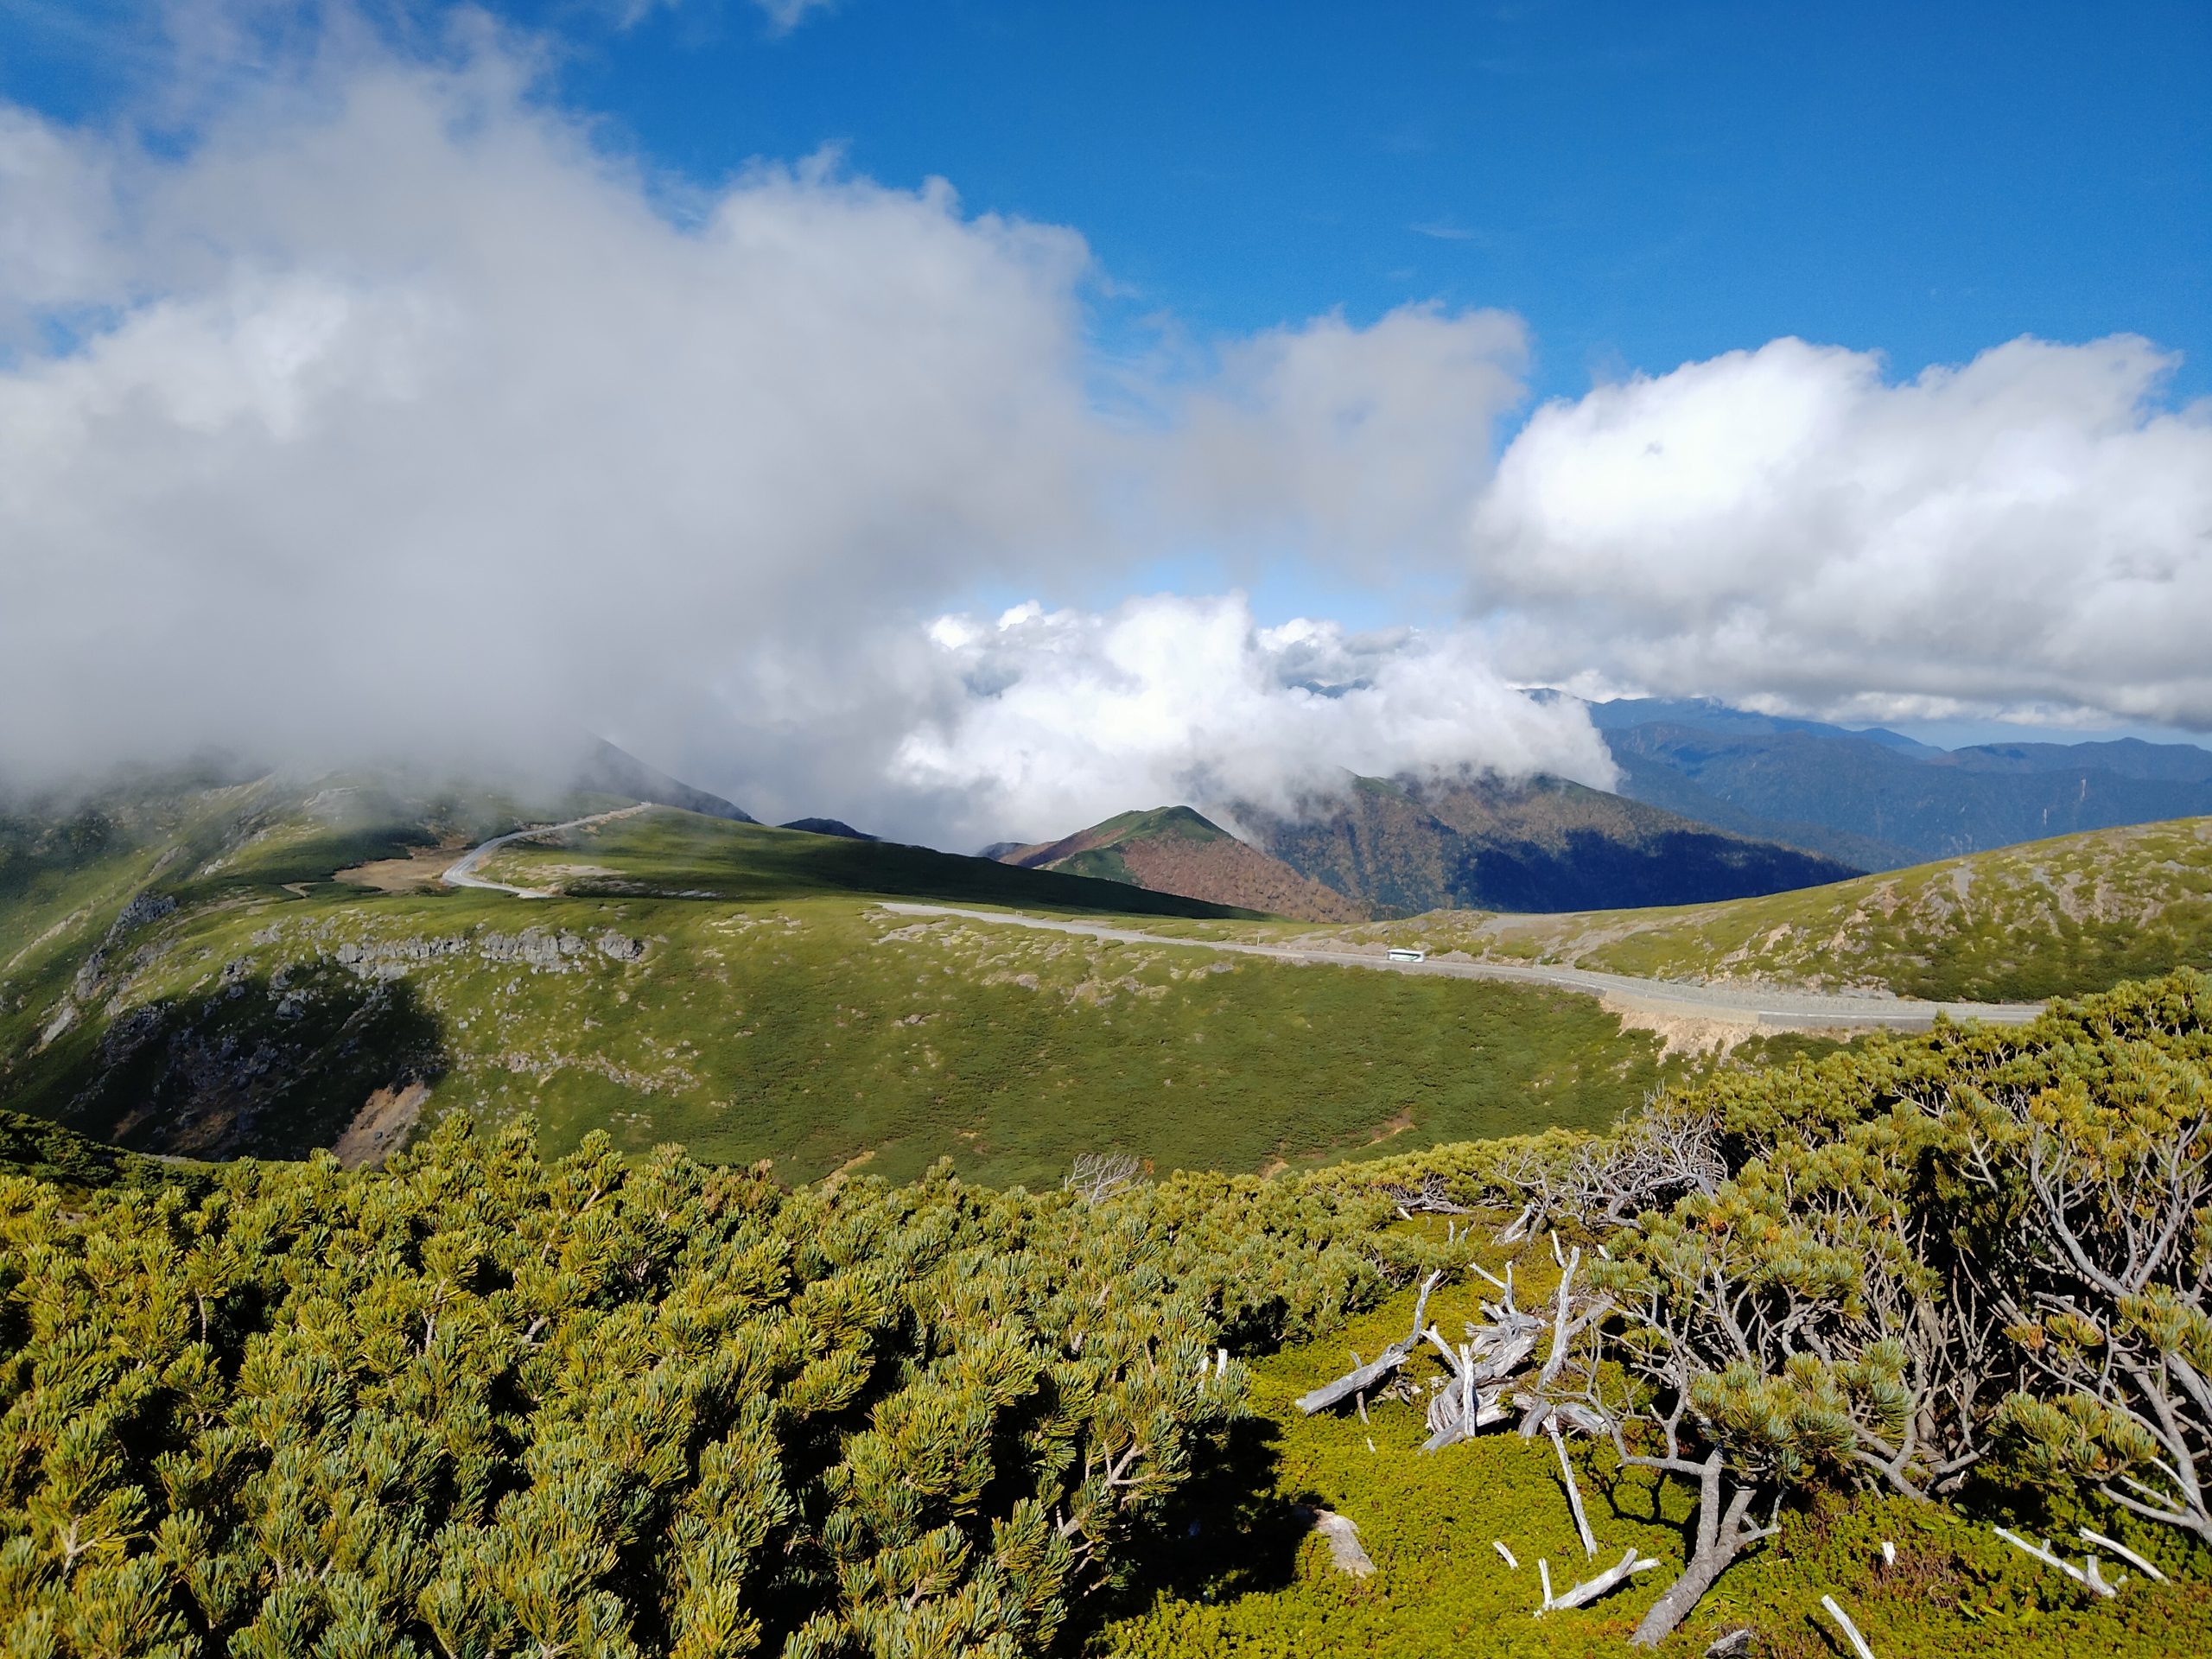
We next arrived at a small observatory called Norikura Skyline Bogakudai. It felt like we were at a much higher elevation. The weather was beautiful and Mt.Yarigatake and Mt.Nishi-Hotaka were clearly visible! The blue sky was so beautiful and the air felt so fresh and clean.
9:48
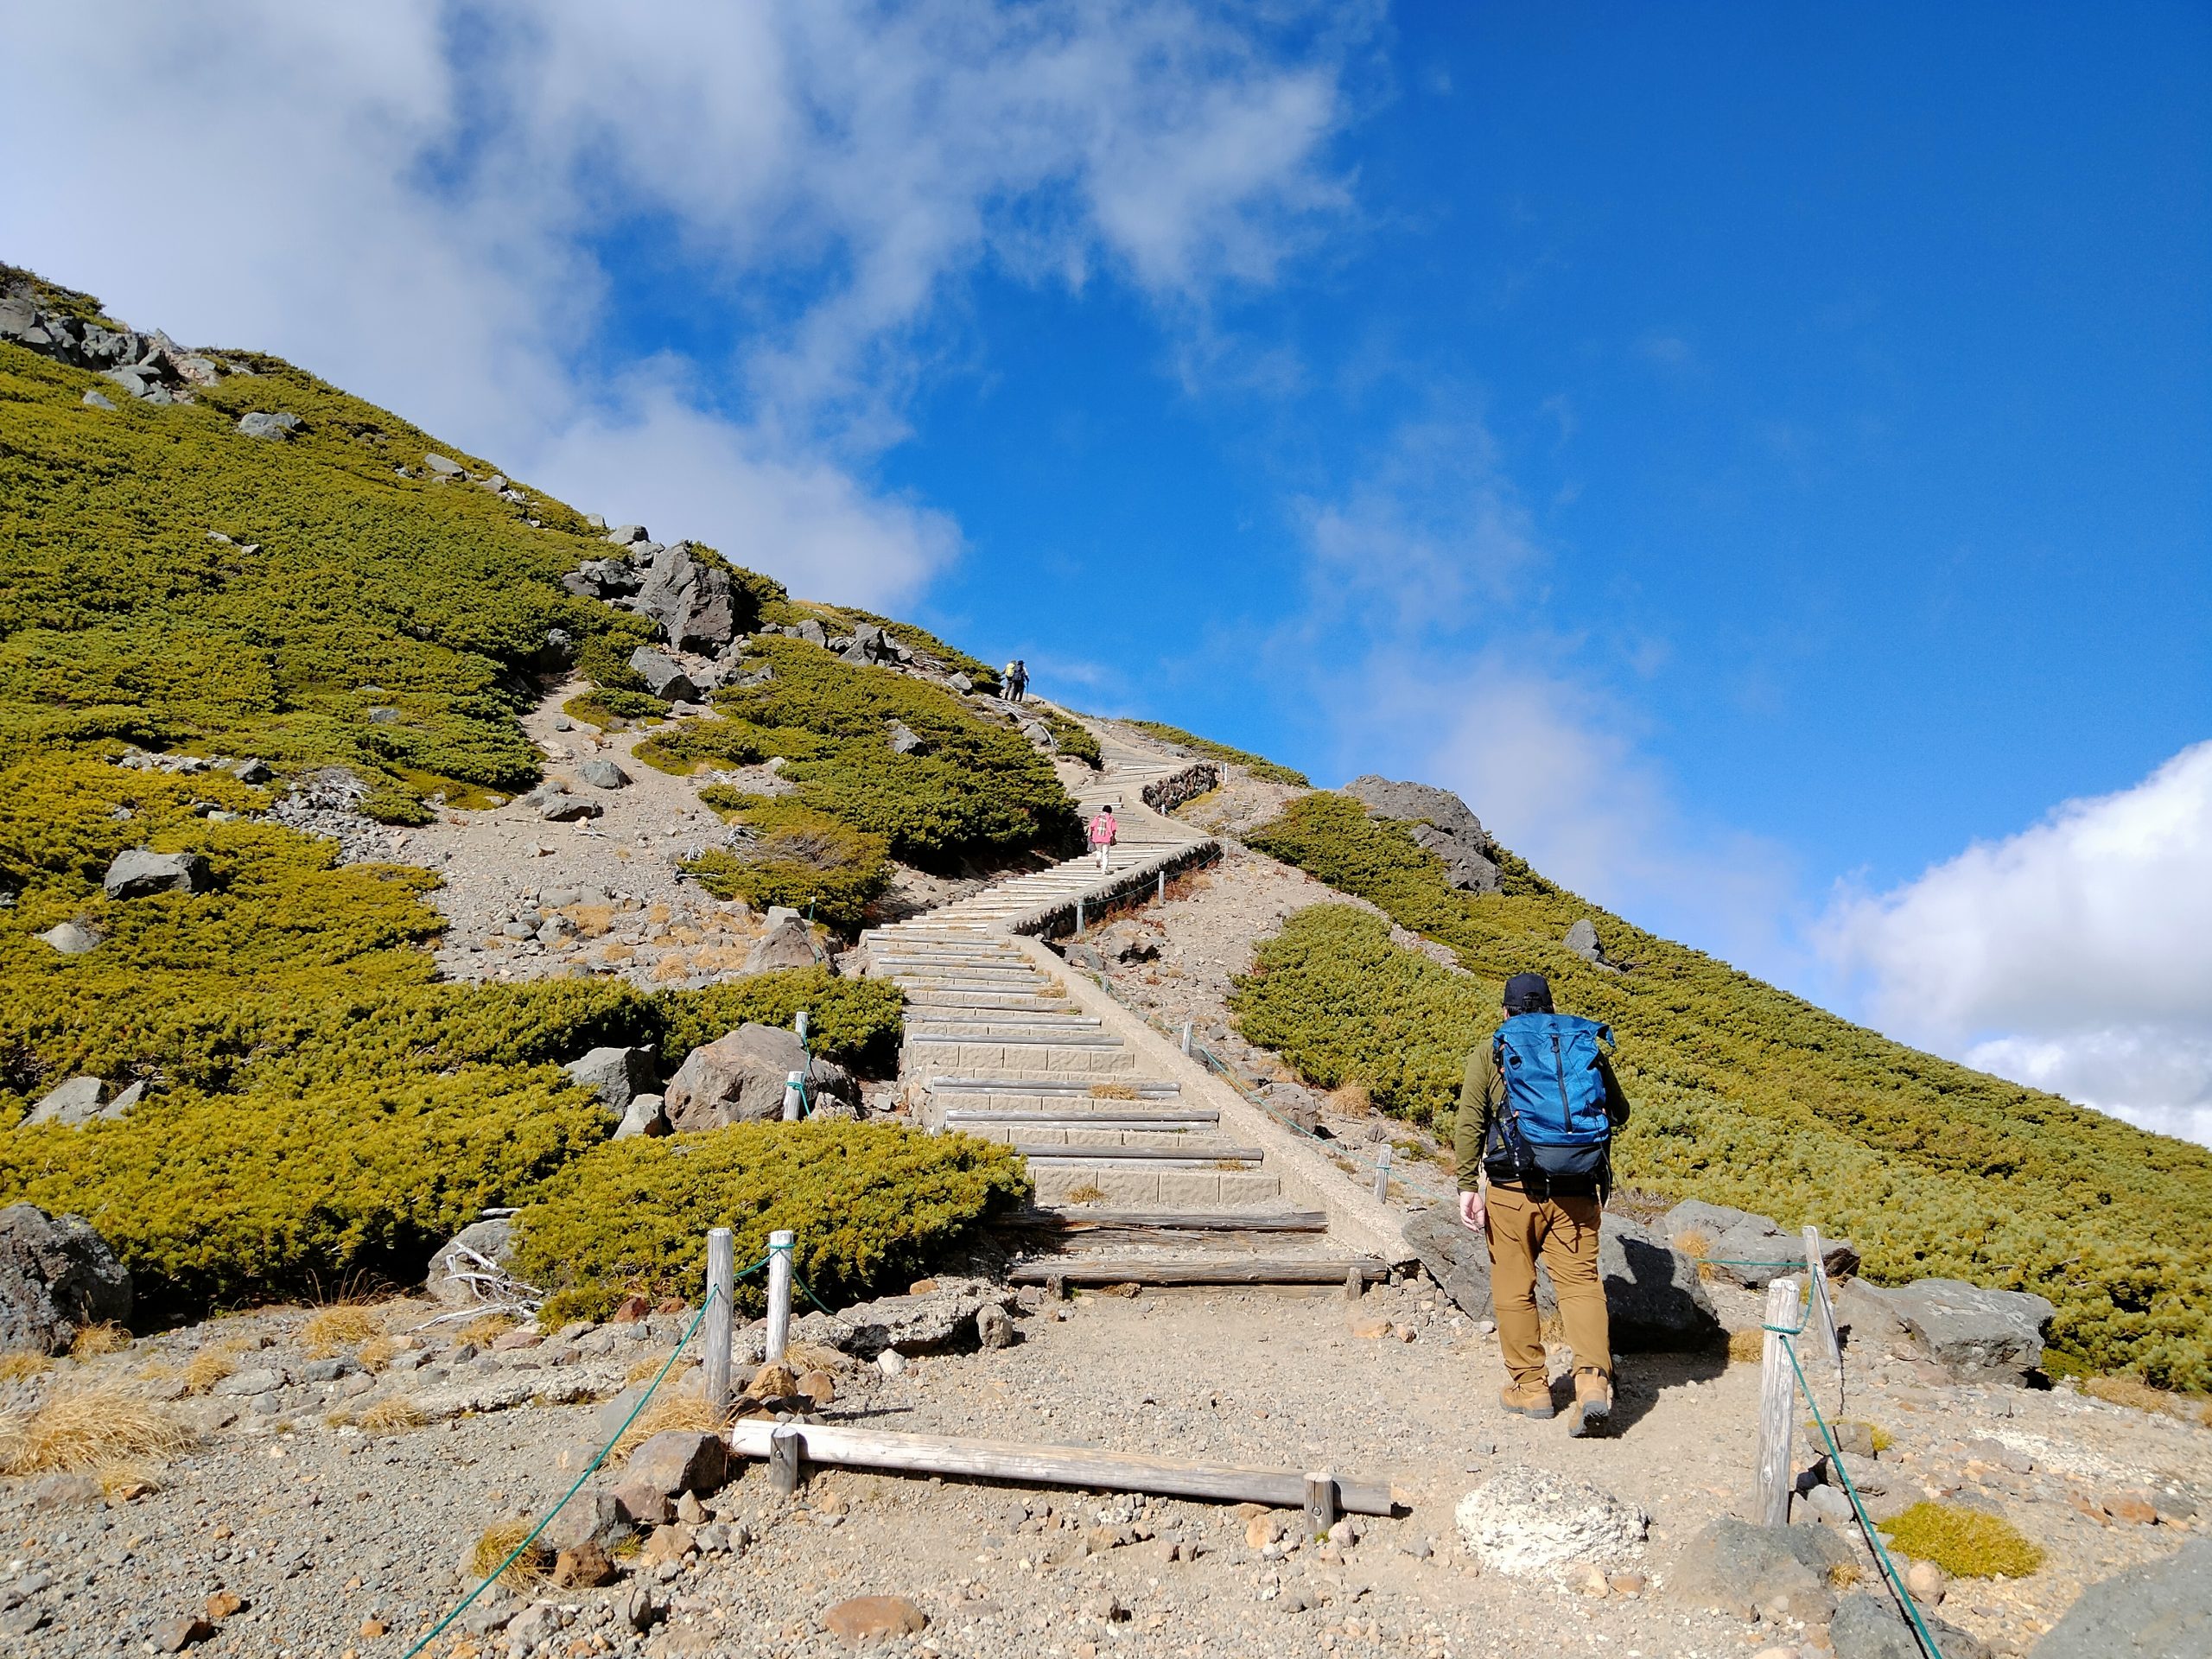
By now we reached a full-blown alpine area. The autumn leaves were slowly starting to change and it was really beautiful. It really felt like a bicyclists’ paradise because no cars pass by. All you could hear is the sound of the wind. The air was so thin and my head was getting a little dizzy.
And then the painful realization came… I’m hungry…! I need energy! I only had a little bit of water ^^;;;
At this point we’re almost at the goal (Tatamidaira). Unfortunately, there was an incident… My friend who is traveling with me said, “Oh no, the pedals are getting heavy! The battery power is at 0%.” It seems the battery ran out quickly because power mode was used. That’s why I recommend automatic mode.
10:10 [Reaching Tatamidira]
Finally, we arrived at today’s goal, the 2,702-meter-high Tatamidaira! At that point, I felt like I was going to collapse from hunger! In case you are wondering, the temperature is 7 degrees. It’s cold~!
In search of hot food, we went to a restaurant on the second floor of the Tatamihira Bus Terminal! To my surprise, it was temporarily closed. (T T) At lost, a sense of despair and tragedy is in the air.
Then, good news! We were informed that the second floor restaurant at Ginreiso next door will open at 10:30… All at once, our spirits were restored!
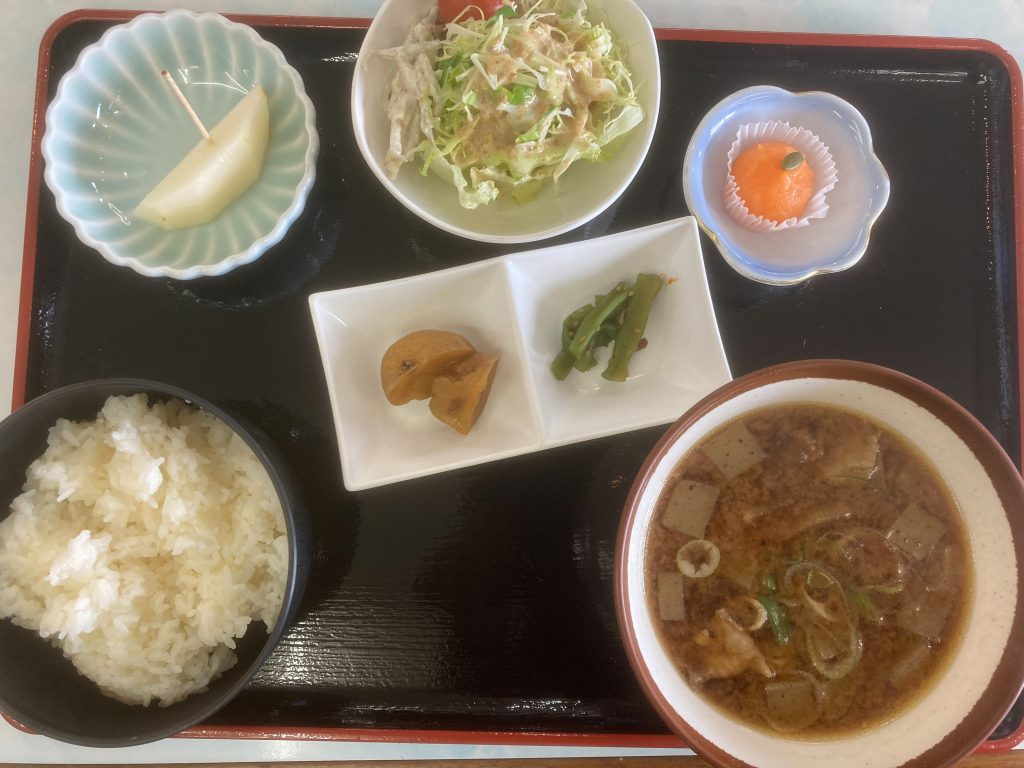
10:30 [Breakfast at Ginreiso]
We had breakfast at the 2nd floor restaurant of Ginreiso. The pork miso soup set meal was 1,100 yen. It was a pretty reasonable price considering the location! I could feel the warm soup sinking into my body. It was very tasty ^^ My friend who climbed the mountain with me had a steak set meal and soba noodles with wild vegetables ^^.
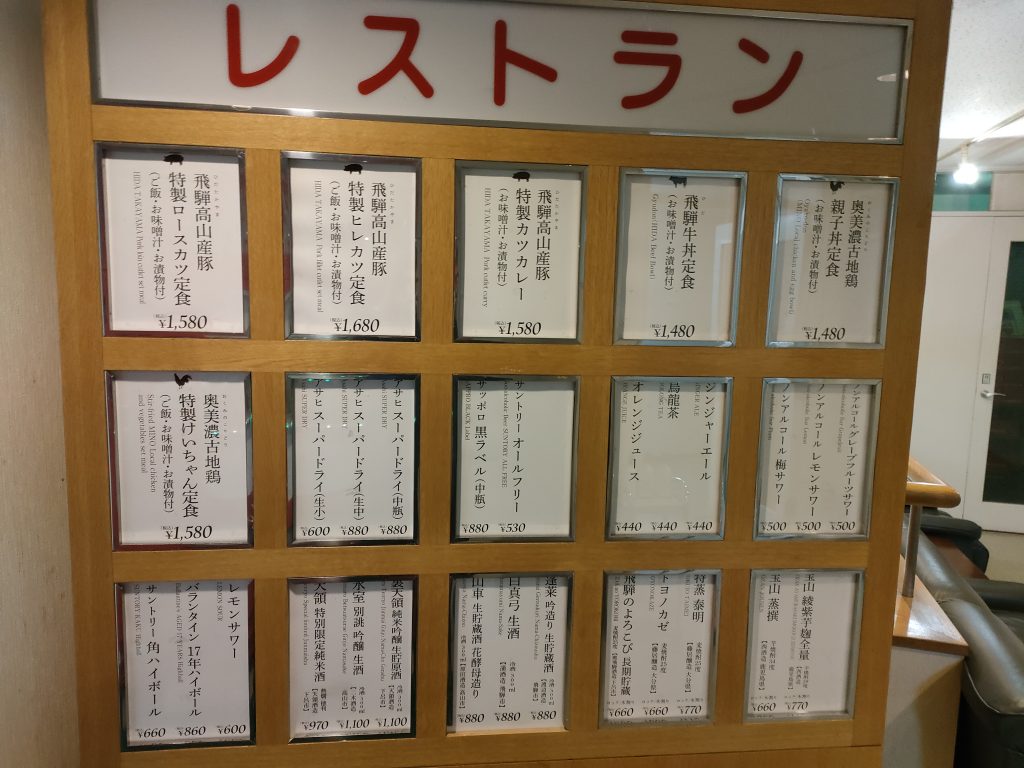
*I visited Ginreiso again on May 15, 2022 and found that the menu and prices had been revised significantly. (Added on May 21, 2022) Menu as of May 15, 2022. ↓.
11:00 [Heading back to Hirayu Onsen]
With our bellies full, we began our descent. I had underestimated how easy and effortless the return trip would be. But it was soooo cold! I was wearing only a short-sleeved T-shirt under a thin windbreaker, and it was 7 degrees. The only way down was through the wind. At that point my hands were getting numb and I was freezing!
Here’s a little advice 3) Bring gloves and a warm jacket
I know this is obvious, but we forgot. Is there anyone else like us? Both gloves and jackets were sold at the Tatamidaira store.
Also, please not that going downhill is very dangerous.If you are not careful, you will overspeed. Be sure to keep braking and descend slowly.
It is really dangerous and cold if you speed. It could be fatal. Be sure to descend slowly. If you feel cold, we strongly recommend that you slow down even more and proceed slowly.
12:10 [Return to Hirayu Pass Gate]
We arrived at Hirayu Pass gate in no time. Clouds have appeared and it was too foggy and cold to enjoy the scenery ^^;;;.
It is still good to ride up slowly and enjoy the scenery. I learned that going down is easy, but not fun.
12:25 [Return the e-bike]
We arrived at Okuhida Base without any incidents. I wanted to go straight to the hot spring ( Hirayu no Mori ) to warm up my cold body, but I had to work today (T T). We returned the bike safely with half the day still to spare.
Final Impressions
This was truly a wonderful experience. Even though I don’t usually do much exercise, I was able to make it to Tatamidaira with a little effort. The weather was perfect, the view was great, and the experience was fantastic.
Five years ago, I took a bus up to Tatamidaira and was impressed by the view from the bus window, but biking was several times more enjoyable and felt like flying in the sky.
I owe this wonderful experience to the electric assist function of my bicycle. It would have been difficult for an amateur like me to do this on a road bike without it. In my opinion, riding up Norikura Skyline is an emotional experience that only a limited number of trained and special people could enjoy without e-bikes.
I plan to go again soon, but when I do, I’ll make sure to bring food, gloves, and a jacket ^^;;;.
Hirayu Onsen is the at the base of Norikura Skyline. It can be reached via Takayama City or from Matsumoto City. There is also a direct stop here from Shinjuku, Tokyo.
■ From Takayama City: At Takayama Nohi Bus Center, buy a ticket from the ticket machine and board the bus headed to Hirayu Bus Terminal at bus stop #6.
■ From Matsumoto City: Take the bus for Hirayu Onsen at Matsumoto Bus Terminal.
■ From Shinjuku: At Shinjuku Bus Terminal, take the bus going to Takayama and get off at Hirayu Bus Terminal.
2,702 meters above sea level from the Hirayu Bus Terminal, Norikura Tatamidaira bus terminal is the highest bus stop in Japan! There is a direct bus service to Norikura Tatamidaira bus terminal with its spectacular view, and takes only 60 minutes. Ask the front desk at Hirayu Bus Terminal for more information. To read a more detailed review of what to do in the Tatamidaira area (hiking routes excluded) read more below.